I was researching how to build a rammed earth house in the city of Dallas located in state of Texas and ran across Gerald Katz and his wife Sharon on YouTube. I reached out to them and they invited my wife and I over to tour their rammed earth home in a small desert city called Perris which is slightly east of Los Angeles in the state of California.
In my opinion, being able to build your own house out of your own parcel of land is one of the greatest and highest achievements for any artist!
Below are some videos and photos of my tour and interview with earth artist Gerald Katz about his fascinating, off grid, solar powered, rammed earth house called “Solaterre”.
Gerald states that he named his house “Solaterre” because the house gets its power from the sun and is made from “terre” which means earth.
Part 1 – Rammed Earth
Home Construction:
Site Selection & Planning
In video 1 of 5, Gerald talks about how he dreamed of living in a sustainable home and how he set out to acquire the land and build his magnificent home in southern California.
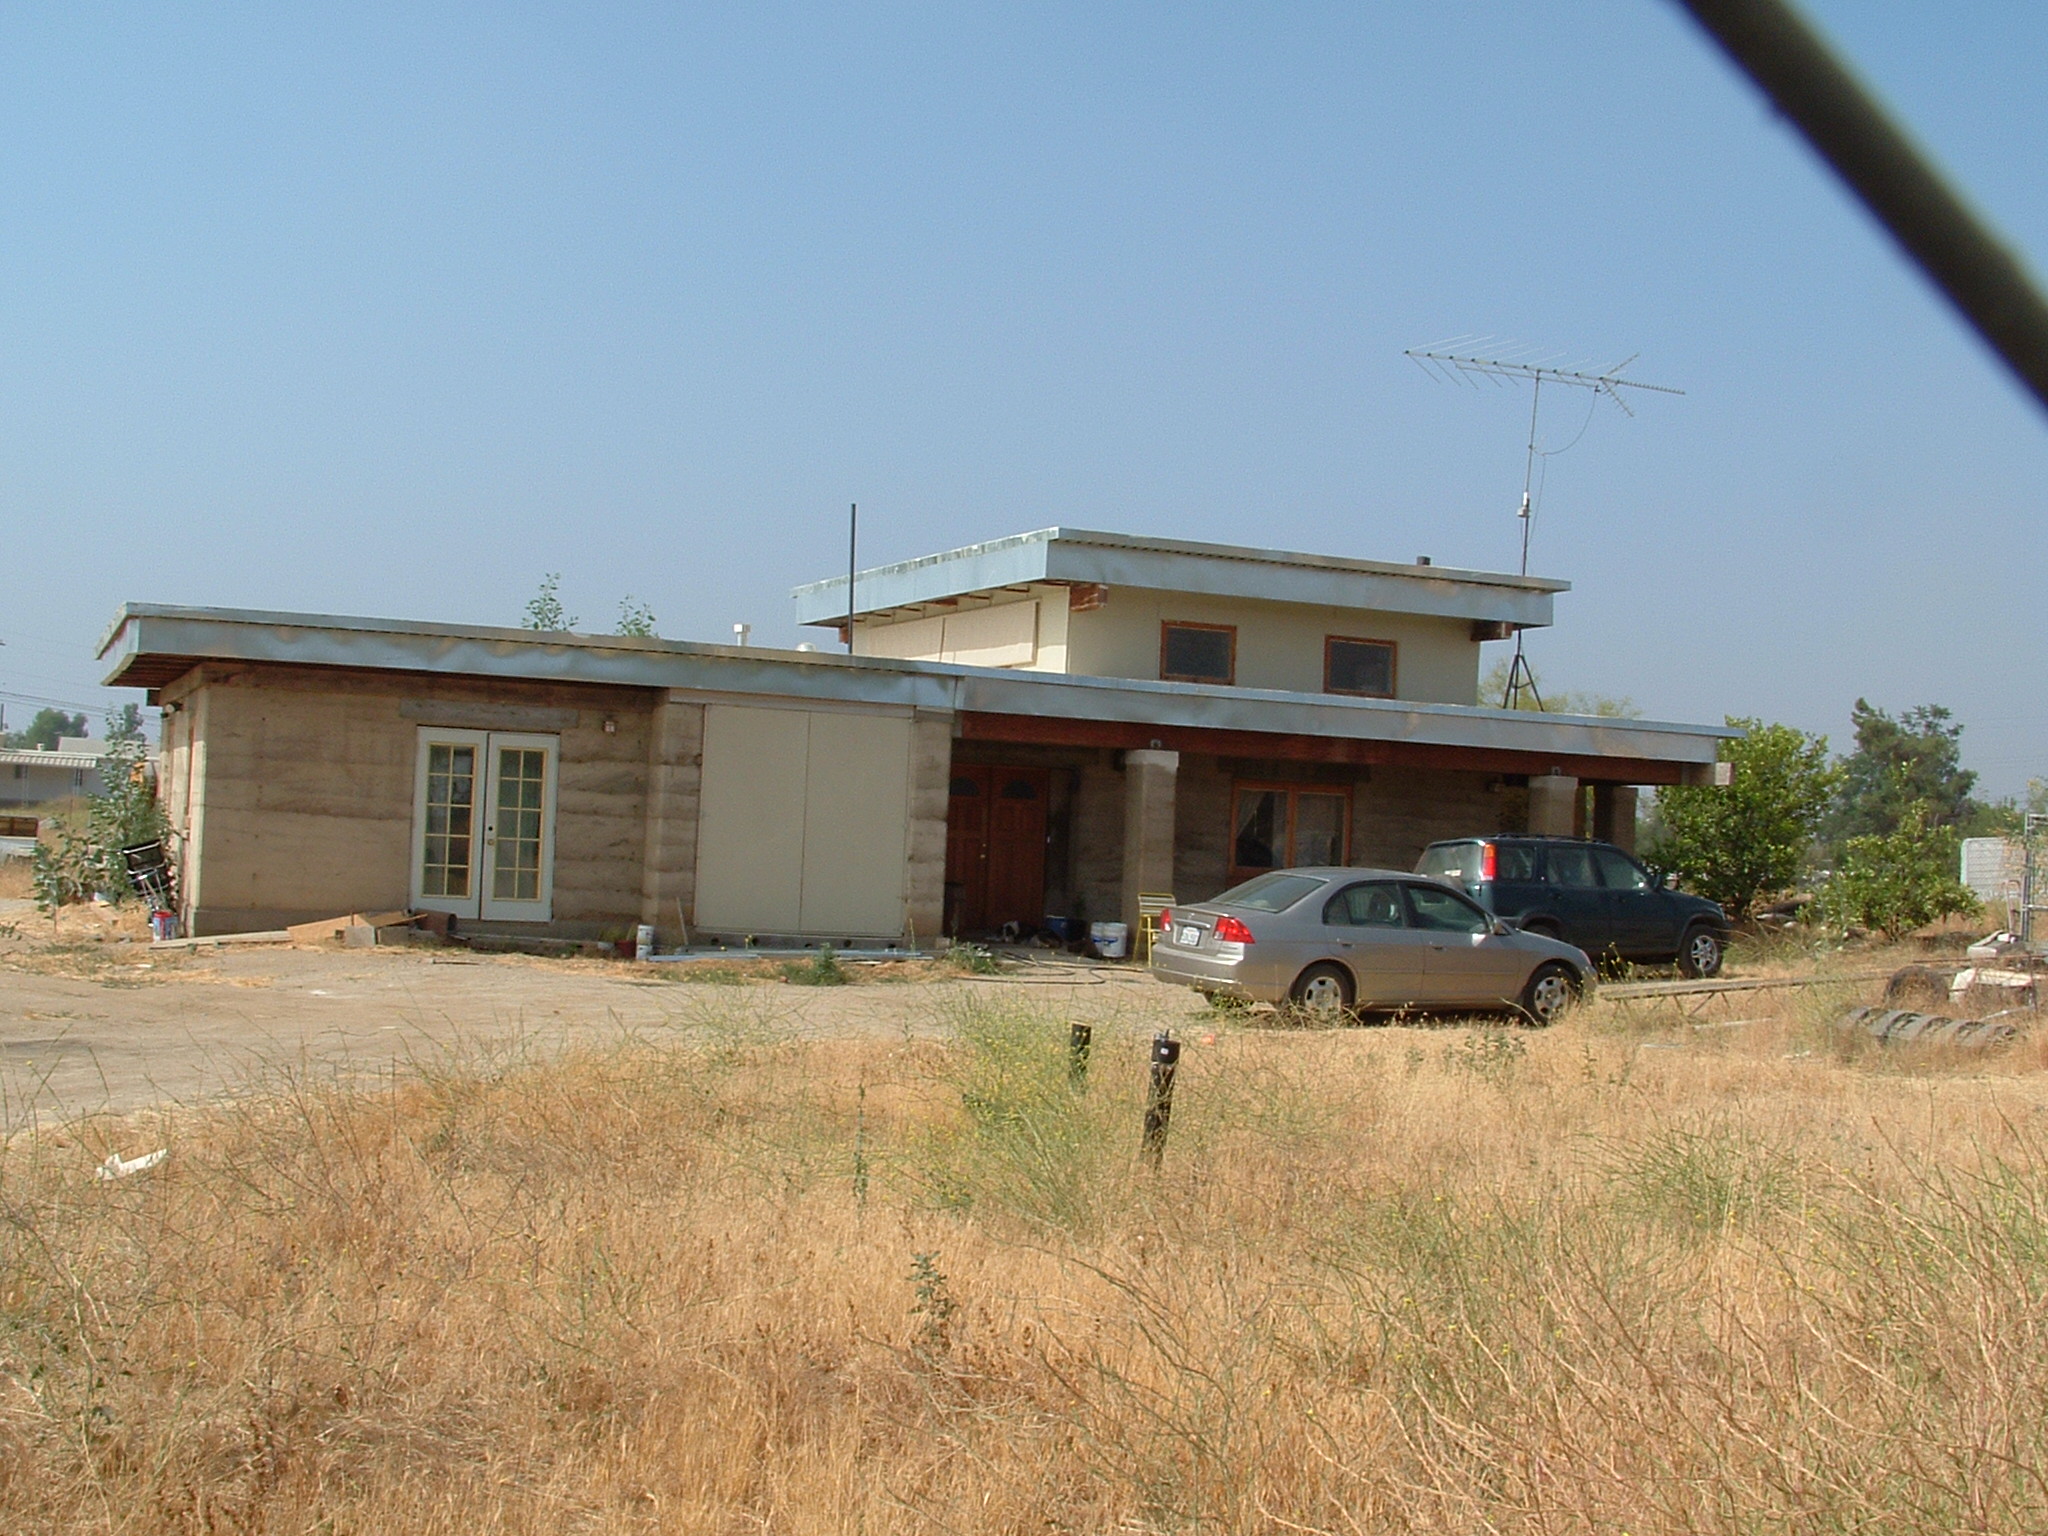
Here are some photos of Gerald’s property when he first moved onto the raw land.
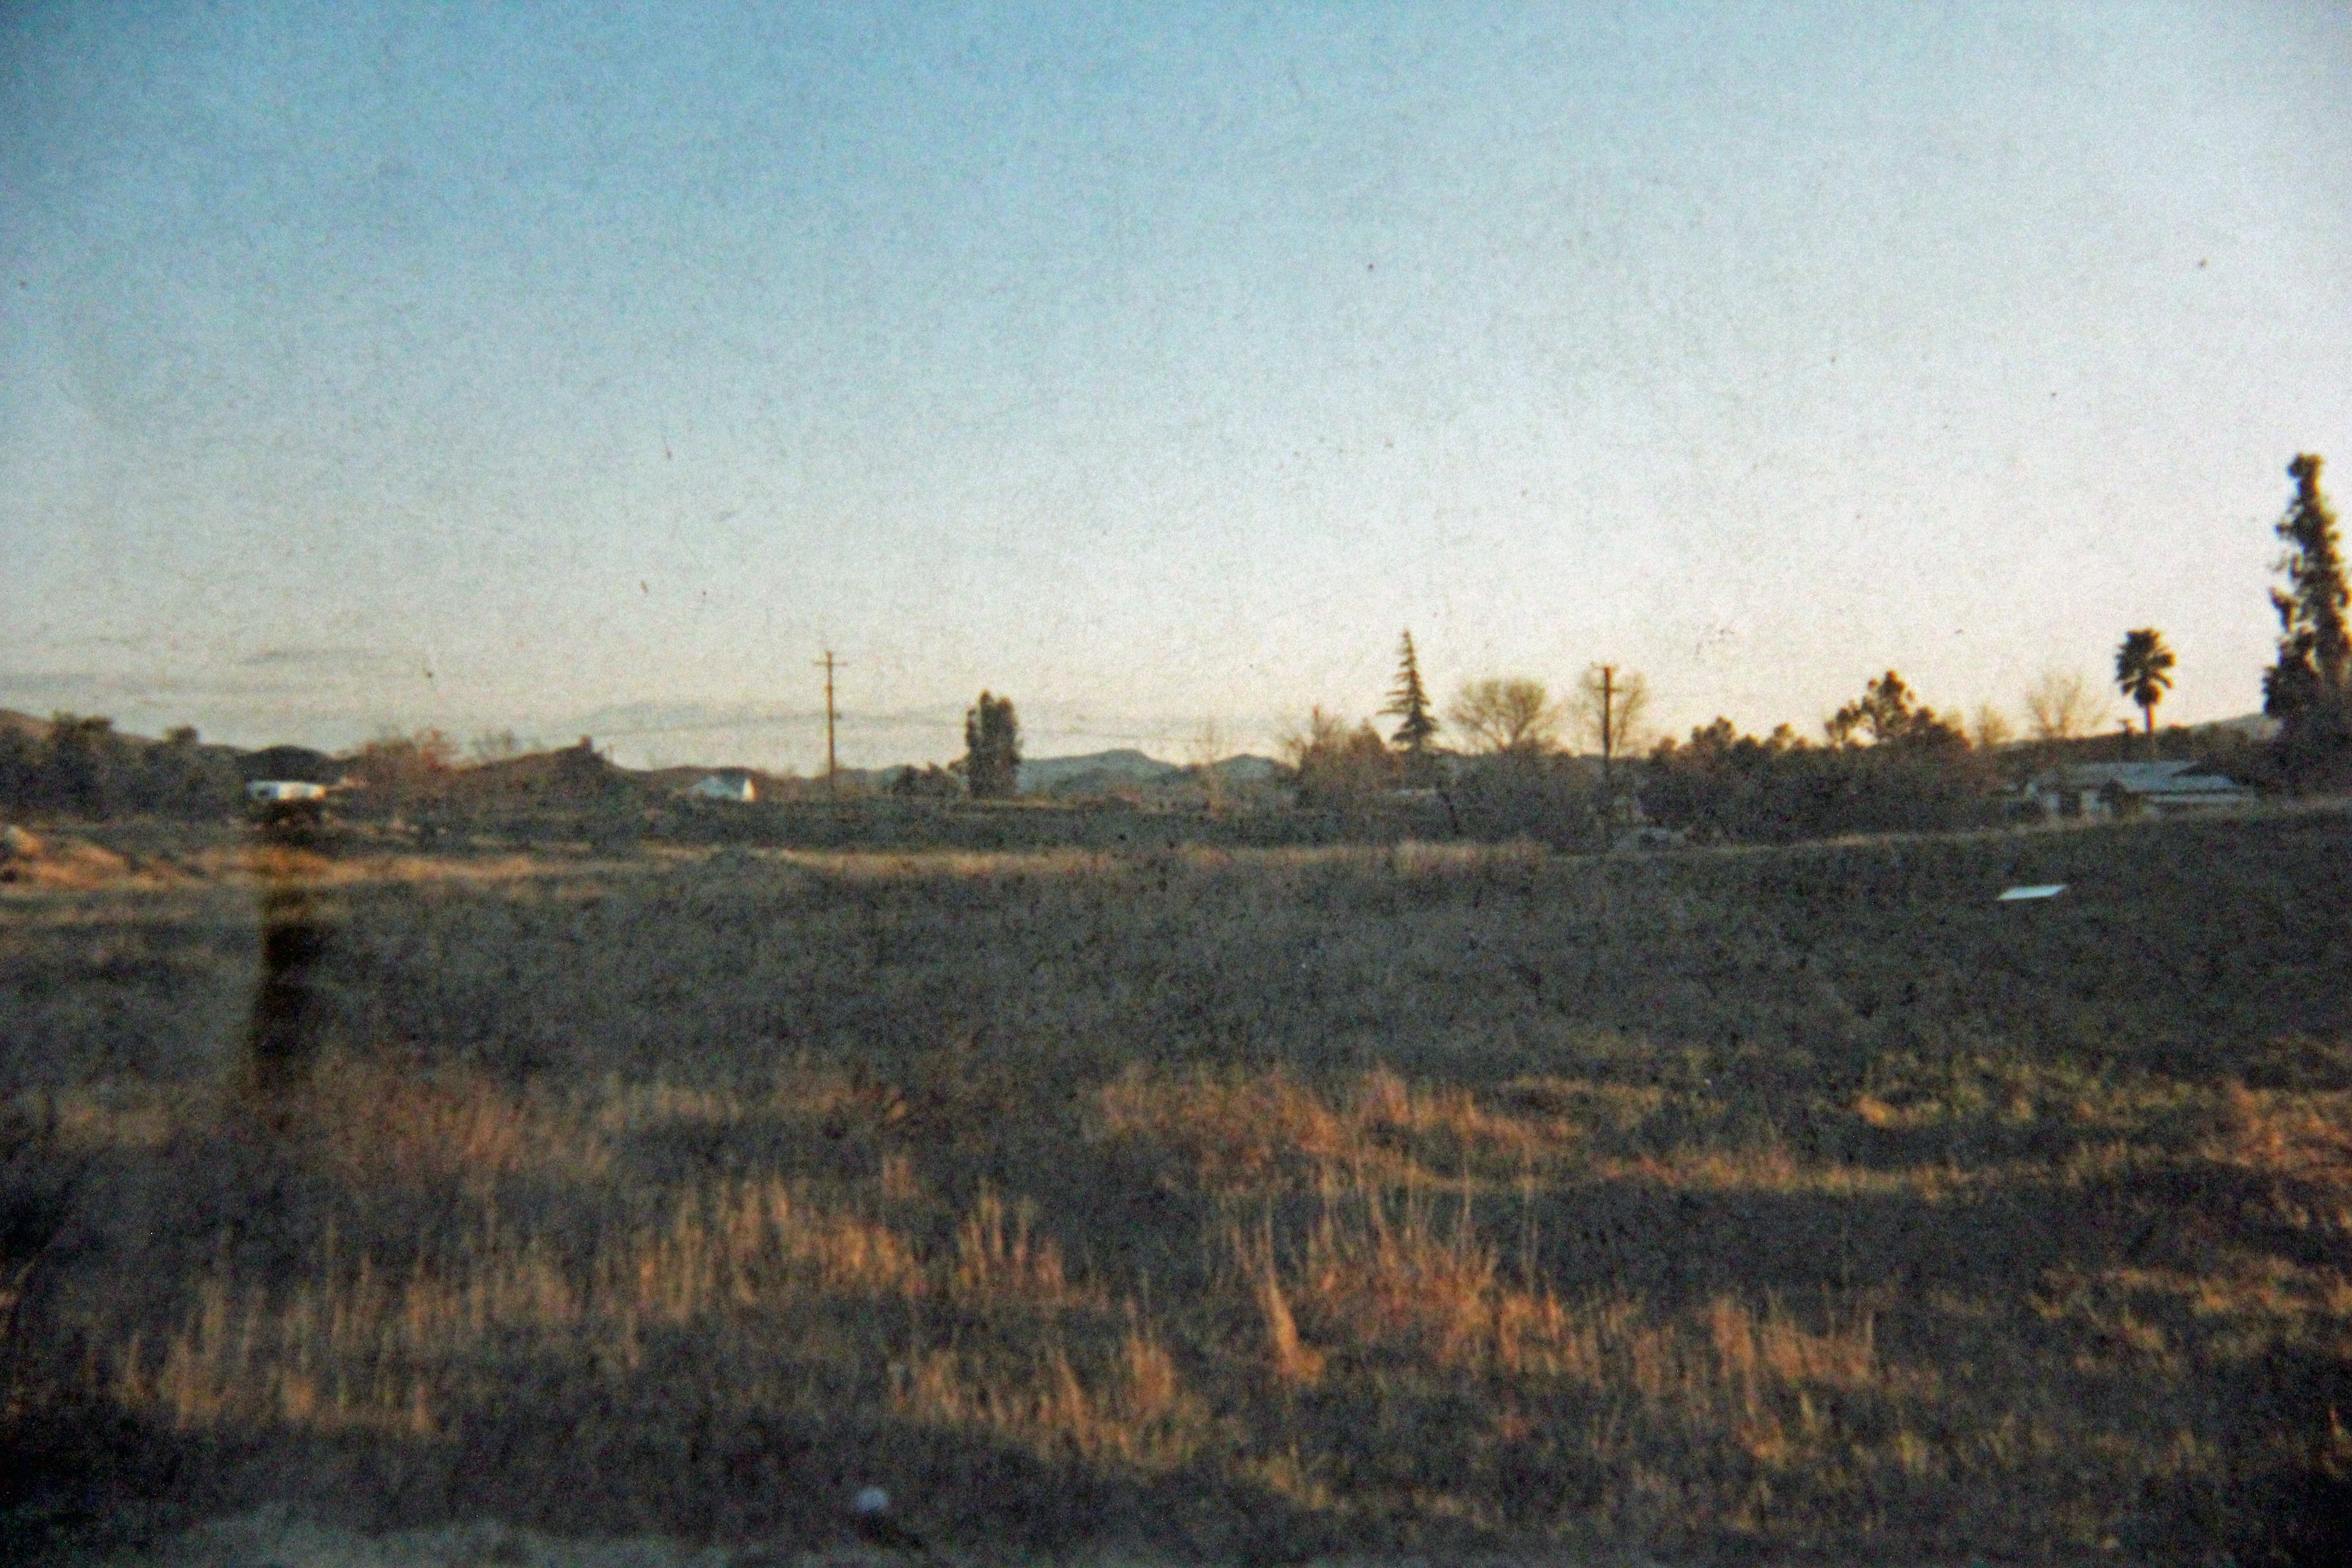
In California, the law requires that you have water on your land before you are allowed to build a house on it.
Fig 02 shows Gerald’s first water well right behind the lawn chair.
In the background is the trailer home that Gerald and his wife Sharon lived in while they saved up money to build their rammed earth house.
In America, especially around the Los Angeles area, there is a tendency to pursue a lavish and materialistic life style where people live under a mountain of debt in order to acquire “material stuff”.
Therefore, it is very refreshing to see Gerald and Sharon live within their means while building a debt free residence.

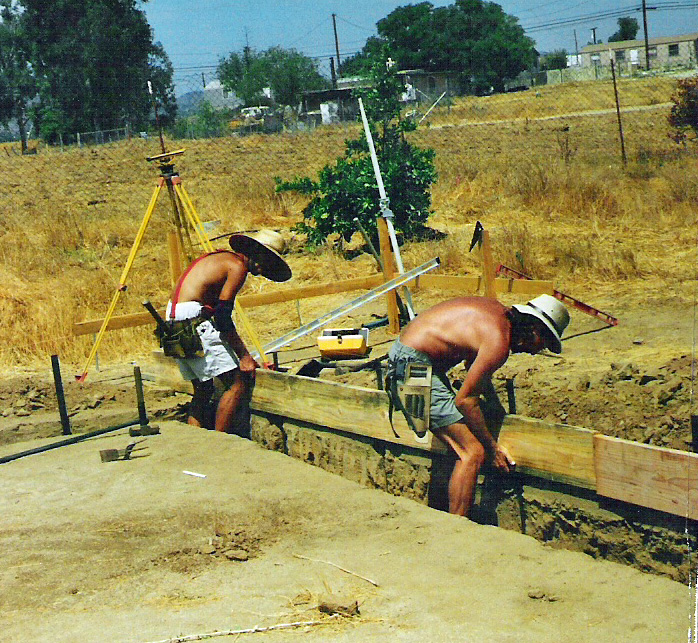
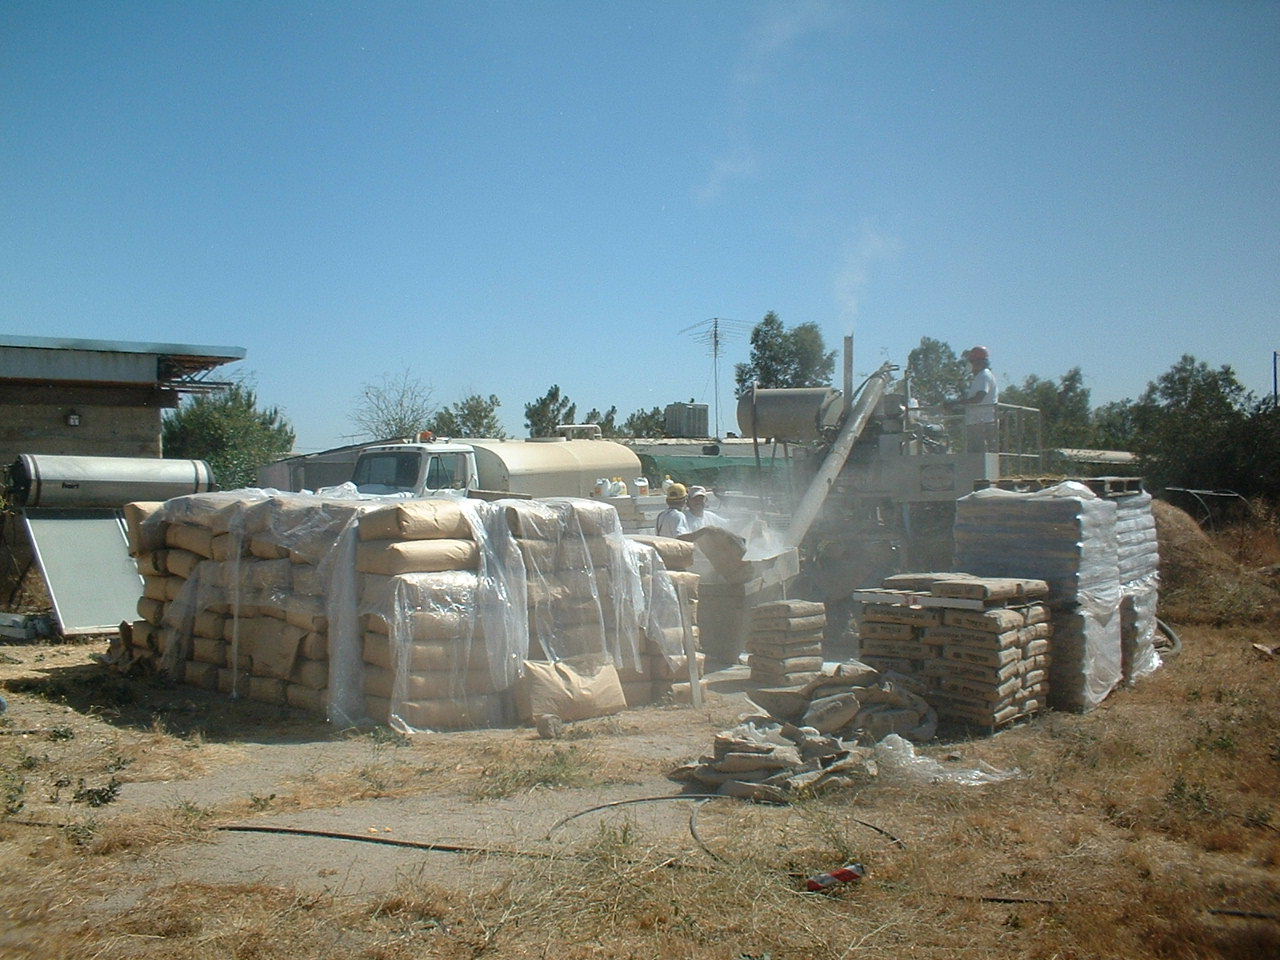
The raw land was graded and leveled in preparation for the concrete footings
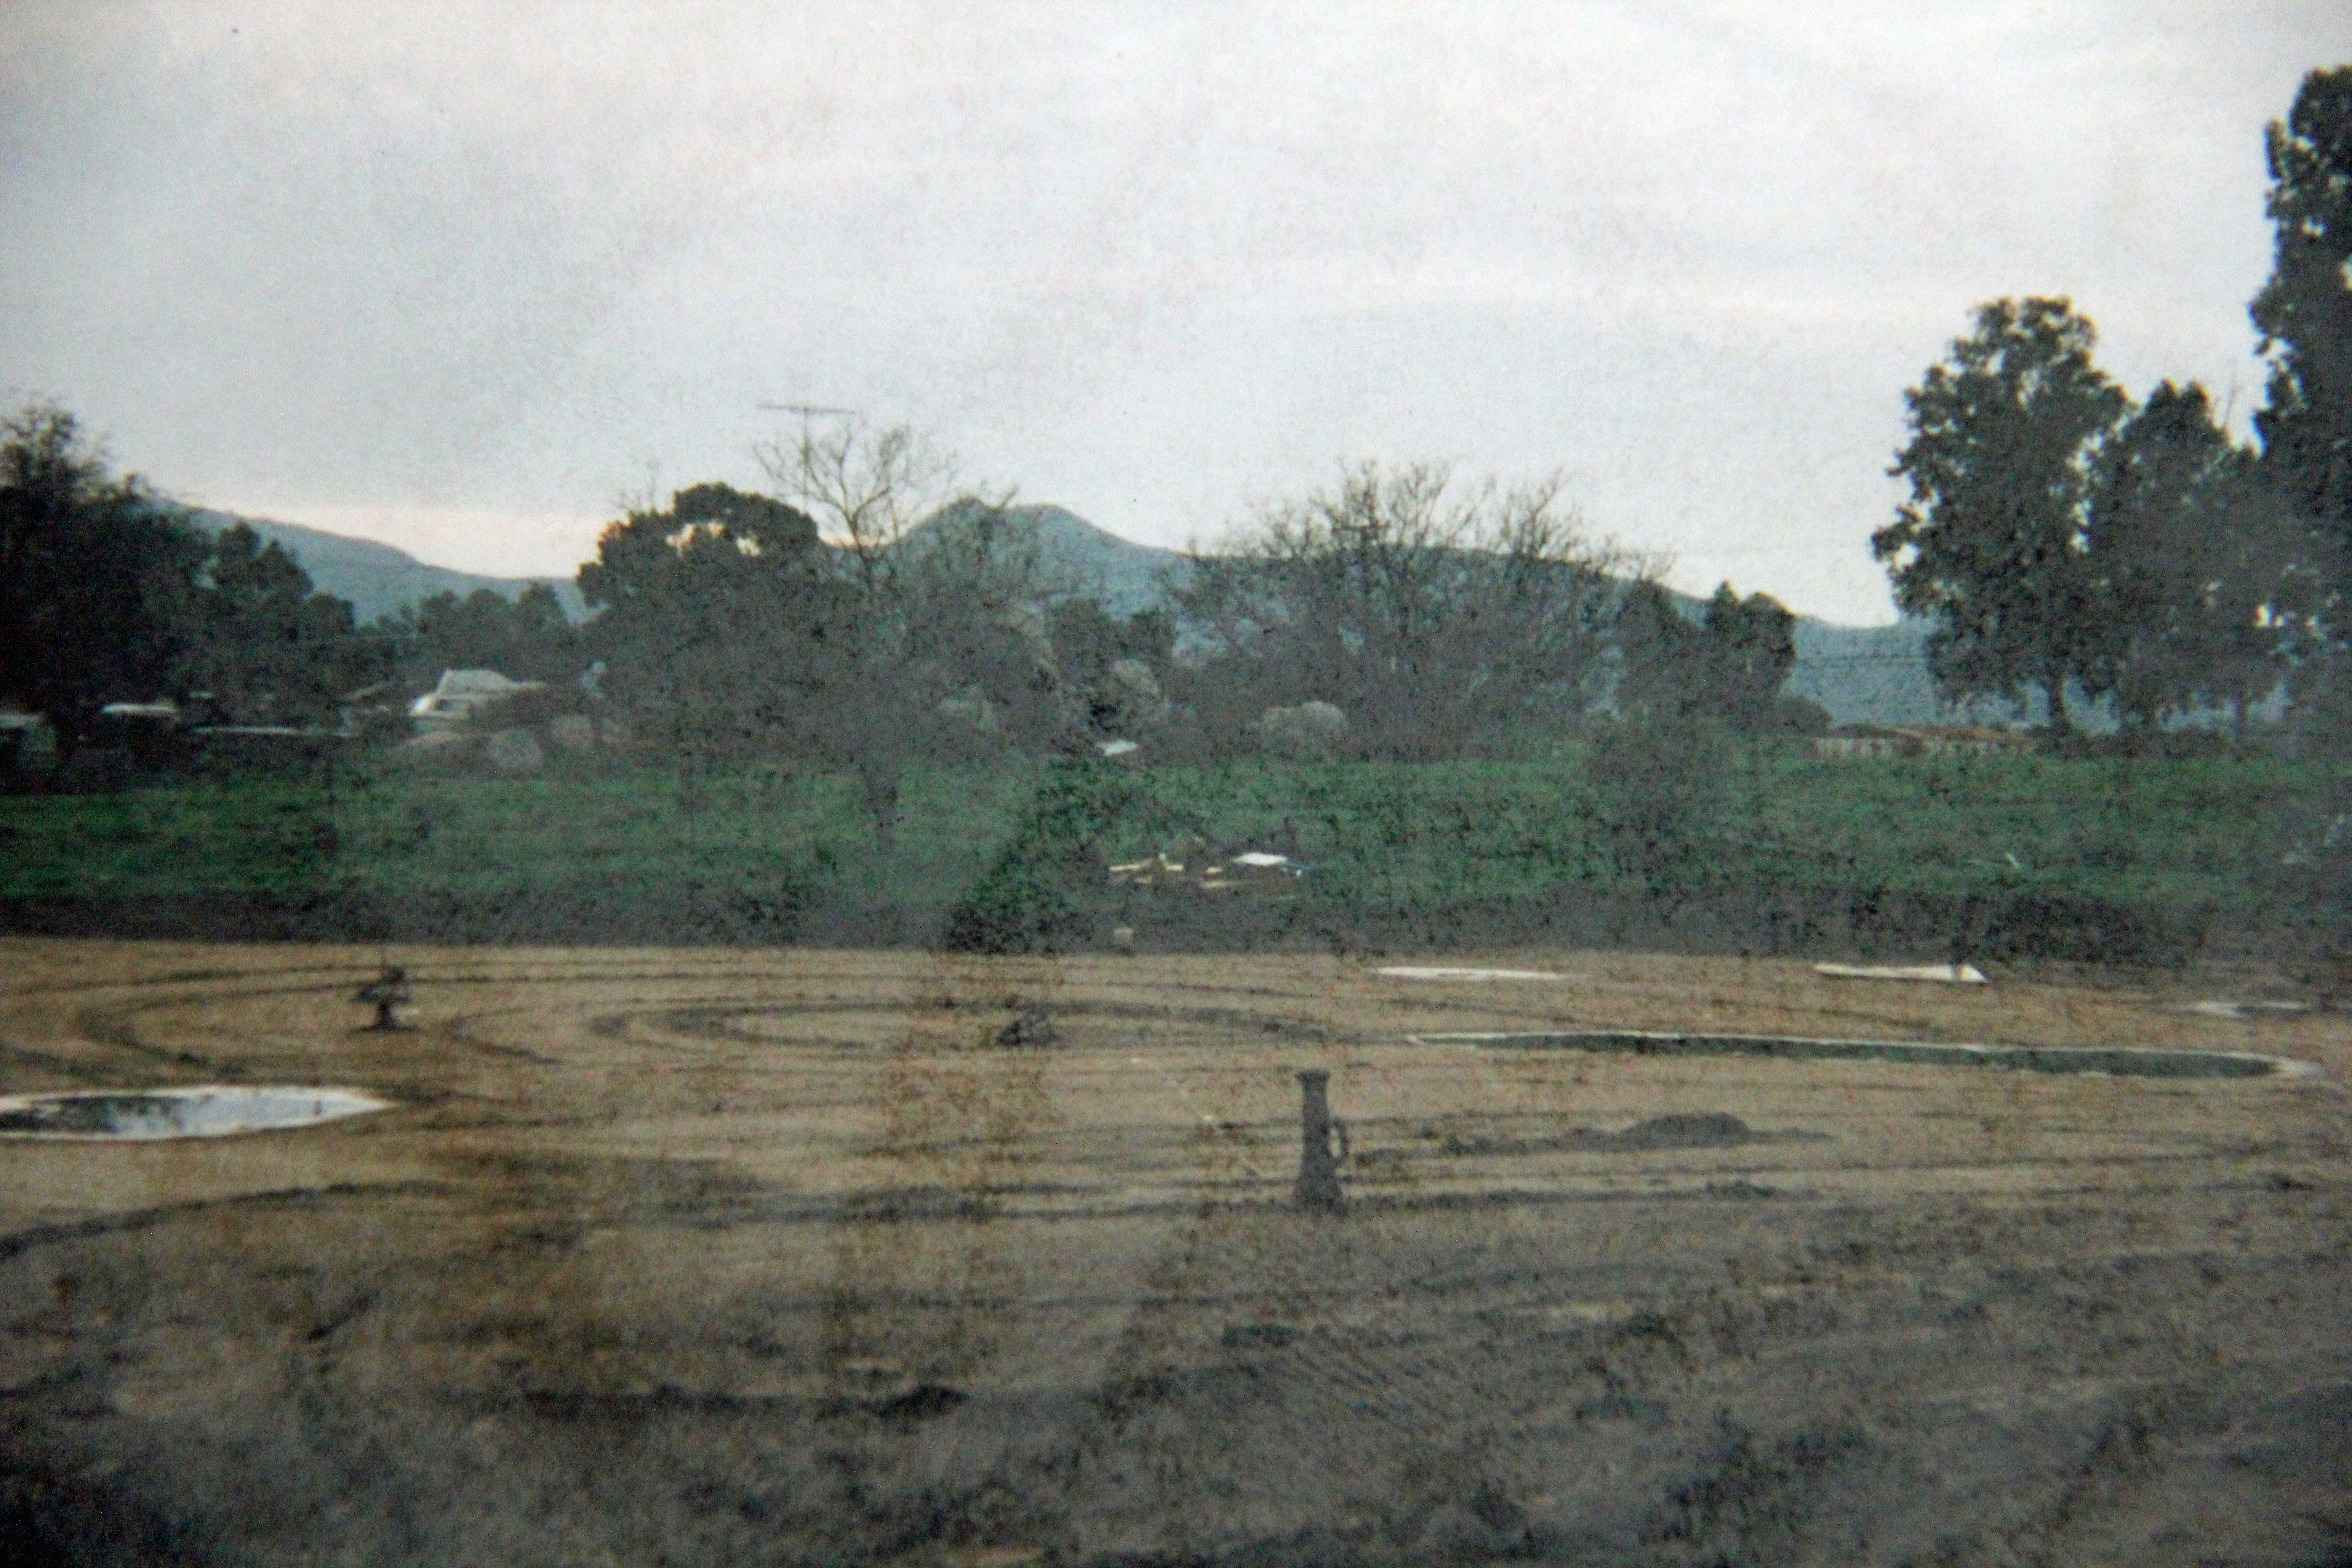
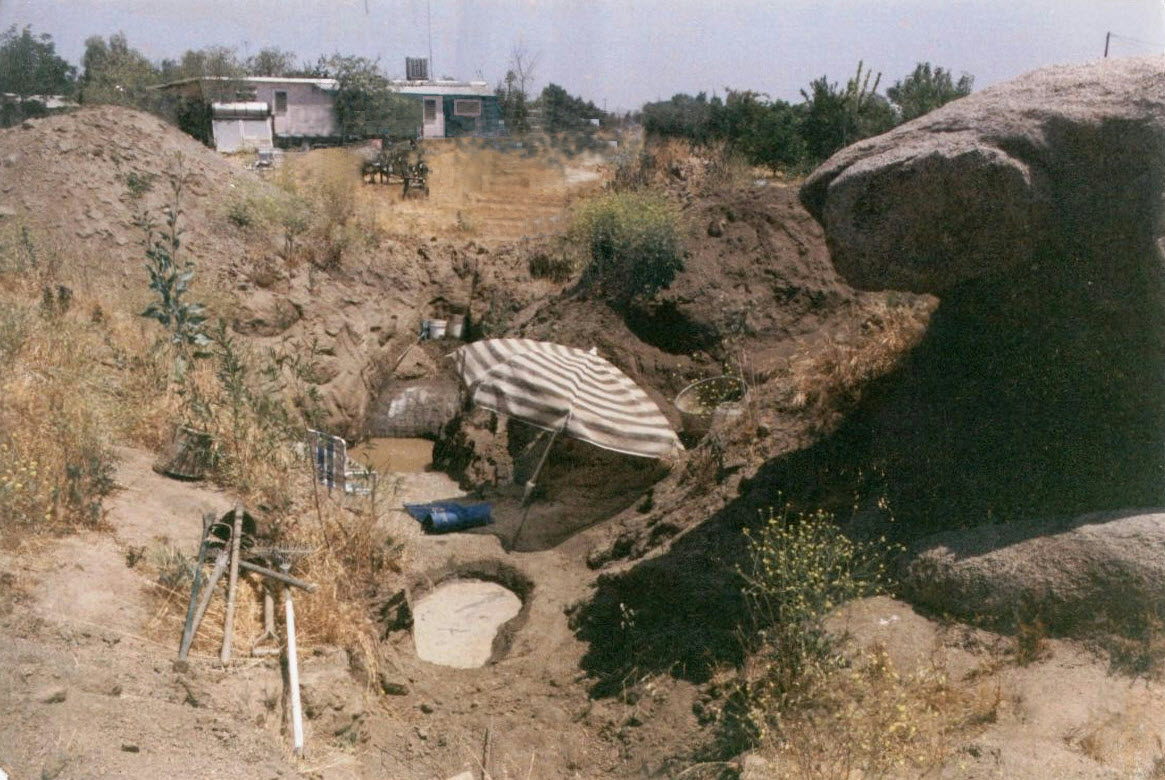
Fig 4 shows the pit which provided the majority of the soil used to build Gerald’s house.
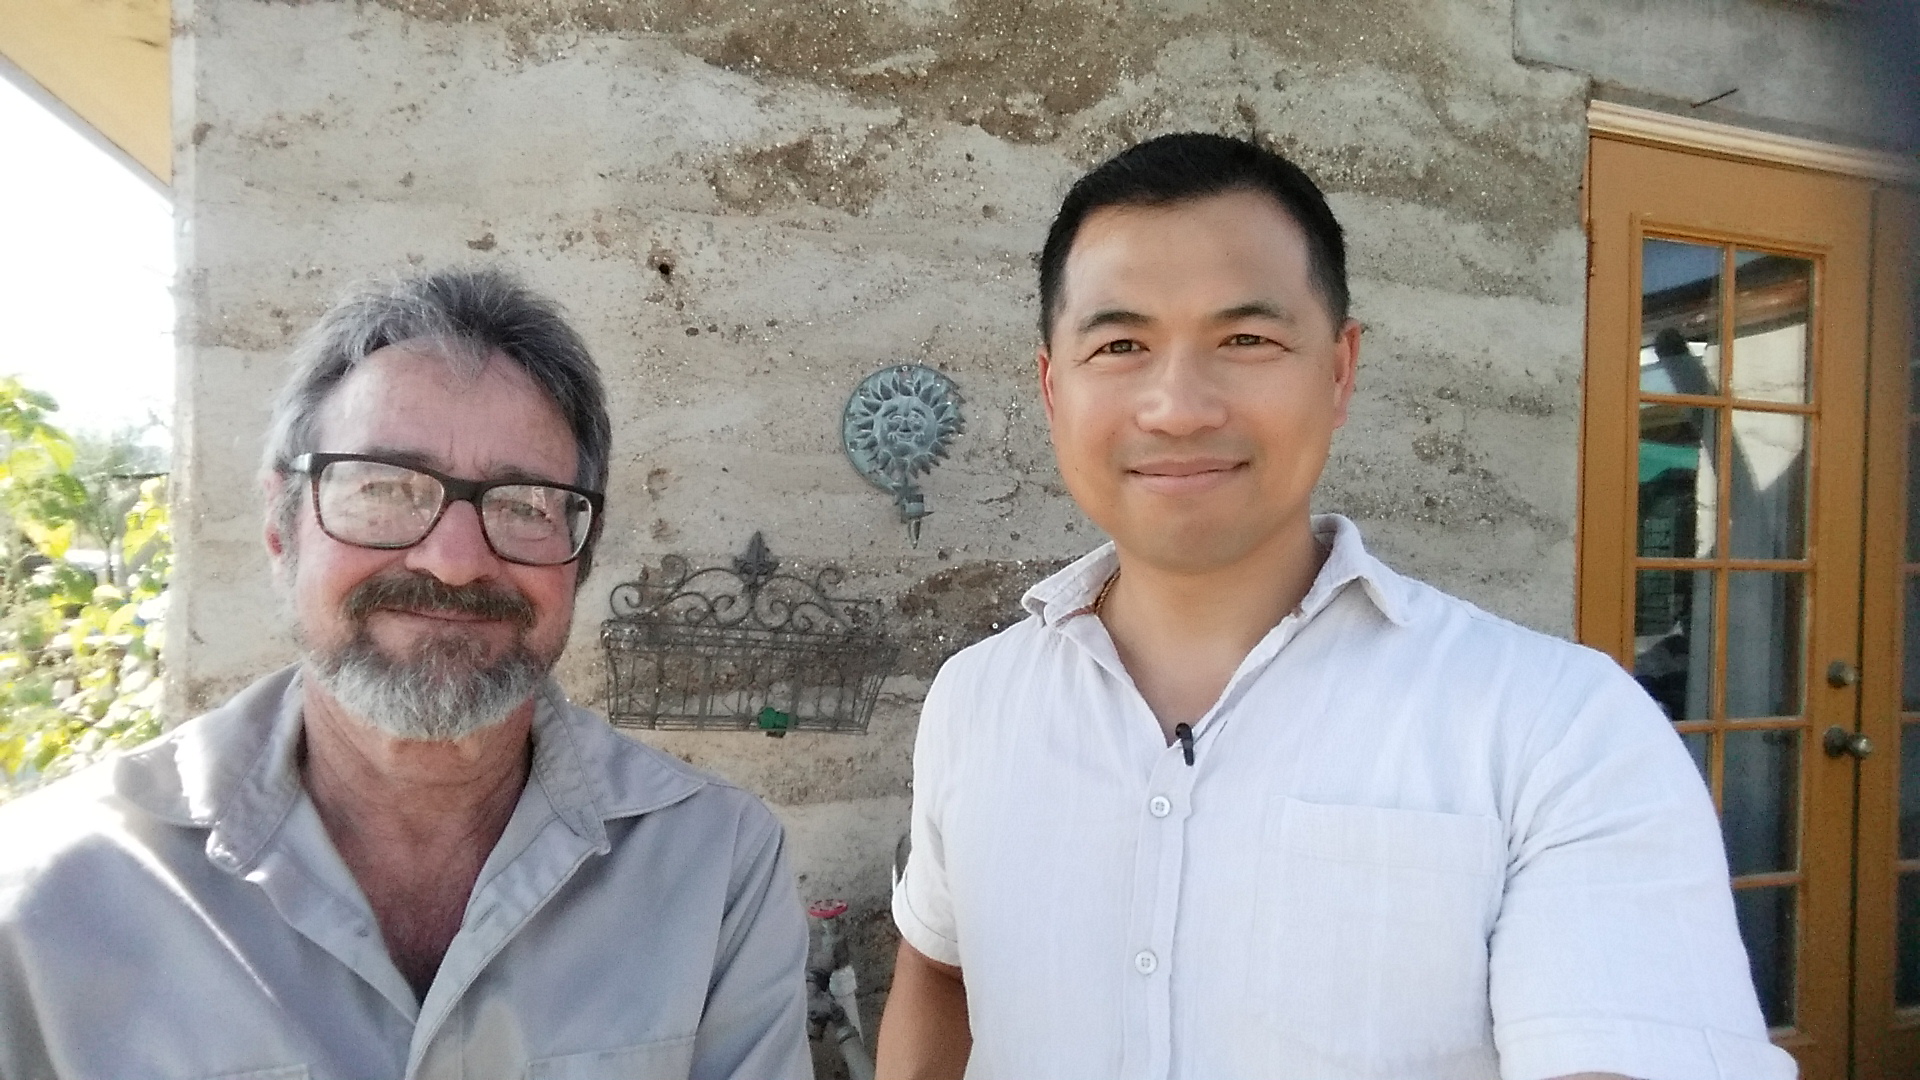
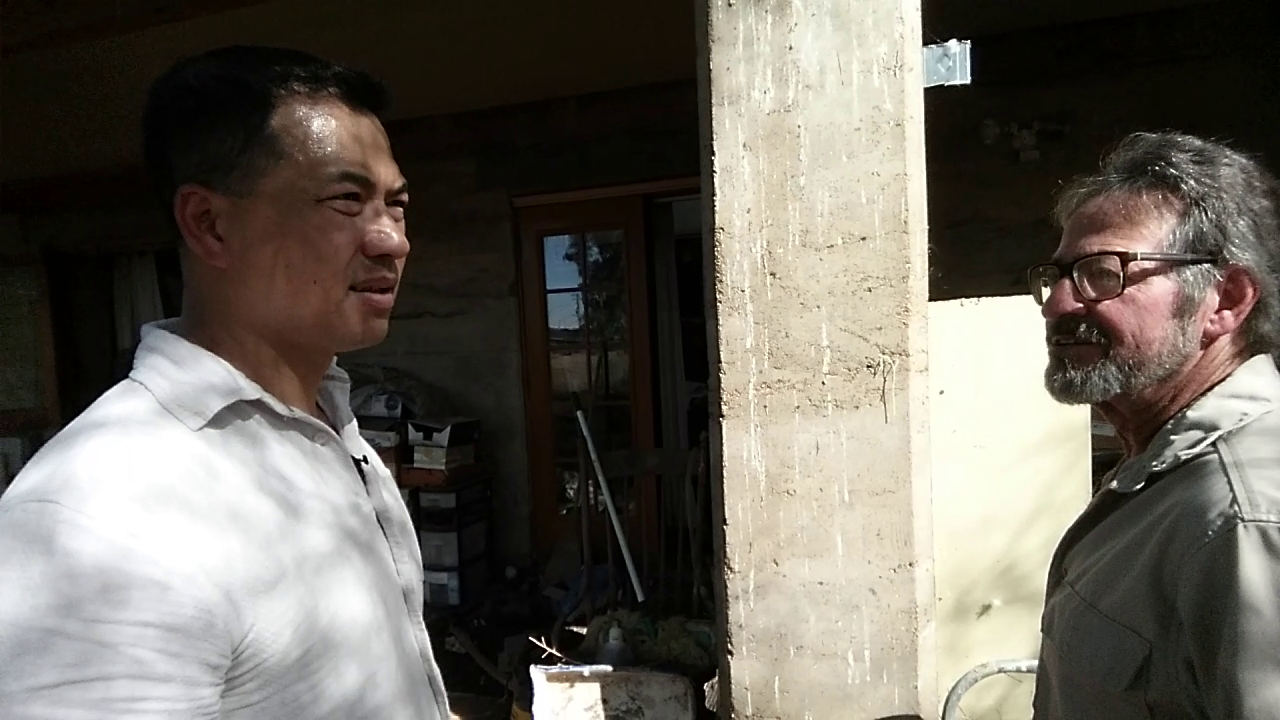
To give you an idea of the size of the earth pit, Fig 38 shows Gerald and I standing in the center of the pit.
I’m 5′-11 1/2″ tall and the surface of the pit was at least a foot above my head.
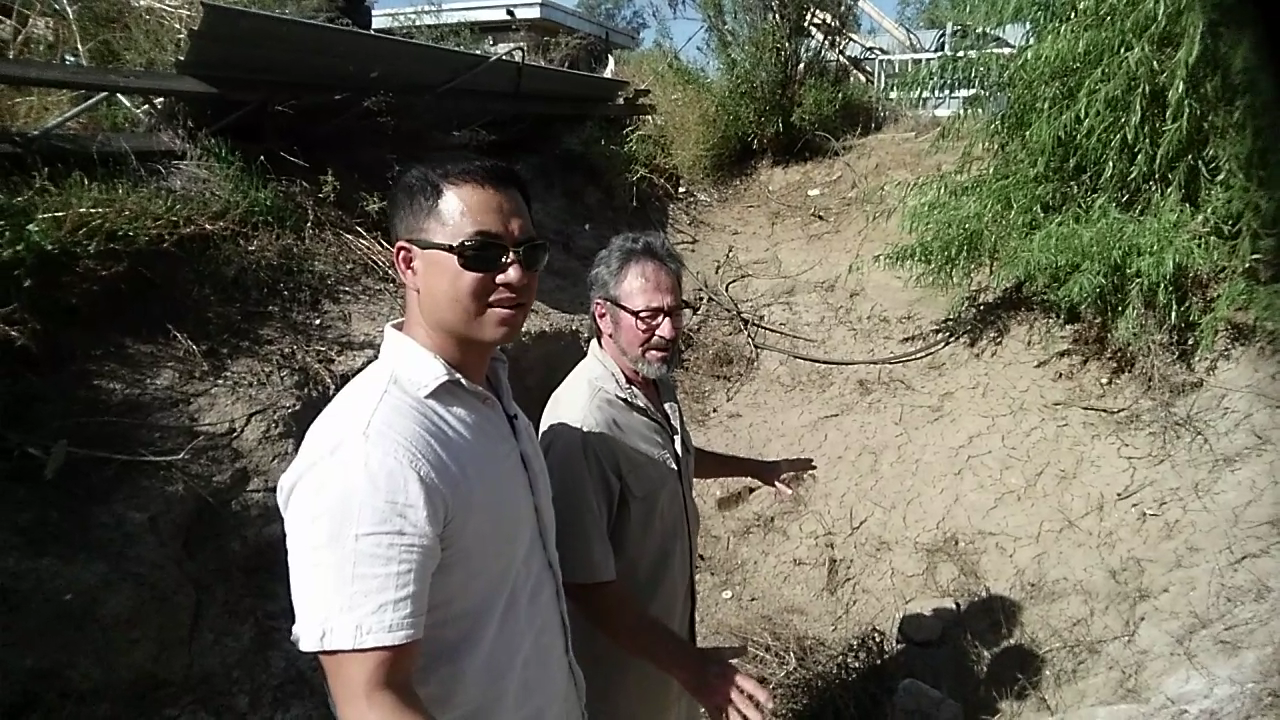
If you look closely at the giant rock on the right in Fig 04, it appears that the rock may fall over into the pit at any moment. LOL!
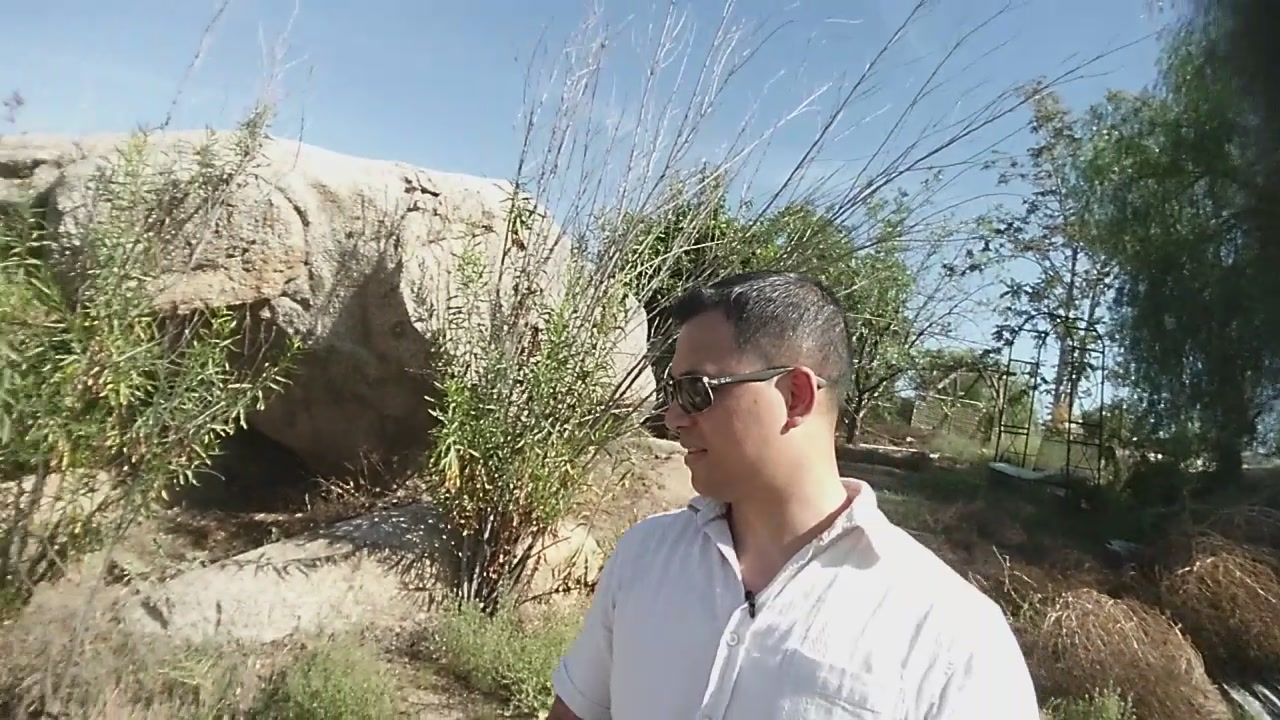
The amazing thing is that over 25 years later, the giant rock is still there and hasn’t moved one bit or fallen into the pit despite the heavy rains and occasional flash floods.
The giant rock is still in the exact same place as seen in Fig 39.
Most traditional concrete foundations usually span the entire footprint of the house.
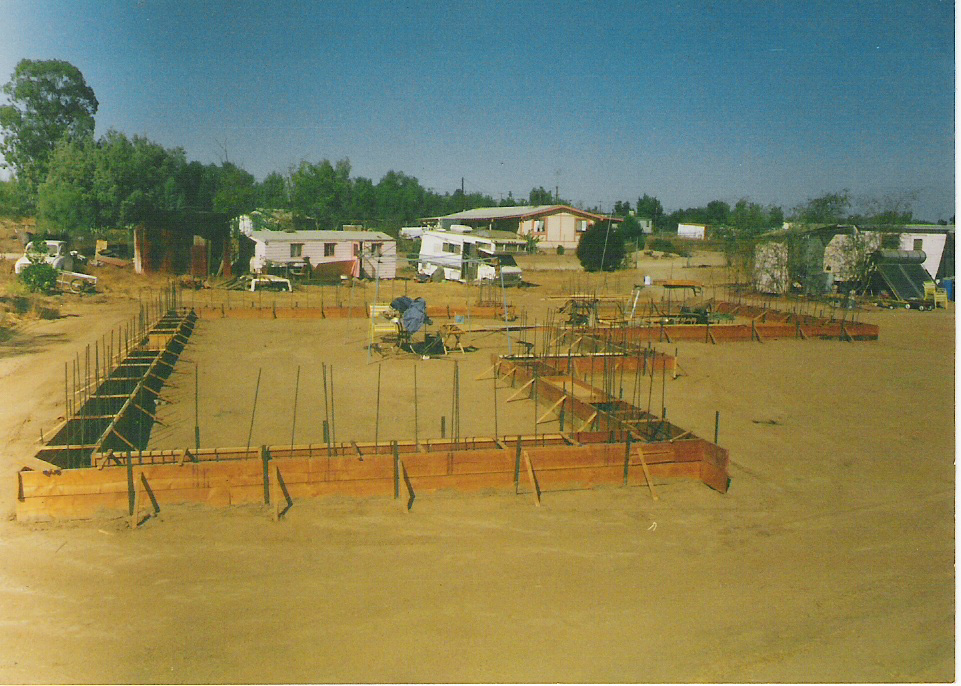
In Gerald’s house, the concrete foundation (footing) is only used to support the rammed earth walls to reduce the cost of concrete used in building the house.
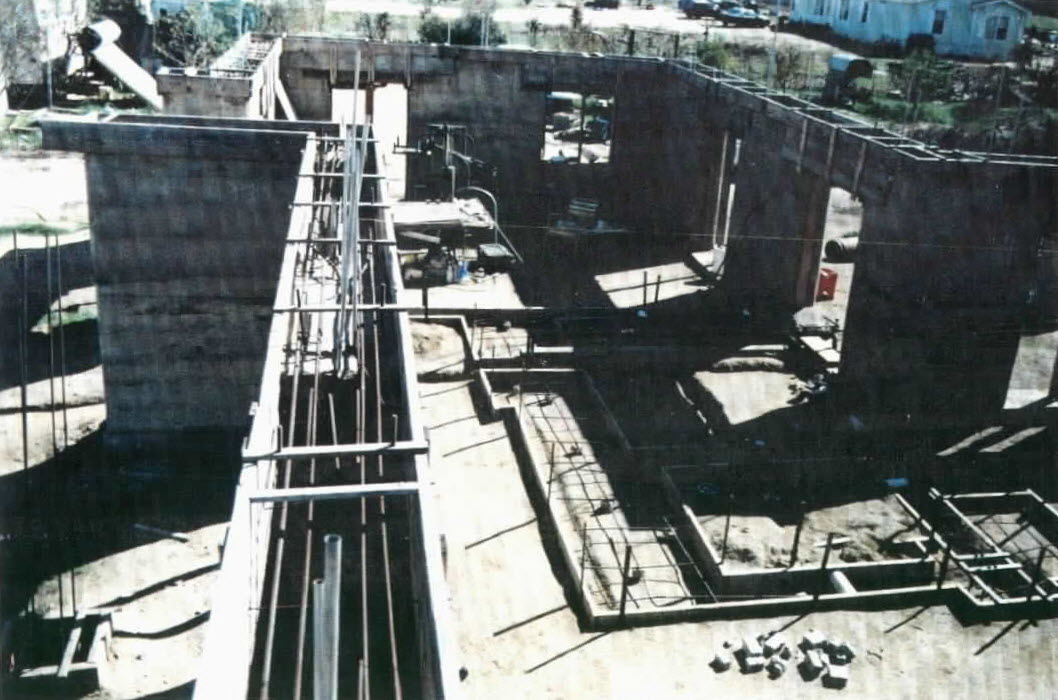
Concrete was used to create 18″ wide and 24″ deep footings to support the weight of the rammed earth walls.
As you can see in Fig 06, only the perimeter of the house will have a concrete footing. This was done to reduce the cost and quantity of concrete needed to build the house.
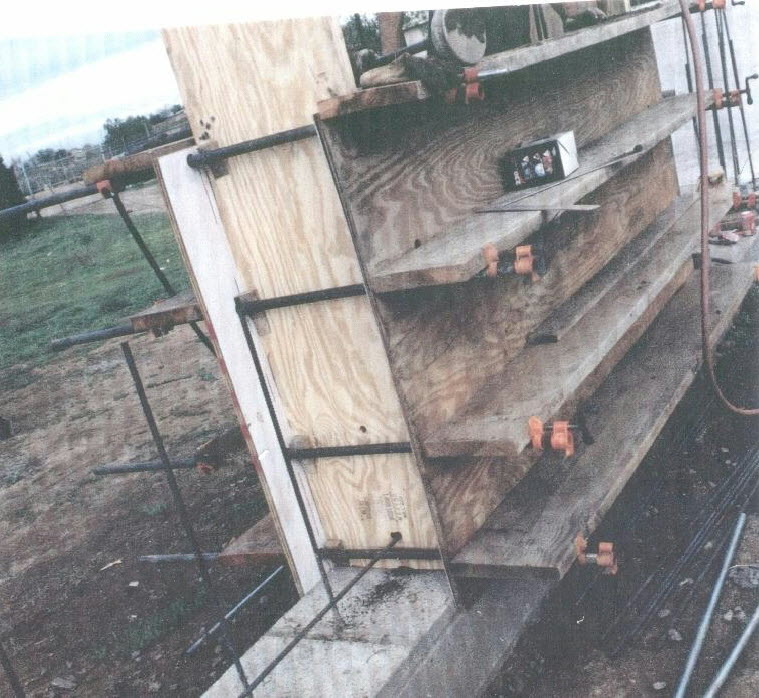
A small indentation (lip) was purposely created at the top of the concrete footings to support the 3/4″ plywood (as seen in Fig 07 & 08) that was used to create the form work (mold) which will be filled with soil and compacted to create the rammed earth walls.

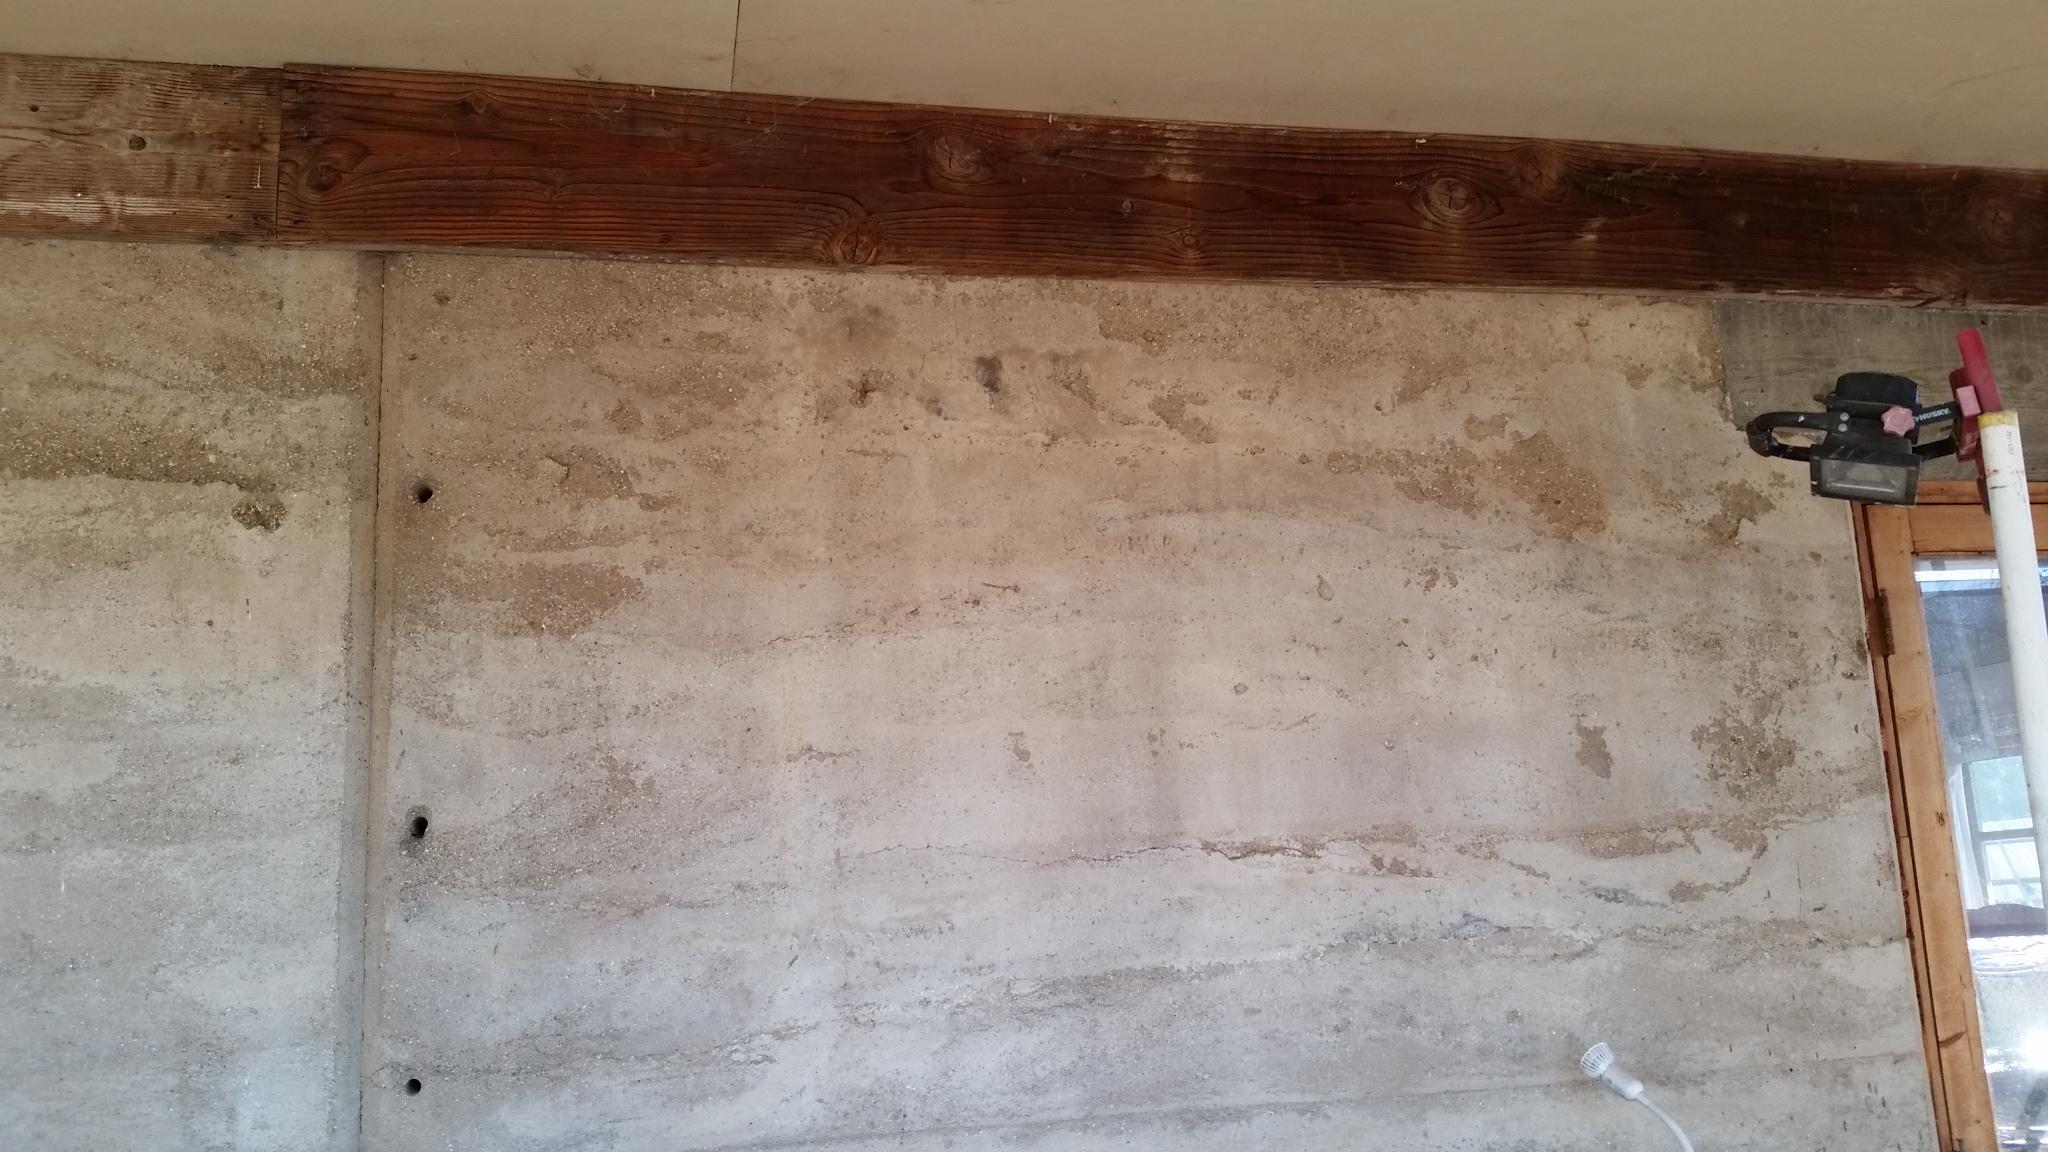
Fig 08 shows the completed footing with the rammed earth wall on top. You can see the “lip” used to hold the plywood form work in the closeup.

Notice that the color of the rammed earth wall is almost identical in color to the concrete footing below it. According to Gerald, the color of your rammed earth walls will depend on the color of the soil you use to build your rammed earth house.
Since the soil on Gerald’s property has nearly the same color as concrete, his walls ended up nearly the same color as concrete as well after it was done.
Gerald stated that experienced rammed earth builders and architects will often use “colored pigments” to give beautiful colors to their rammed earth walls.
The only noticeable difference is that the concrete footing appears to be smoother while the rammed earth wall appears to be rougher and a little more textured.
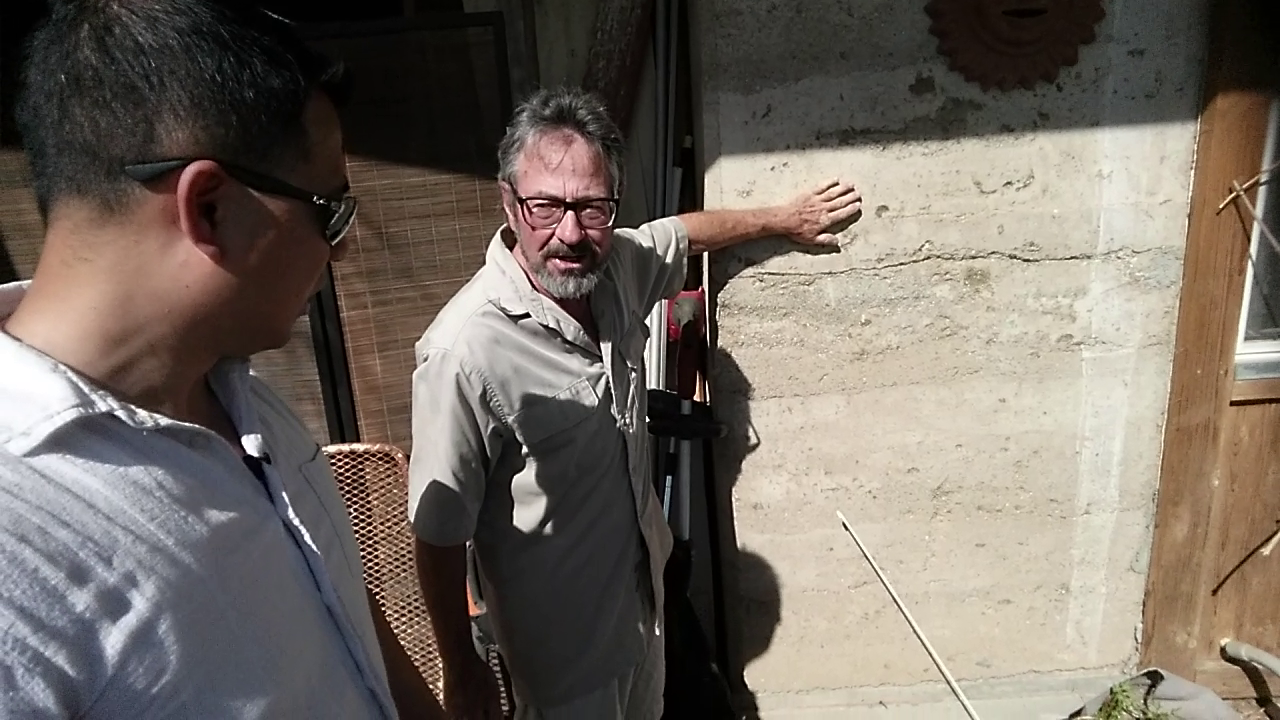
What really surprised me was how tough and durable the rammed earth wall has been after 25 years!
Part 2 – Rammed Earth
Home Construction:
Frequently Asked Questions
(FAQ)
When I was researching how to build a rammed earth home, I had a bunch of questions about the insulating factors, water resistance, and strength of the rammed earth walls.
In video 2 of 5, I ask Gerald a ton of questions about the strength and integrity of the rammed earth walls.
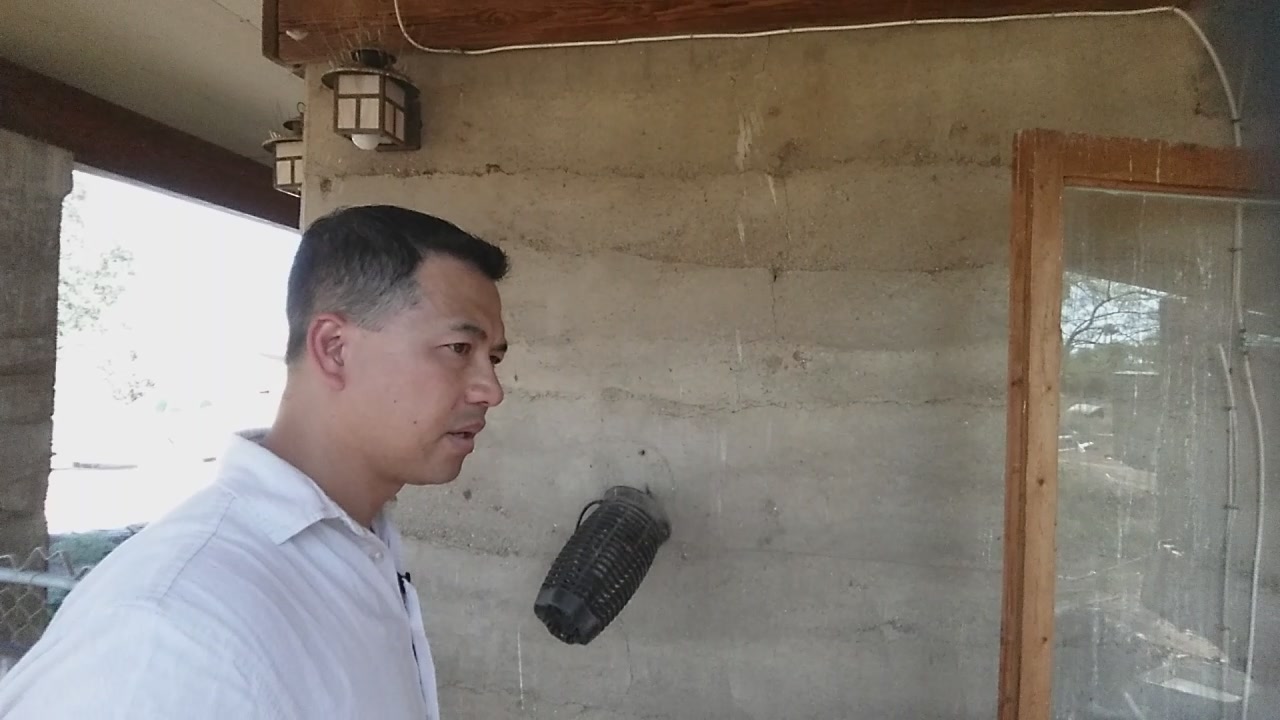
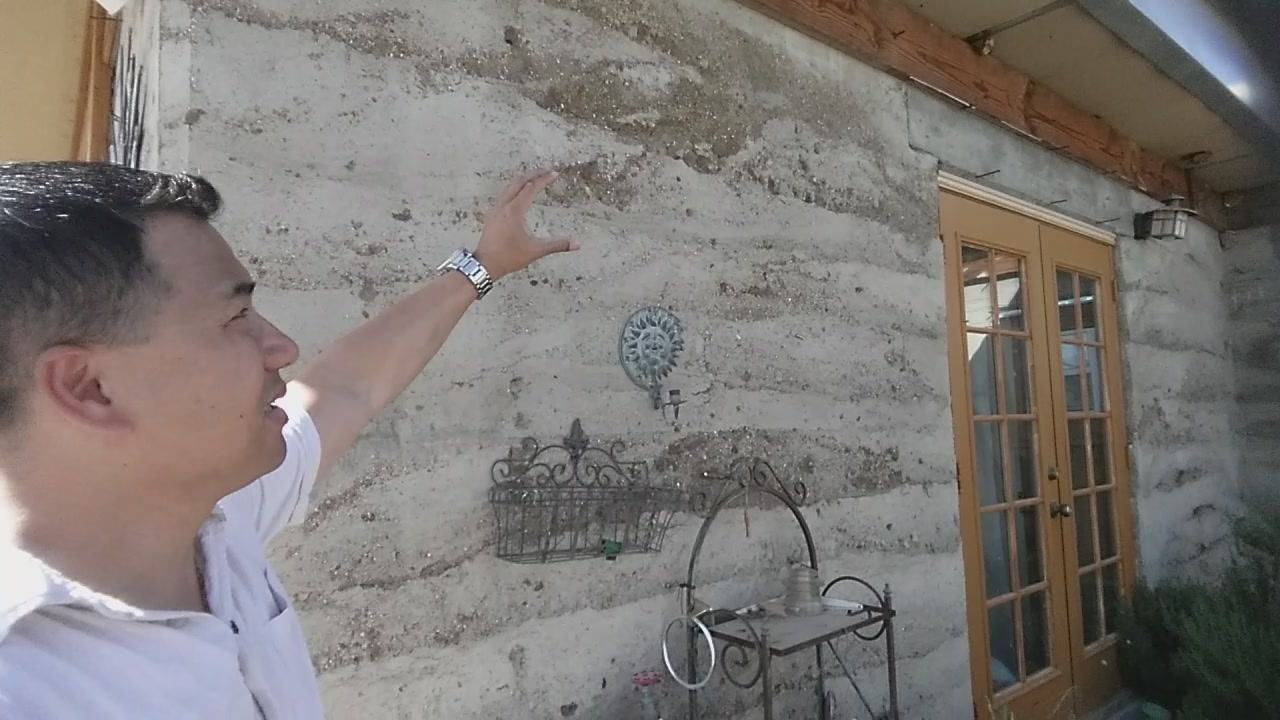
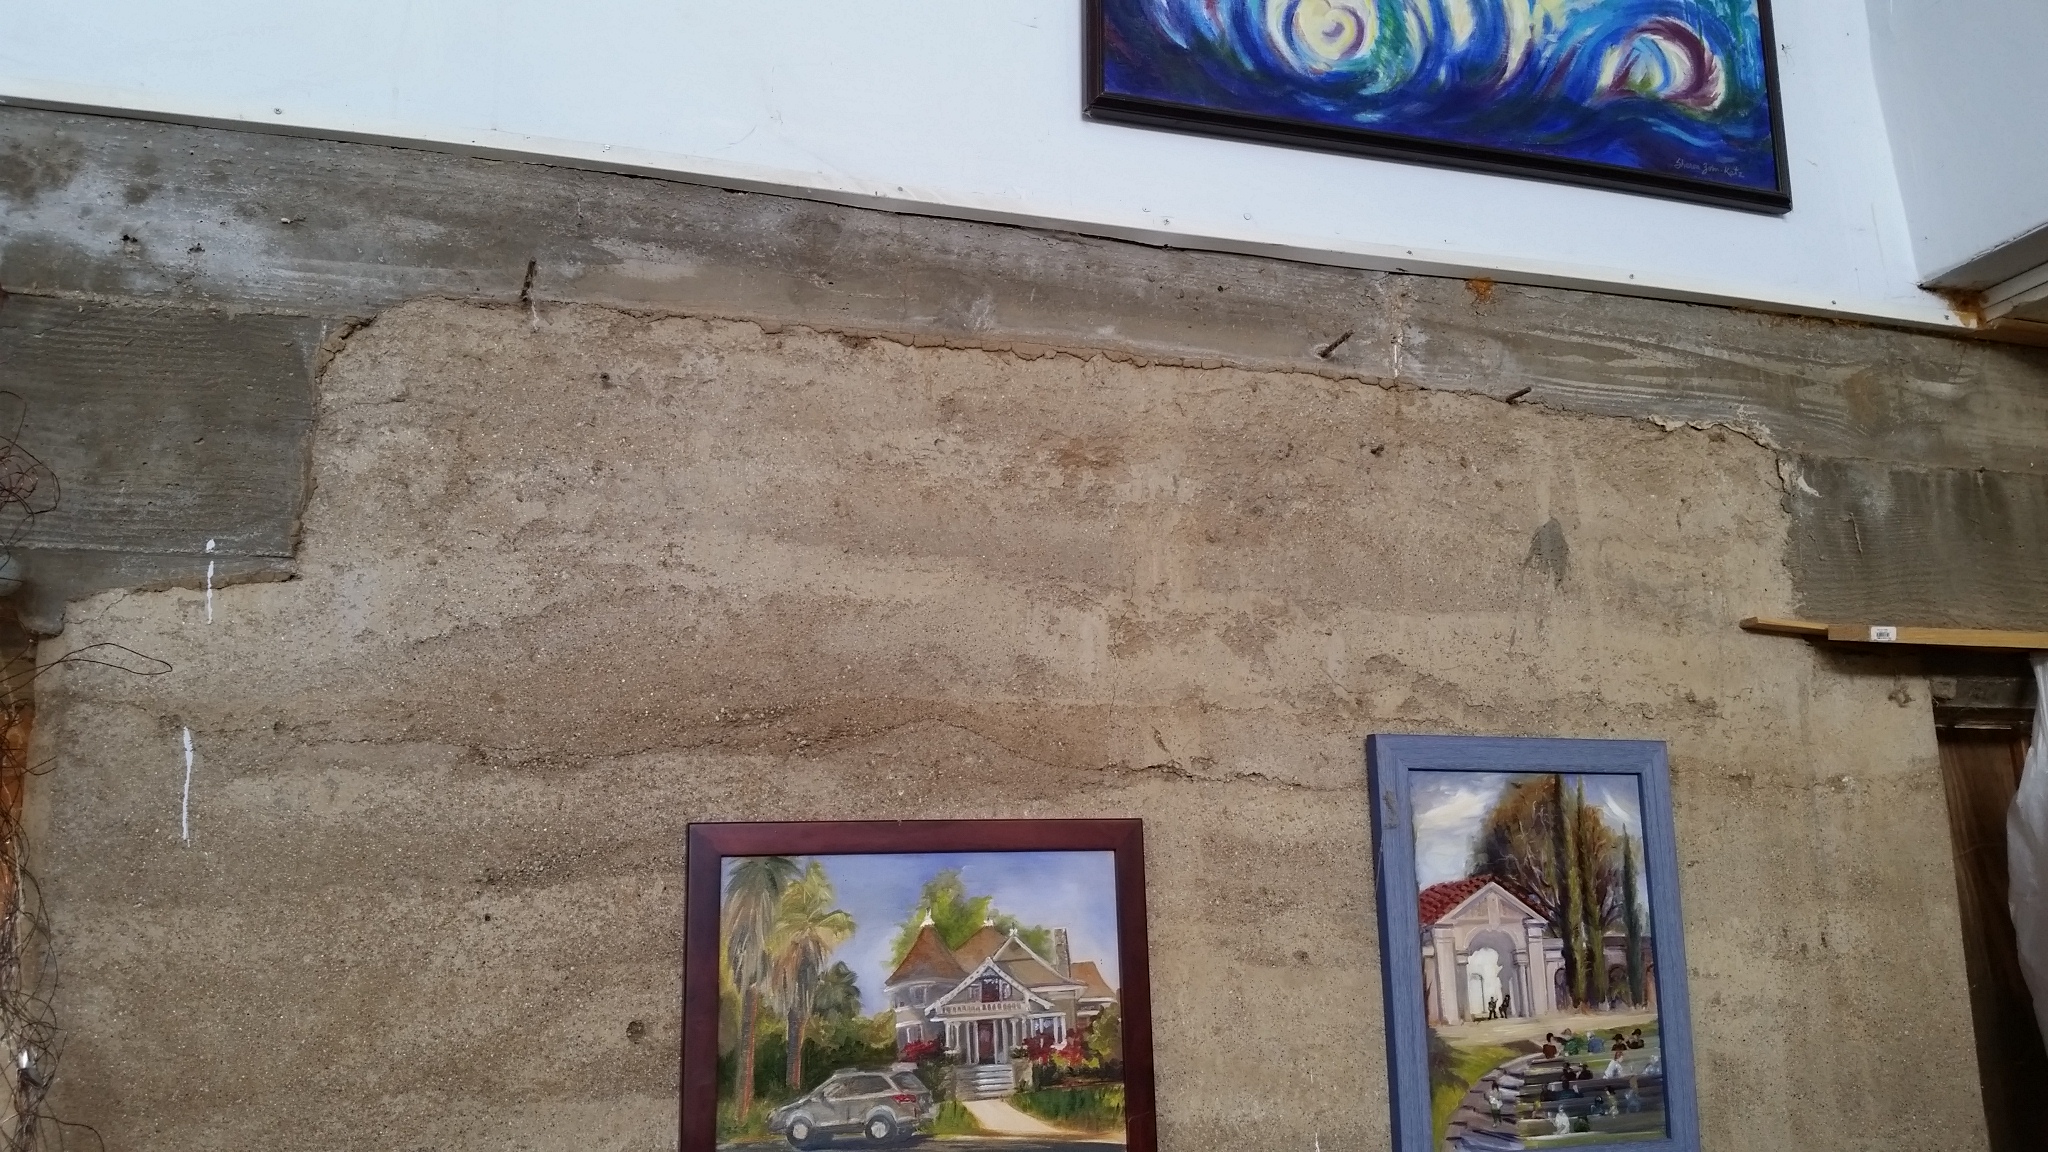
Here are some photos which illustrate the layered beauty of rammed earth walls:

Part 3 – Rammed Earth
Home Construction:
Formwork, Soil Selection,
Mixing & Tamping
In video 3 of 5, Gerald will explain how he created the formwork for the walls as well as the process of selecting, mixing and tamping (compacting) the soil to create a rammed earth wall.
Here are some photos provided by Gerald documenting the rammed earth construction process. I’m not sure what camera Gerald used to take the photos 25 years ago but the resolution is not very high.
This is a bummer because I’m curious to compare the rammed earth walls and see how they look “before”d and “after 25 yrs”.
The newer slightly higher resolution photos were taken by me on my Samsung Galaxy S5 smartphone.
Southern California is a major earthquake zone in America so all homes have to be meet certain earthquake safety standards before the state will give you a permit to build a house on your land.
Most residential buildings require a compressive strength of 2,500 psi (pounds per square inch) or better while commercial buildings require a compressive strength of 4,000 psi or better.
This basically means that every square inch of concrete can hold 2,500 pounds or 4,000 pounds respectively.
Here is a video which illustrates the compressive strength of concrete:
Rammed earth walls are very strong but they are not as strong as concrete.
Rammed earth walls have a compressive strength of up to 620 psi according to Wikipedia. This video shows the a non-reinforced rammed earth wall being tested and fails at 232 psi:
The following is an excerpt of the rammed earth building codes for the state of New Mexico requires that rammed earth walls have a minimum of 300 psi:
(b) Soil Compressive Strength: Prior to the start of construction, the rammed earth soil shall be tested at an approved testing laboratory for compressive strength. Sample tested shall be representative of soil to be used for construction. The compressive strength report shall be submitted with the permit application. Ultimate compressive strength of all rammed earth soil shall be a minimum of 300 p.s.i. Laboratory testing shall indicate rammed earth samples attained a minimum of 200 p.s.i. after 7 days. Rammed earth soil samples shall be rammed and fully cured prior to submission for testing at an approved testing laboratory.
Although rammed earth walls have very good compressive strength and can hold a lot of weight, they do NOT have very good “tensile” strength. Tensile strength just simply means the ability to resist “being stretched”.
So if there is an earthquake and the rammed earth walls sway back and forth, the walls will bend slightly and begin to “stretch” on either side as the walls bend. This will cause the walls to crack and lose strength.
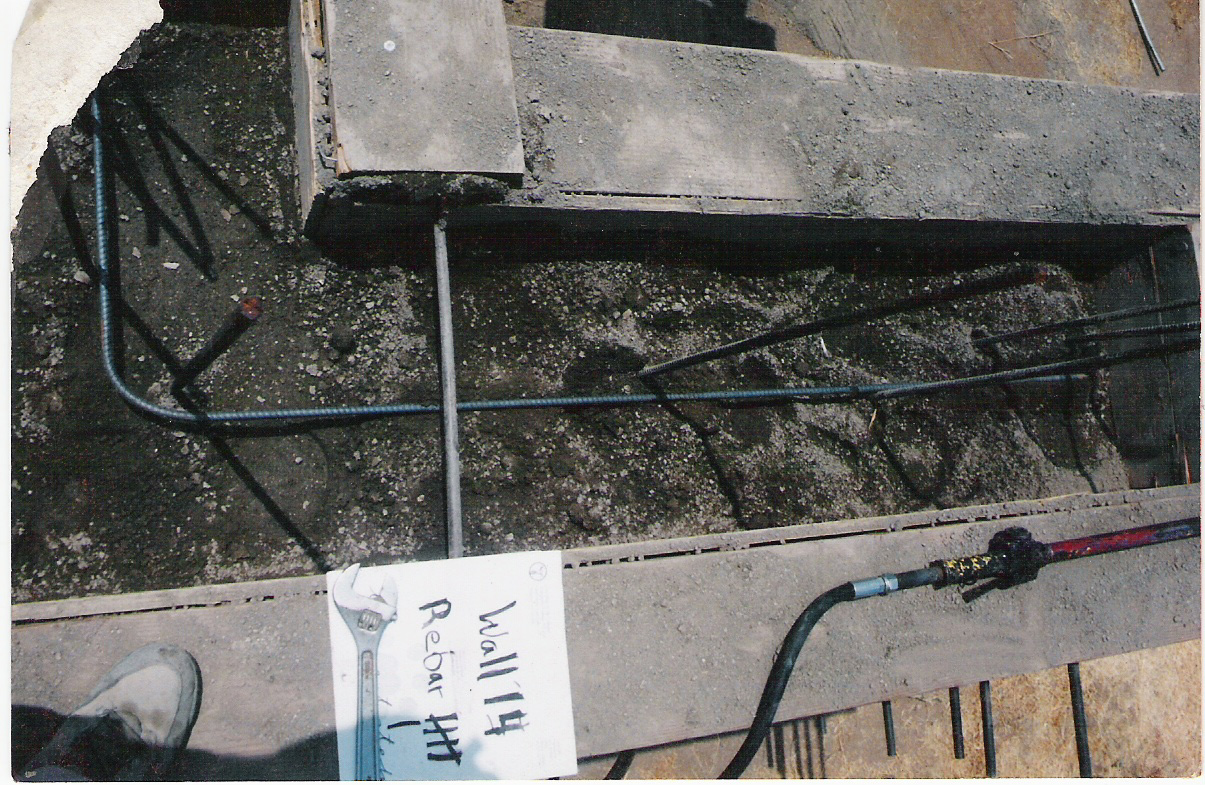
In order to meet California’s earthquake building codes, Gerald placed steel reinforcement bars (aka “rebar”) inside the rammed earth walls to increase it’s tensile strength as seen in Fig 10.

In Fig 11, you can clearly see electrical outlets put in place before the soil was compacted. After the tamping and compaction is done, the electrical conduits basically become part of the rammed earth walls.

I can not imagine an art project more rewarding than building your own house!
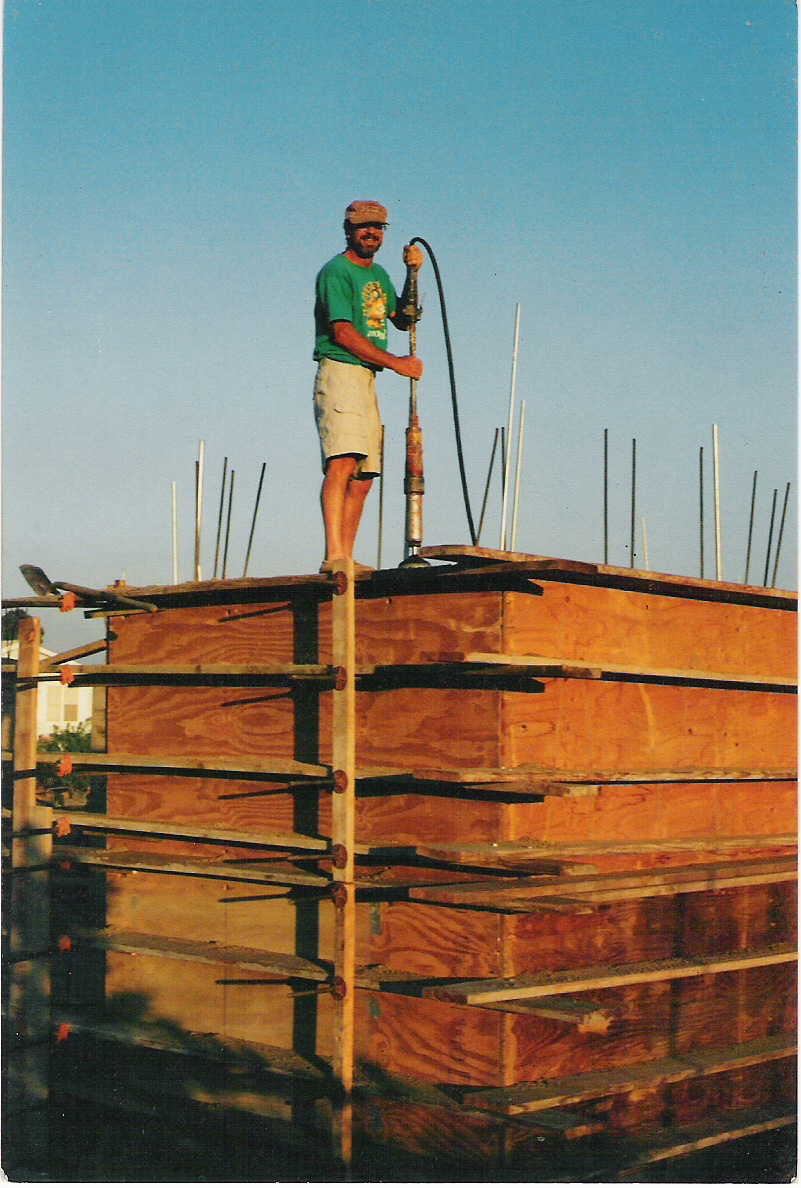
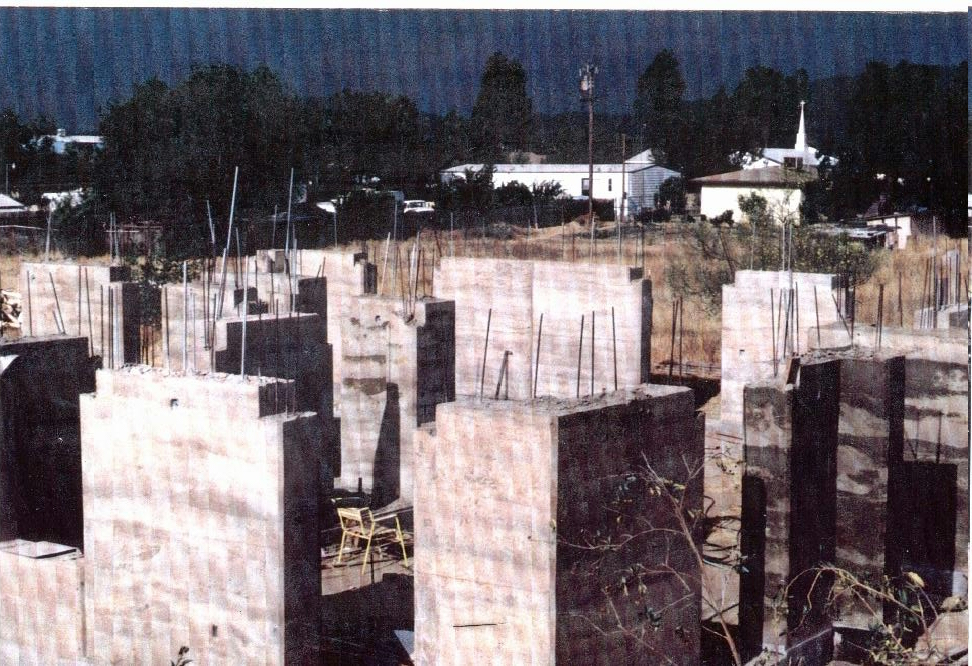
Fig 14 shows the completed rammed earth walls before the roof structures, windows and doors were added. The rainbow adds a nice touch to the overall scene! 🙂

Here is a closer view of the completed rammed earth wall. The worn-out dark spot in the center of the new wall was caused by soil that was not uniformly mixed with cement. Therefore the area was not thoroughly bound together by cement and came apart when the form work was removed.
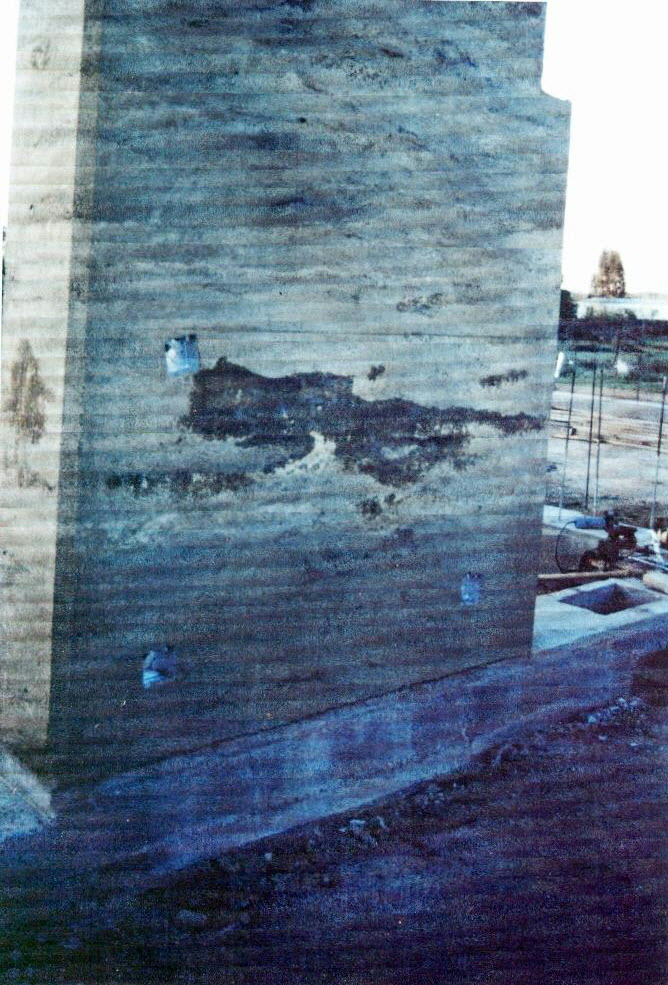
However, the missing soil from the surface of the wall does not cause the wall to be weaker. It may make it unaesthetic to some people but does not affect the strength of the wall itself.
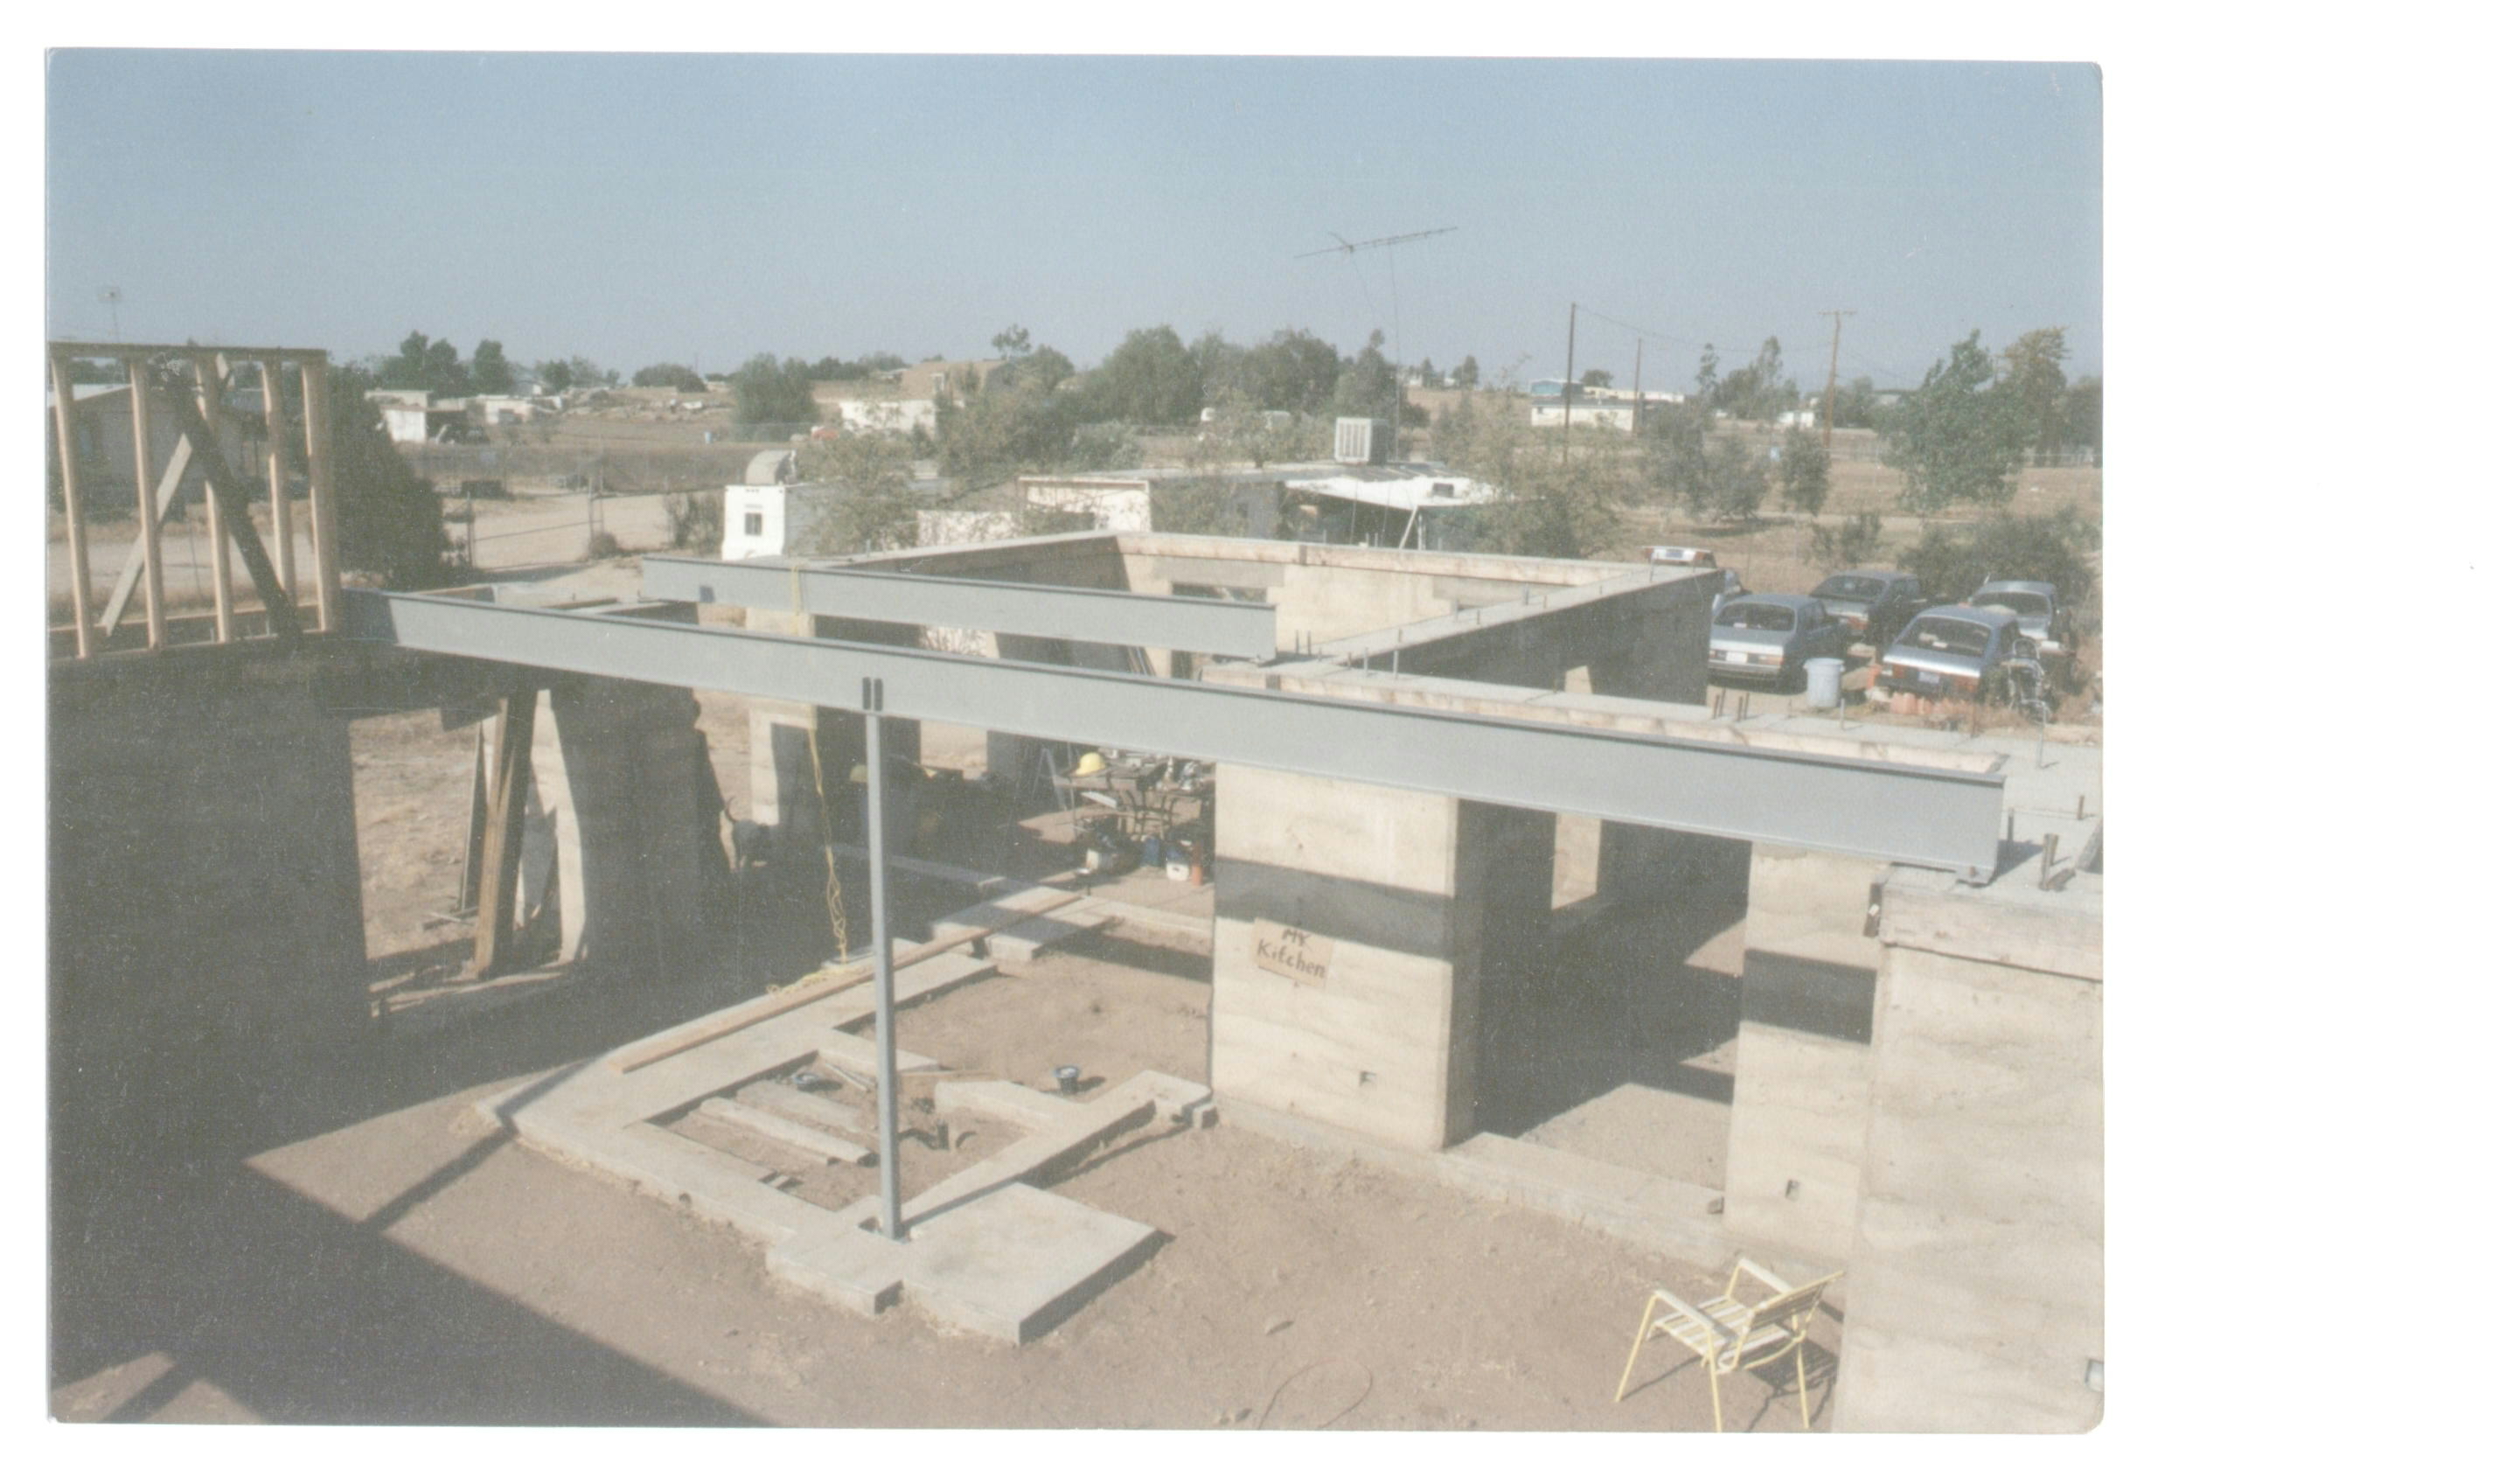
Once the walls are done, a form work (mold) is set up around the top of the walls so they can be filled with concrete as seen in Fig 17.
The concrete on top of the rammed earth wall is called a “bond beam” and prevents water from hitting the top of the rammed earth wall and acts as the support for the roof structure.
I was not able to find a lot of information about bond beams on the internet but here are some building codes provided by the state of New Mexico that may serve as a guideline if you are doing research on building your own rammed earth home:
(12) Bond Beams.
(a) General: The bond beam shall be secured to the rammed earth wall. Refer to Sections 11(h) and 11(i). Bond beams may be of wood or concrete construction. Bond beams shall measure 6 inches nominal depth and extend the full width of the wall. Exception: the bond beam width may be reduced as follows: 2 inches maximum in an 18 to 24 inch thick rammed earth wall; 3 inches maximum in a rammed earth wall 24 inches or greater in thickness. Bond beams must be continuous, running the full perimeter of the structure. Interior rammed earth or adobe walls shall be incorporated into the bond beam pour. Varying height bond beams shall extend into the adjoining rammed earth wall one half the thickness of the adjoining rammed earth wall. The concrete bond beam may secure anchoring and strapping devices. (b) Wood bond beam construction: In addition to the general requirements above, wood bond beams shall be constructed as approved by the Building Official. Light Wood Bond Beam construction maybe utilized as detailed in Appendix Figure 10. (c) Concrete bond beam construction: In addition to the general requirements above, concrete bond beams shall be constructed of minimum 2500 p.s.i. concrete and shall contain steel reinforcement as follows: For 18 to 24 inch thick rammed earth wall construction, a minimum of two continuous #4 steel reinforcing bars shall be used. For walls equal to or greater than 24 inches in thickness, a minimum of two continuous #5 steel reinforcement shall be used. Provide 2-inch minimum reinforcement concrete cover over all horizontal steel reinforcement. Concrete bond beams may be used to secure anchoring and strapping devices.
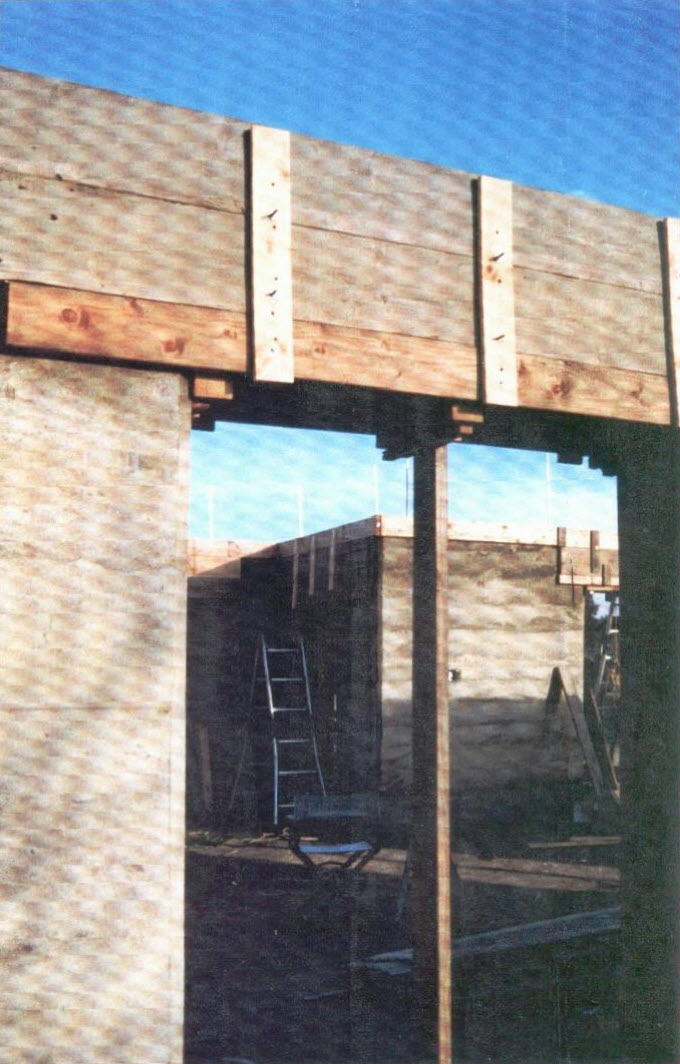
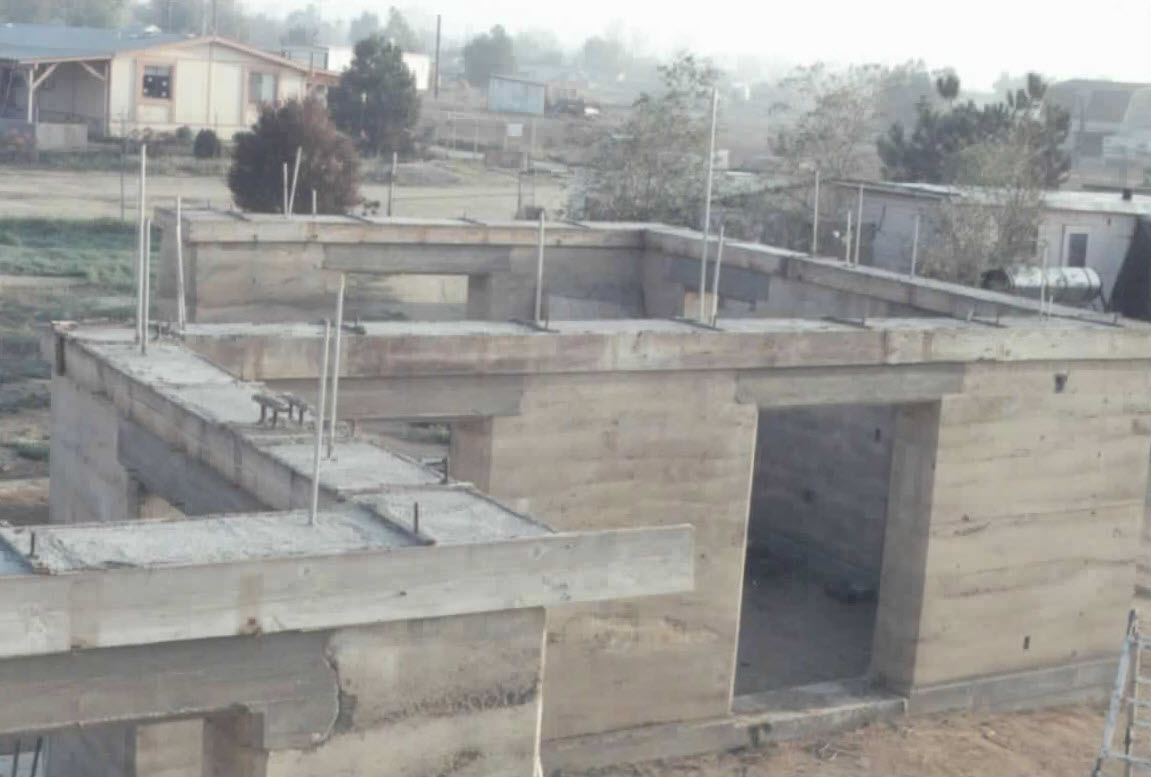
Fig 20, 21, & 22 show the completed bond beam 25 years later.


Part 4 – Rammed Earth
Home Construction:
Roof Construction
The roof construction cost more than Gerald initially planned because he wanted an extra strong roof that spanned a very large area of his 1,800 square foot house without a lot of support beams underneath.
According to Gerald, he would pay for a building permit to the county and then not finish building the house/roof on time due to time issues and personal finance so the building permit would expire and he had to renew it several times which added extra costs to his rammed earth house.
In video 4 of 5, Gerald explains his thought process behind the roof construction and why he was willing to pay a little extra to have a quality roof over his head.
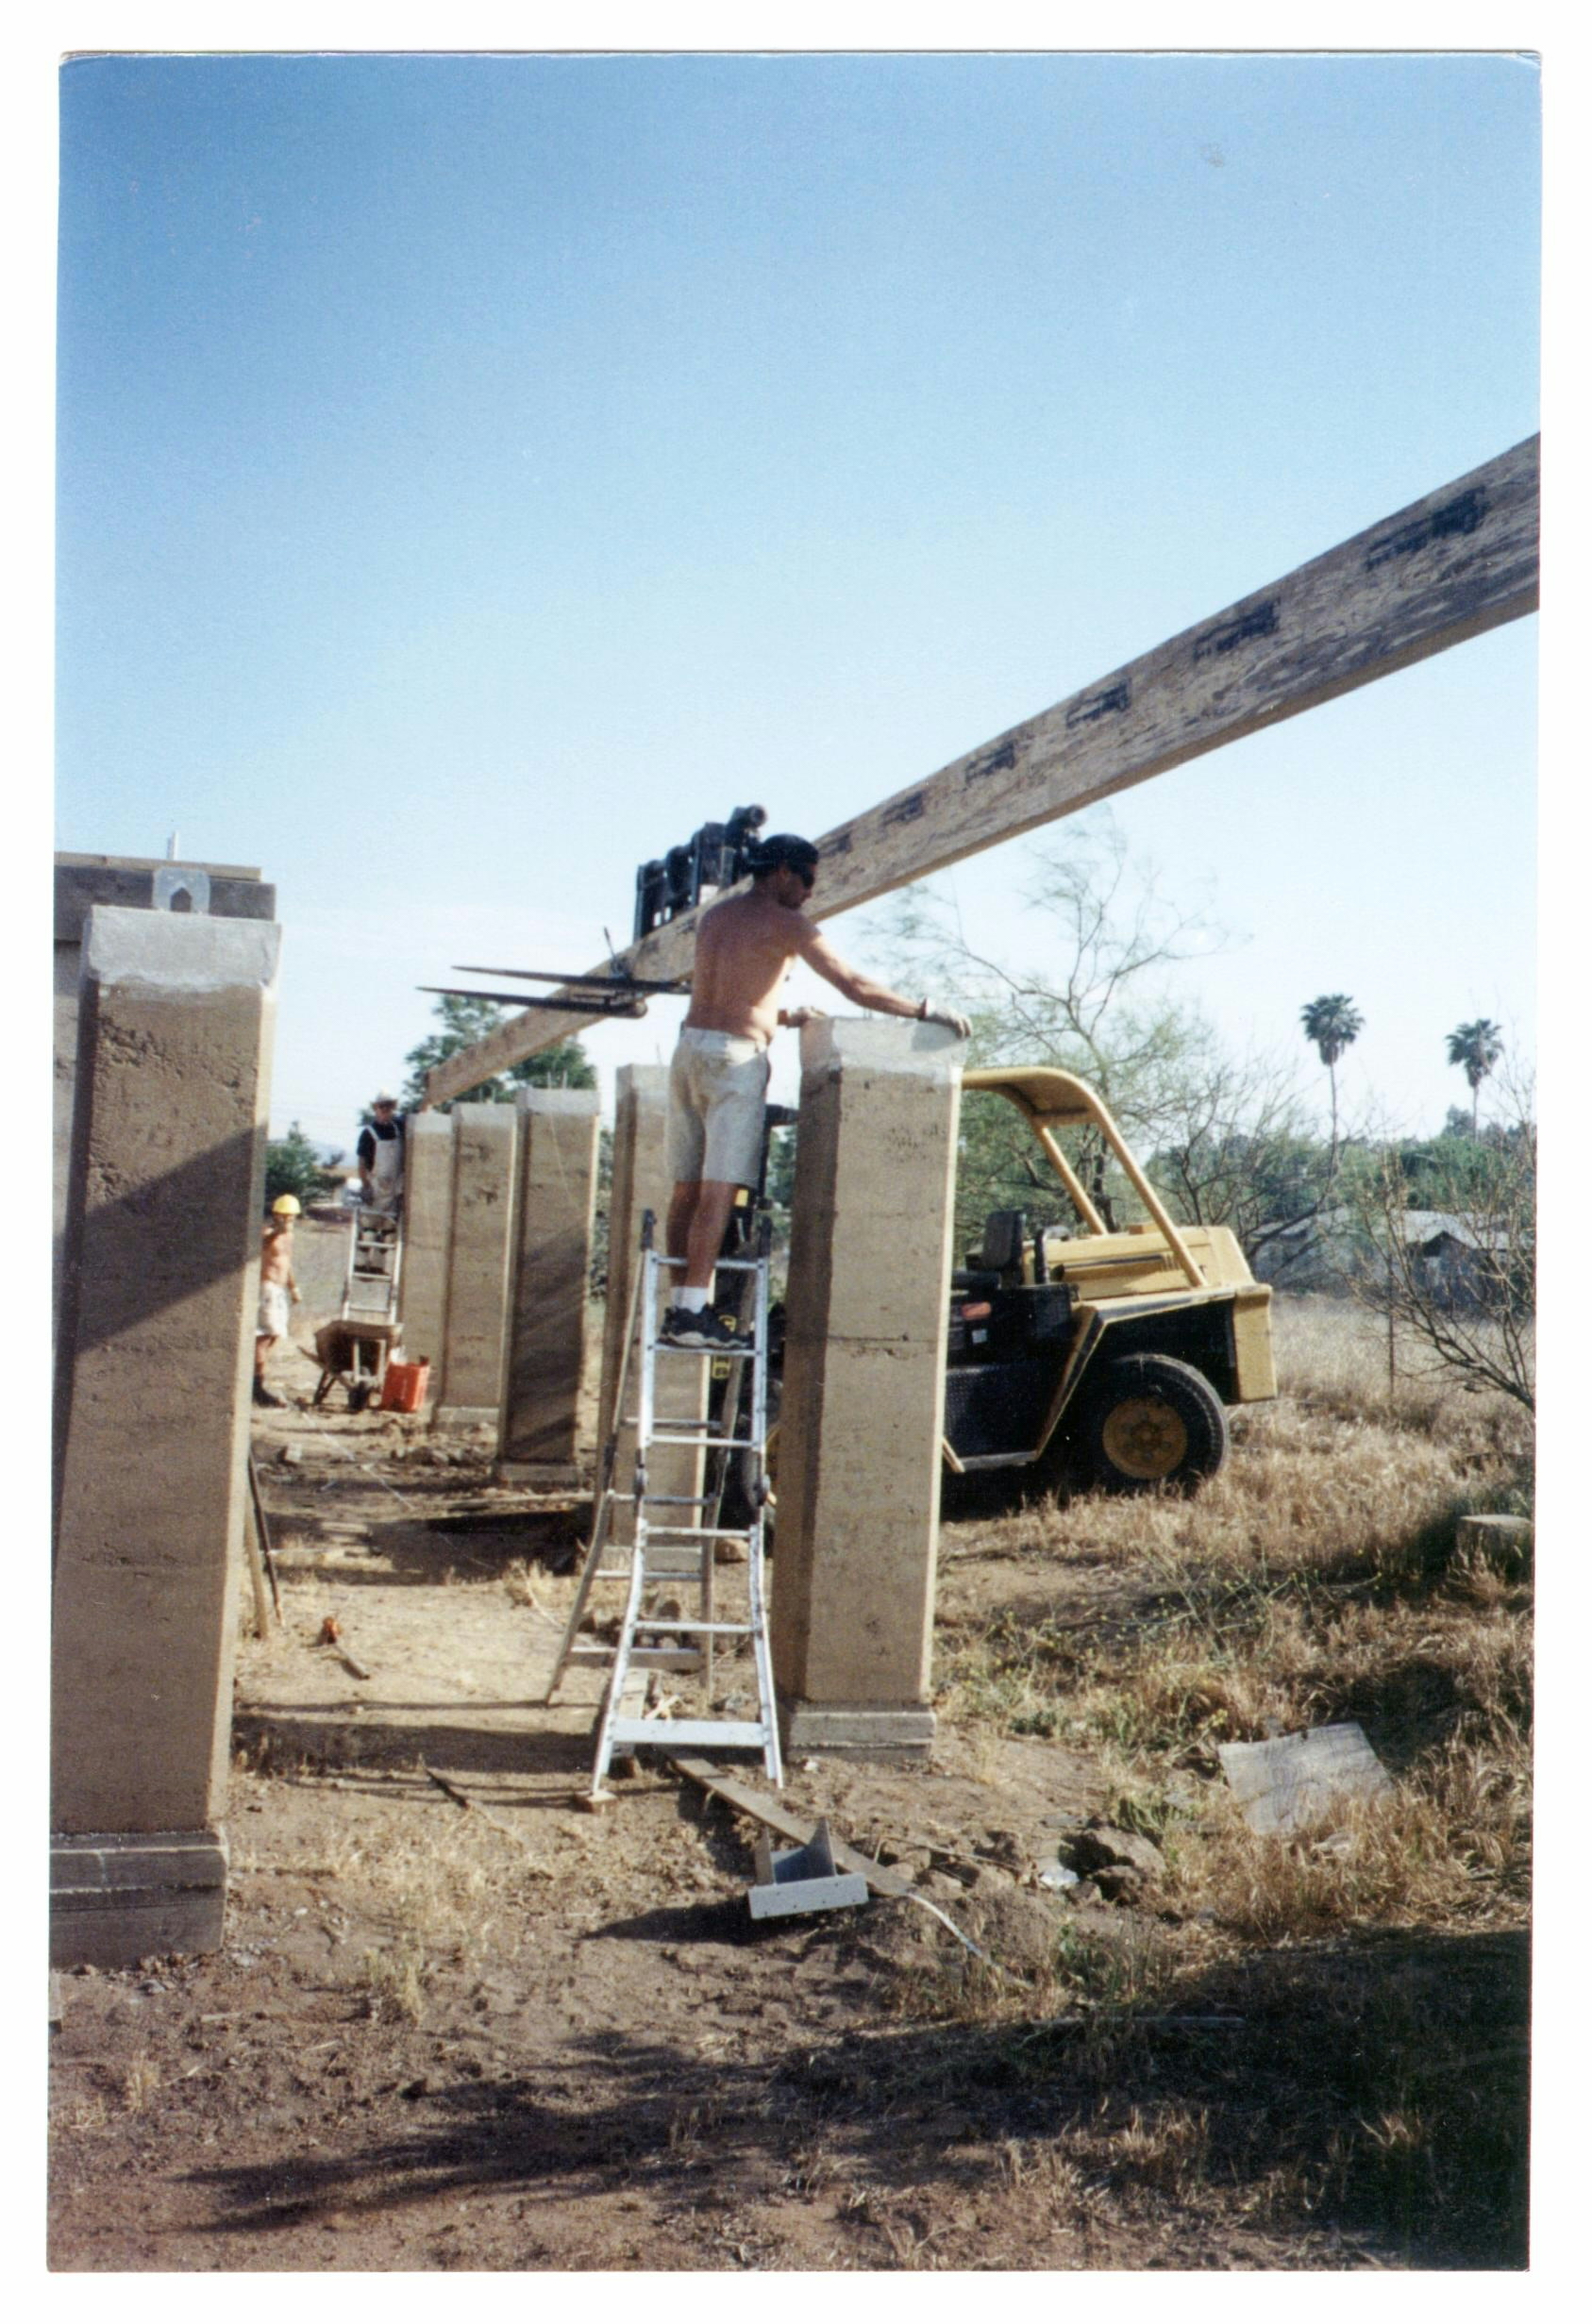
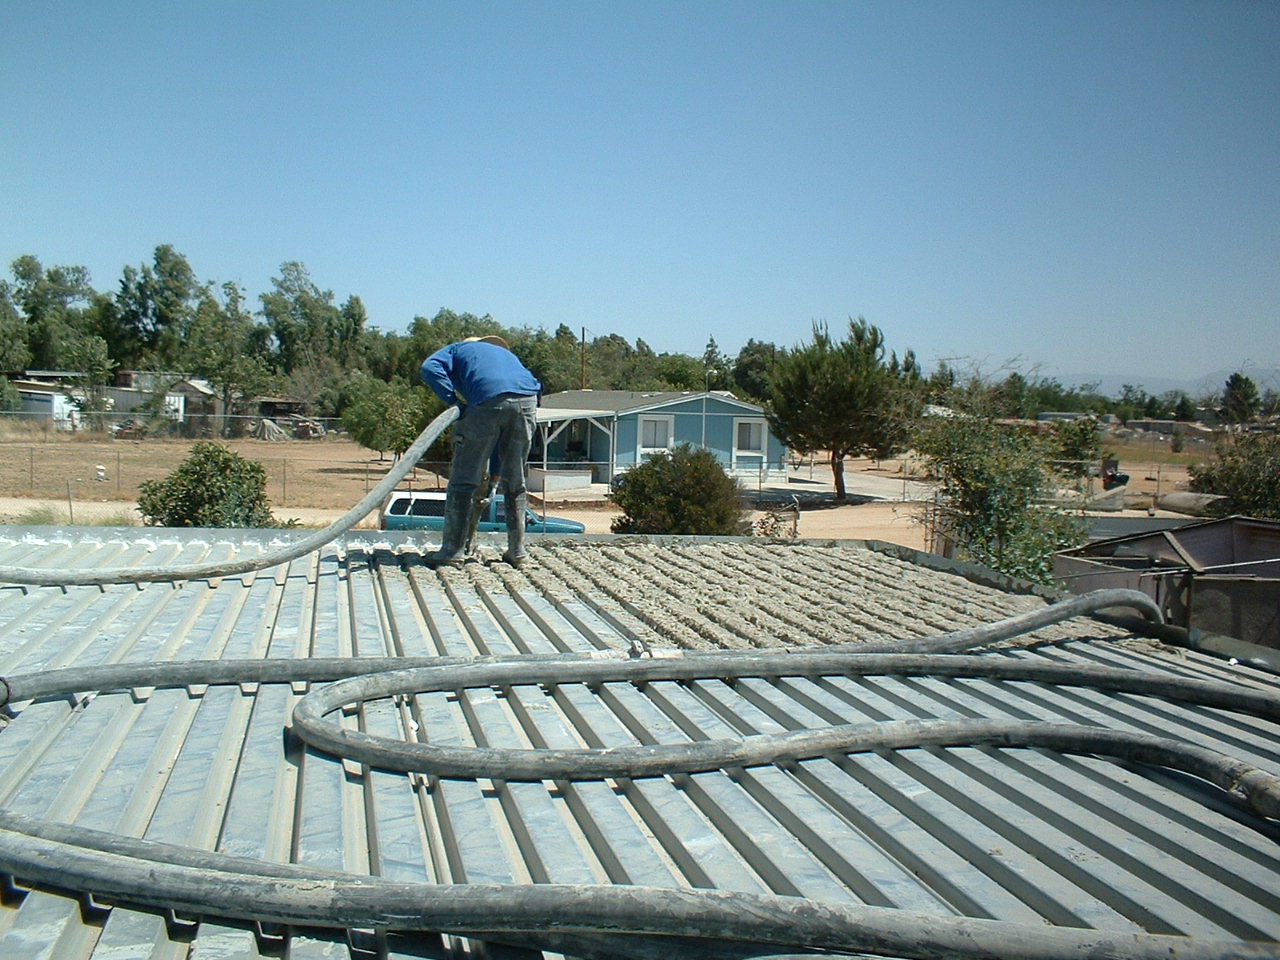
Here are some construction photos taken during the roof construction process:
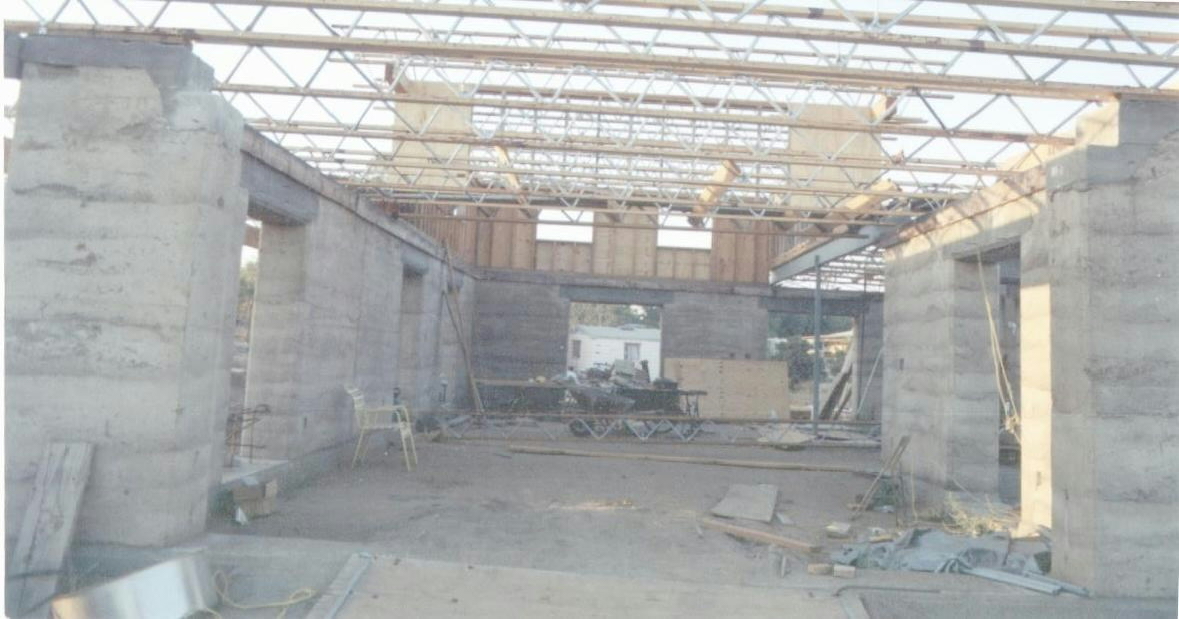


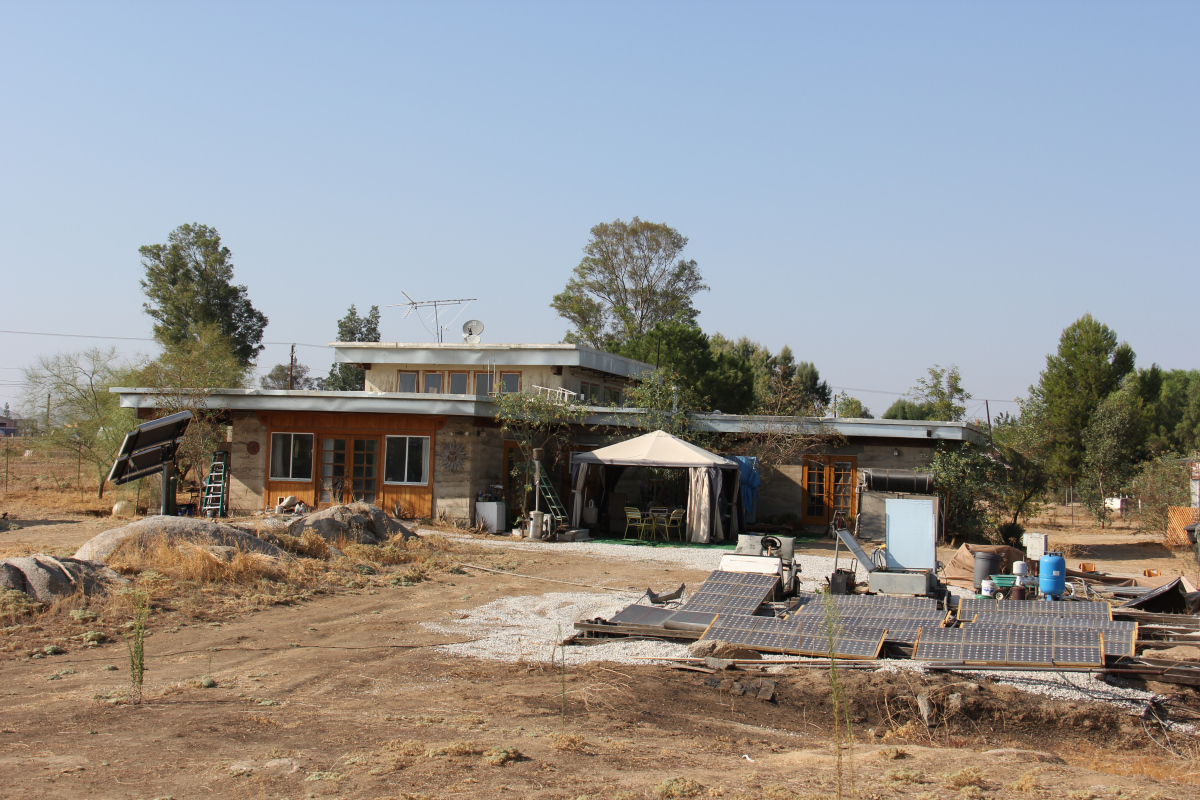
The raised roof provides extra light into the living area and gives the living room a sense of “grandeur” because it has a much higher ceiling than the rest of the house.


Part 5 – Rammed Earth
Home Construction:
Off Grid Solar Power
& Water Wells
In video 5 of 5, Gerald talks about how he set up his ground mounted solar power system so he can live off the grid and not be dependent on the city’s electricity.
Being on the grid means your house is connected to the city’s utility lines and dependent on them for electricity and water.
Being off the grid means you produce your own electricity and water on your own land so you do not pay the city or anyone for your power and water.
As of 2015, the initial start up cost to have your own solar power system takes over 5 years before you recoup your initial expenses. This includes state and government incentives.
You can find out more about the solar rebates and incentives available in your state at the Database of State Incentives for Renewables & Efficiencies.
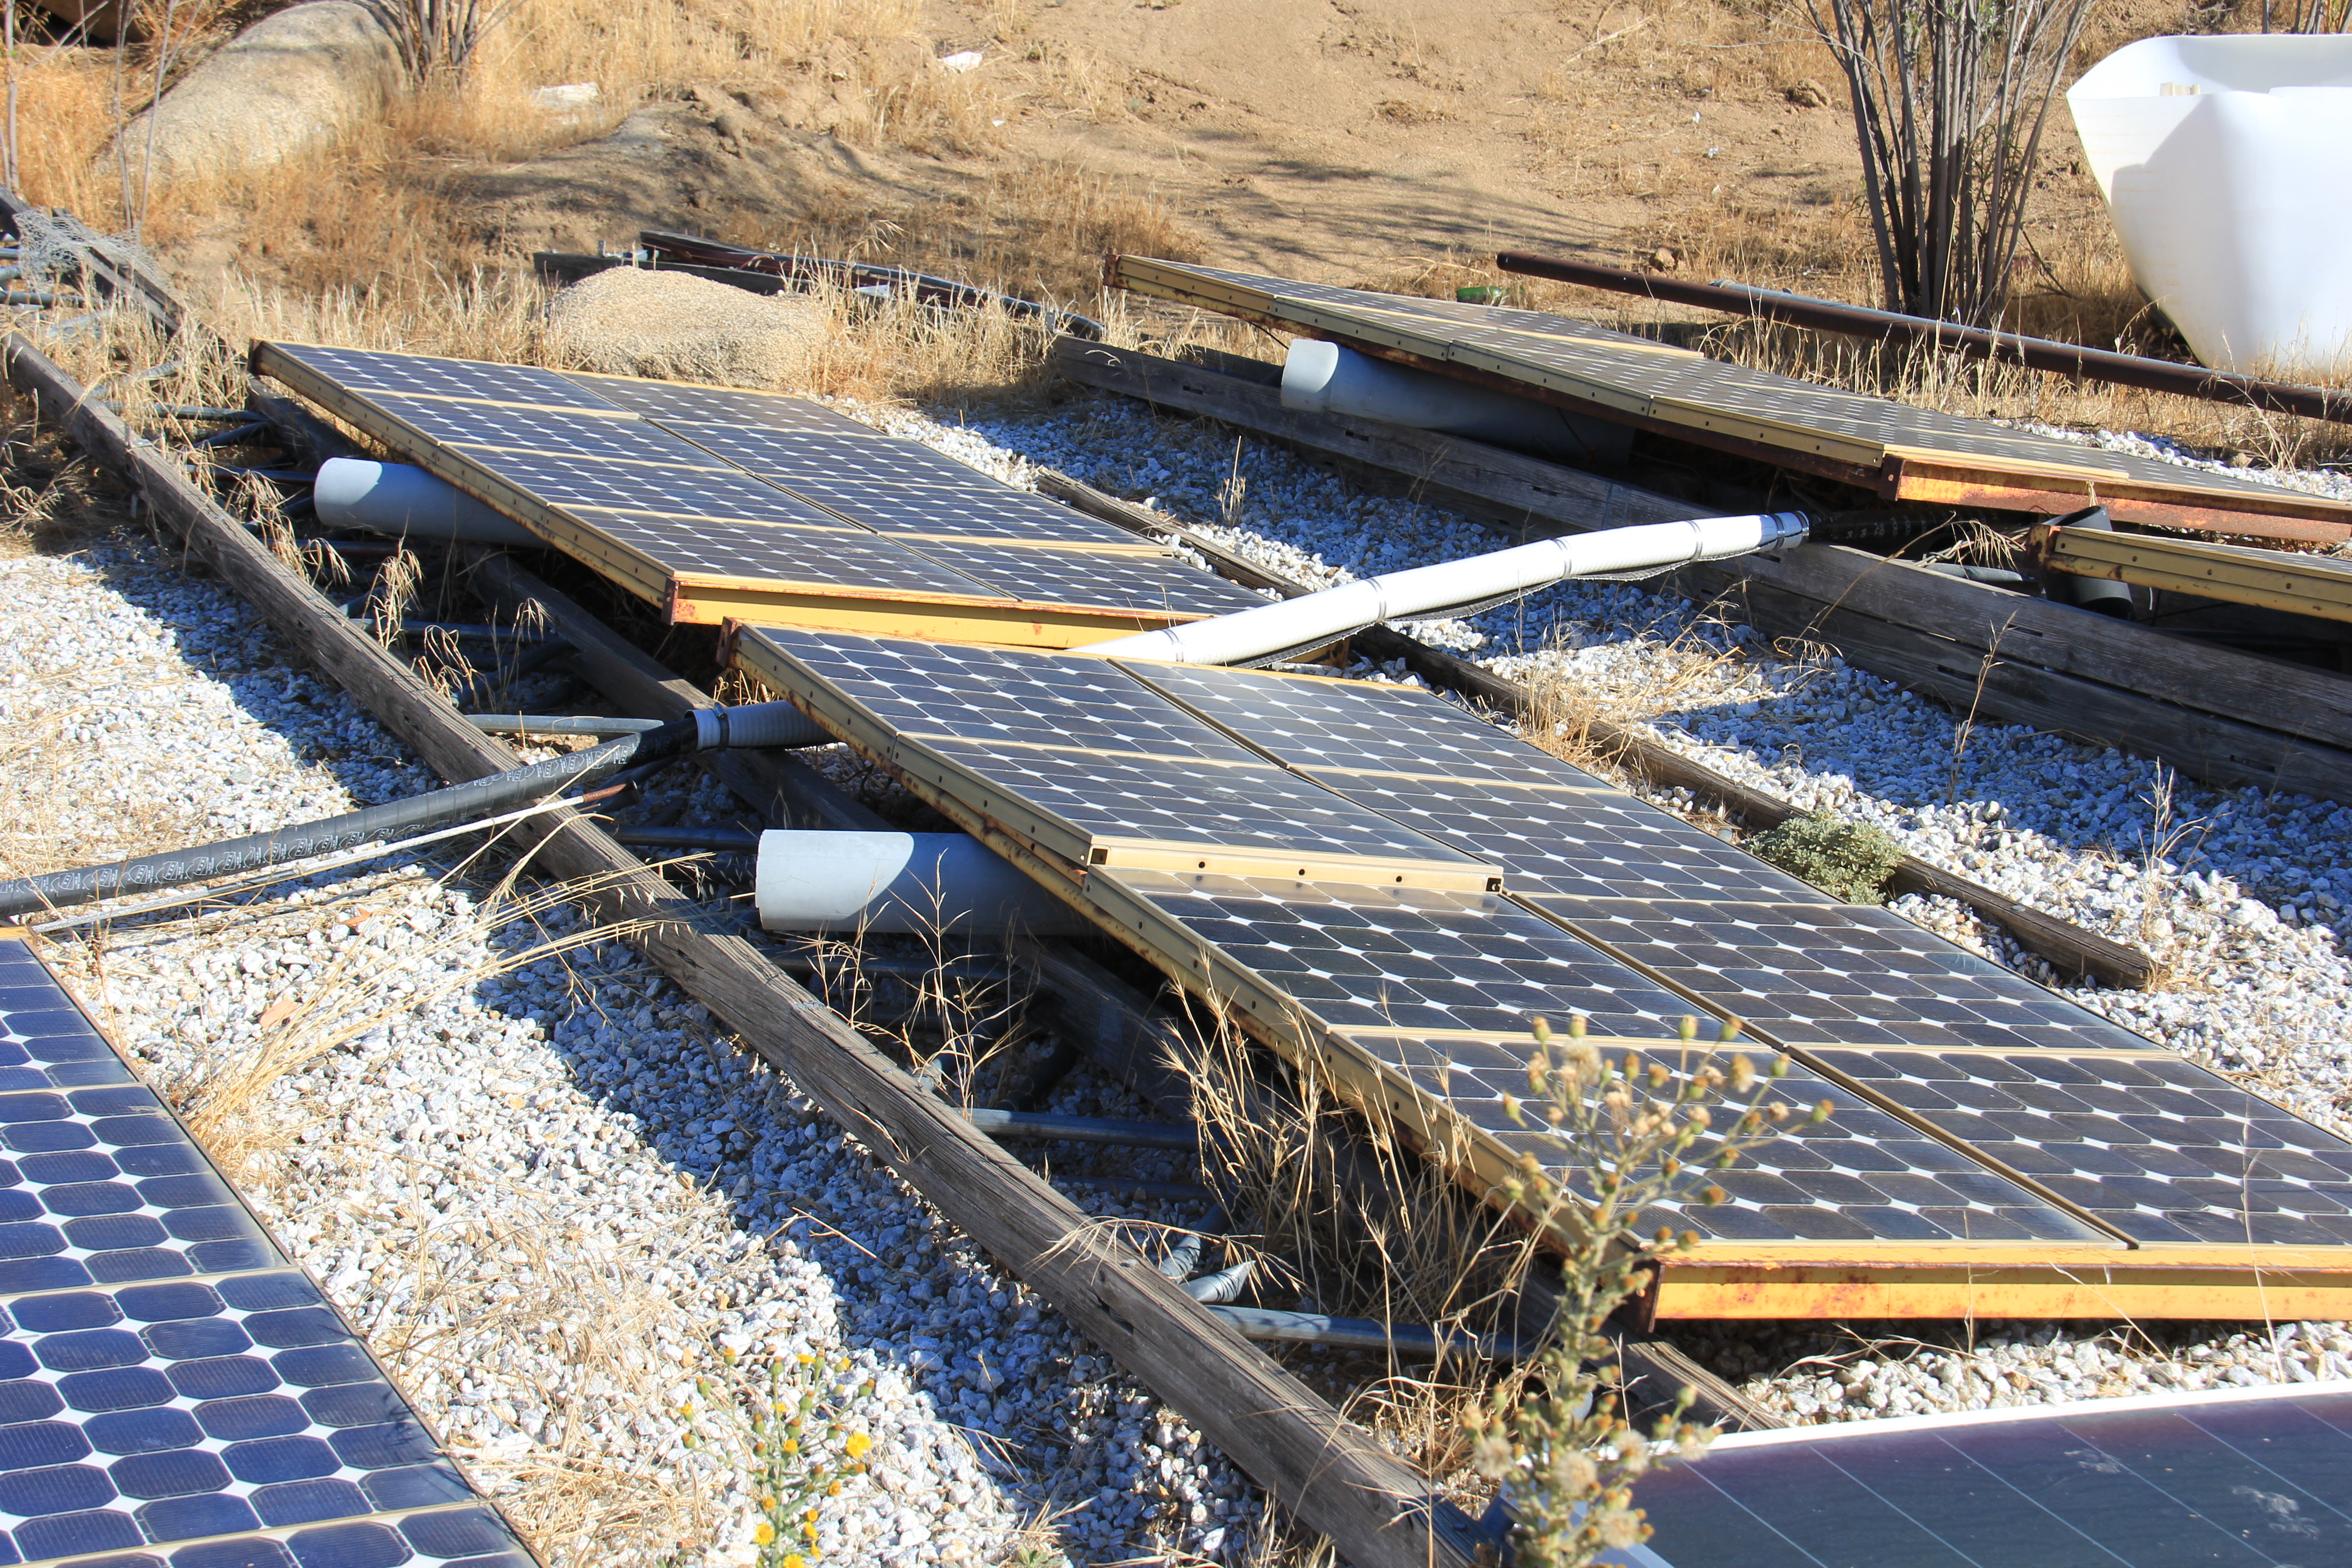
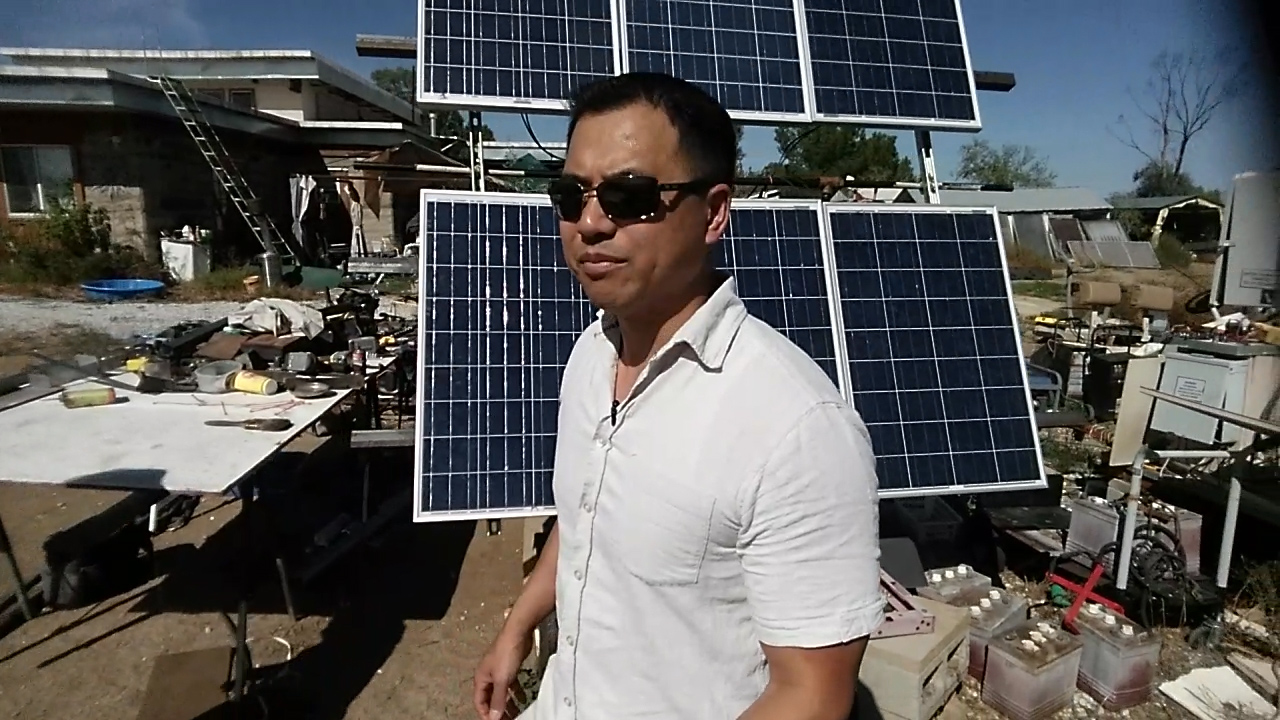
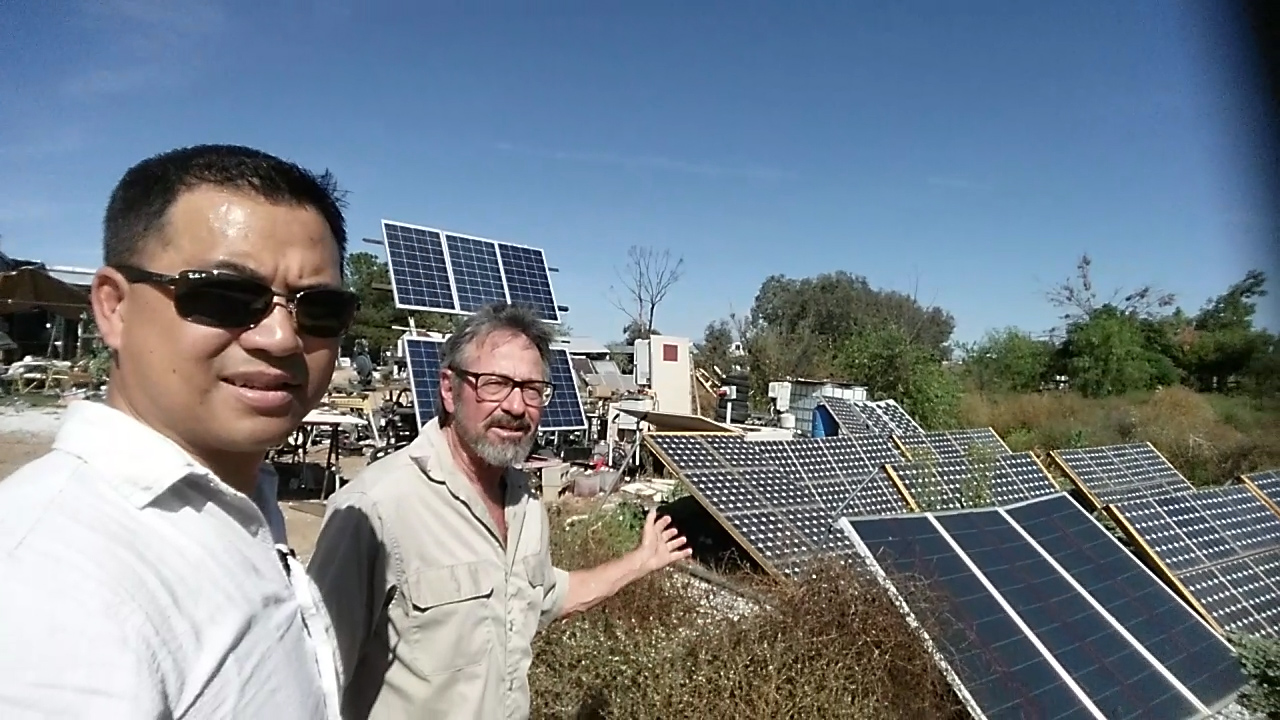
Here are some photos of Gerald’s ground and pole mounted solar system. Gerald originally started with the yellow framed panels when he first built the house and added other panels over the years as his solar needs expanded. This is why he has so many different solar panel brands and sizes.
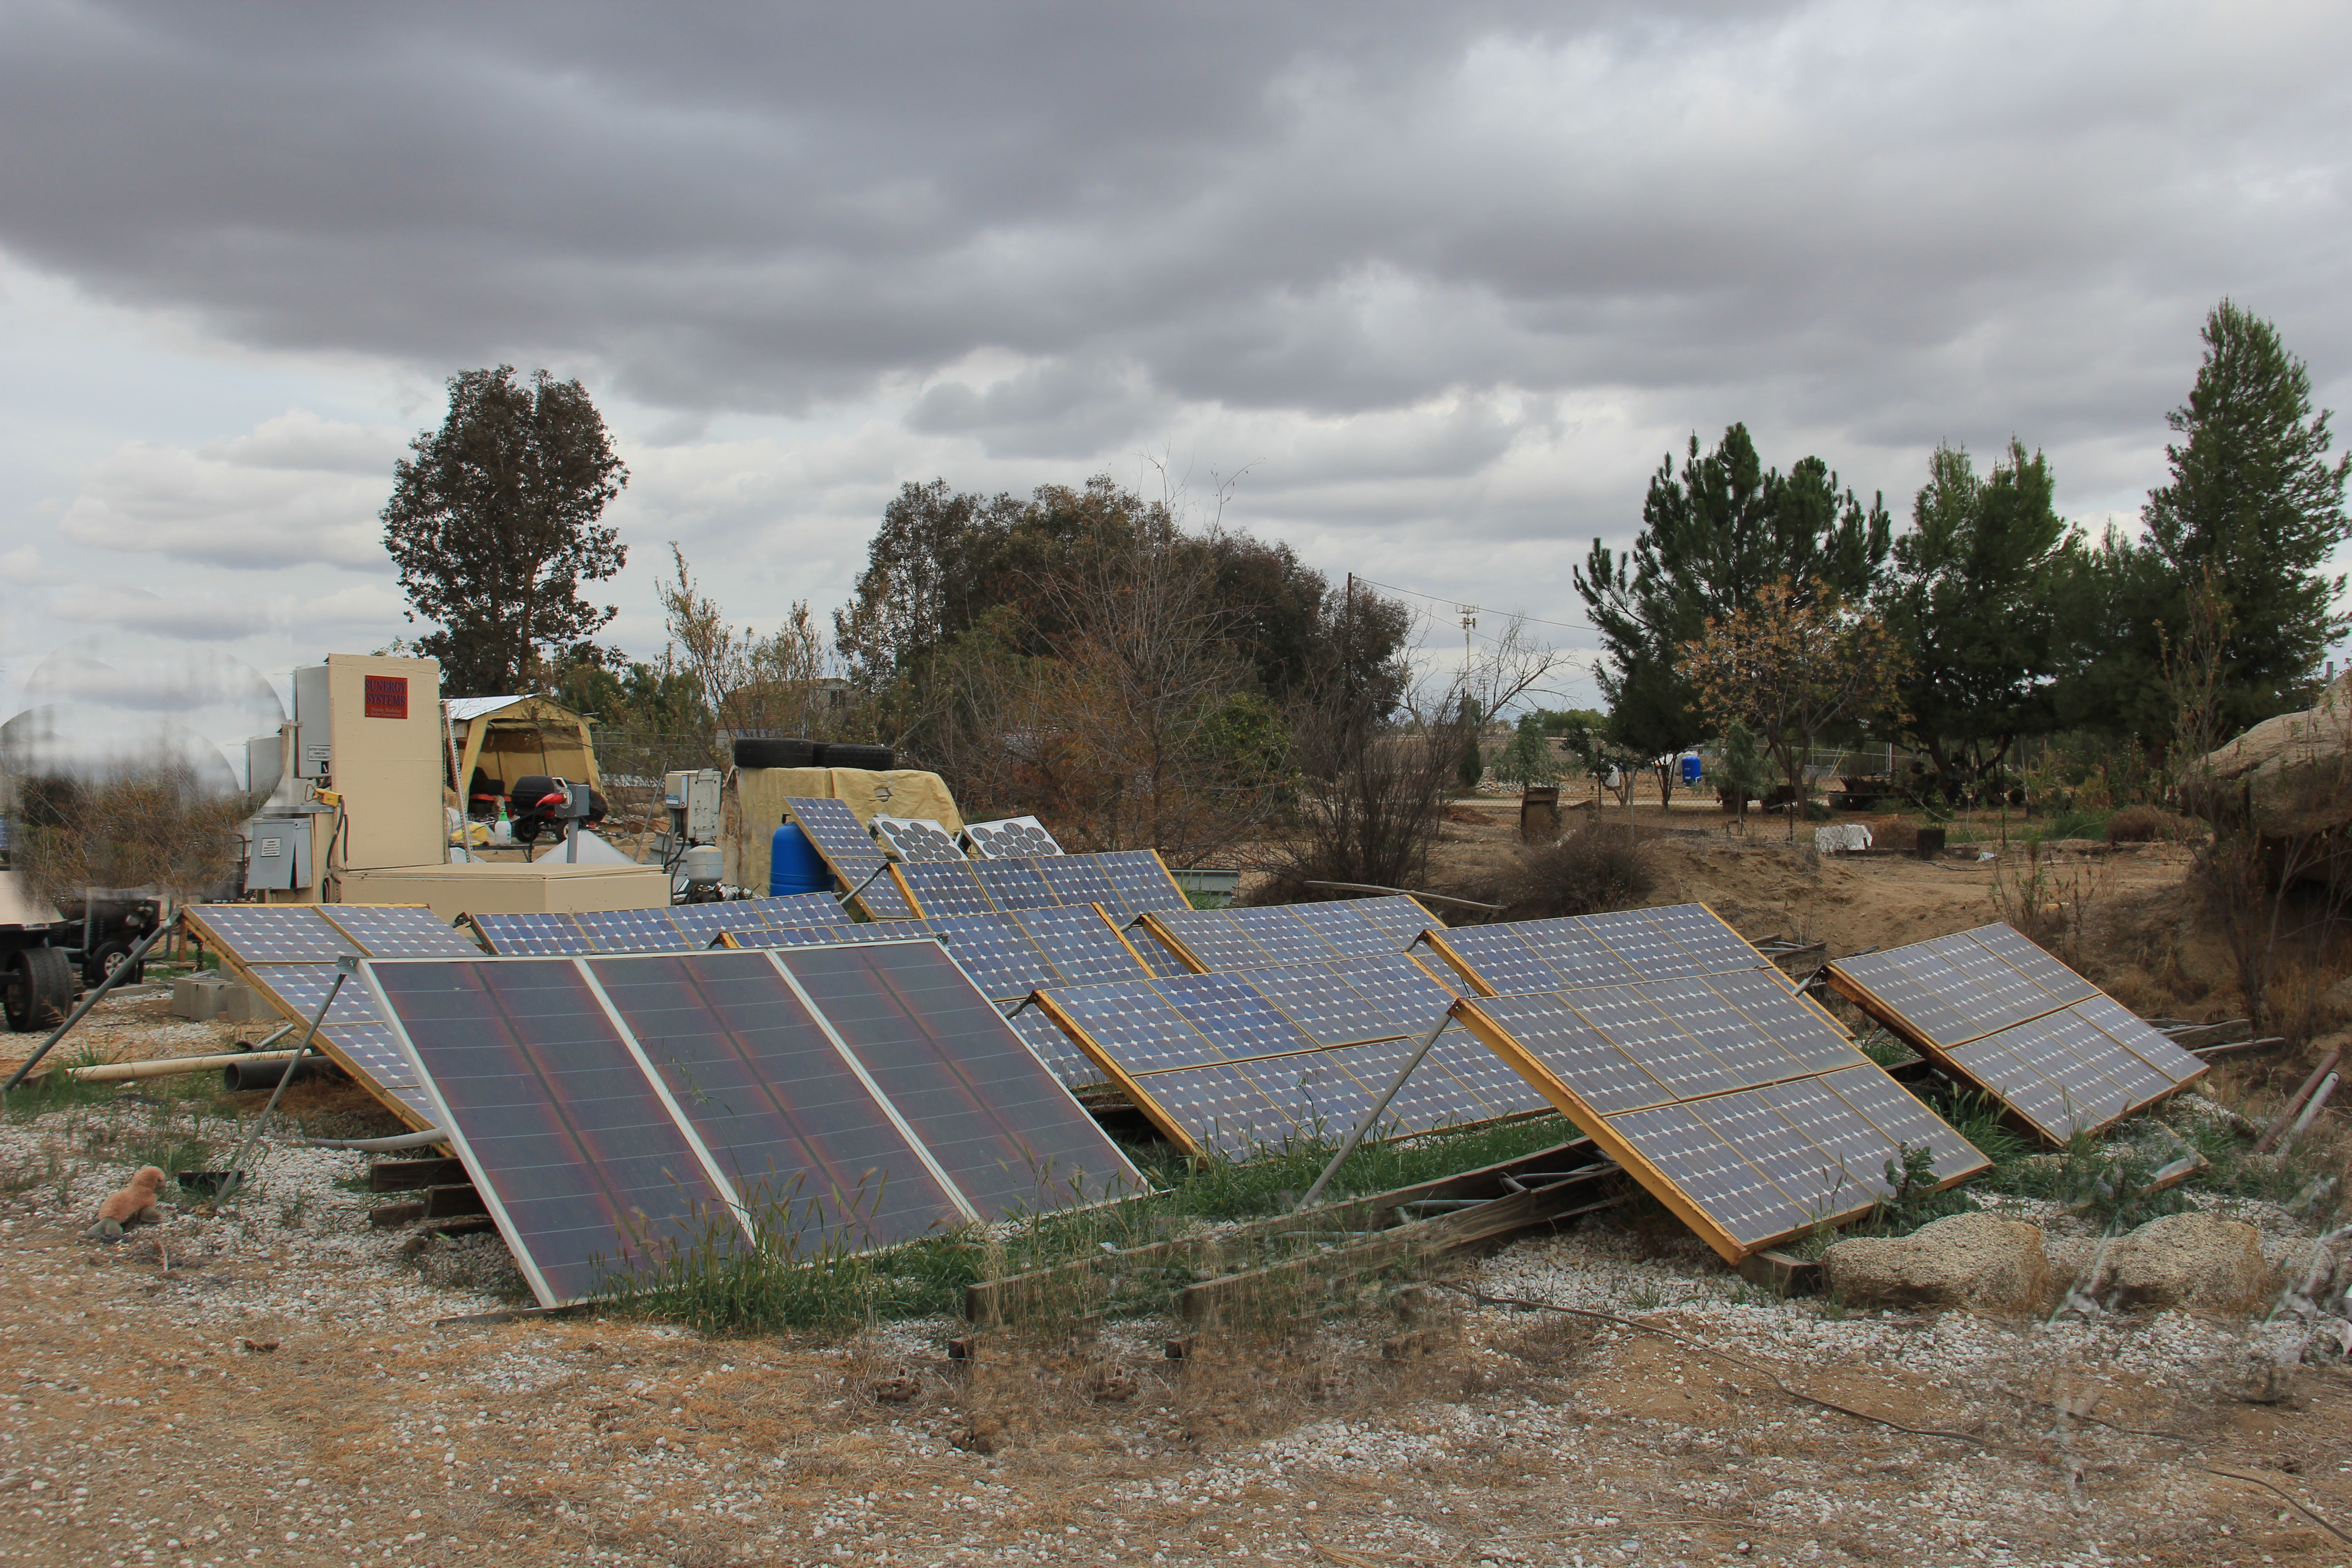
There are several ways you can mount your solar panels. You can mount them on the ground, on a pole, or on the roof of your house. Gerald chose to mount his solar panels on the ground because it was a) cheaper because it required less labor and b) there was no tall trees around to block the sunlight from hitting the panels.
Gerald decided to mount the solar panels in Fig 51 on a pole so they can track the sun as it moves across the sky so that he can get more power.
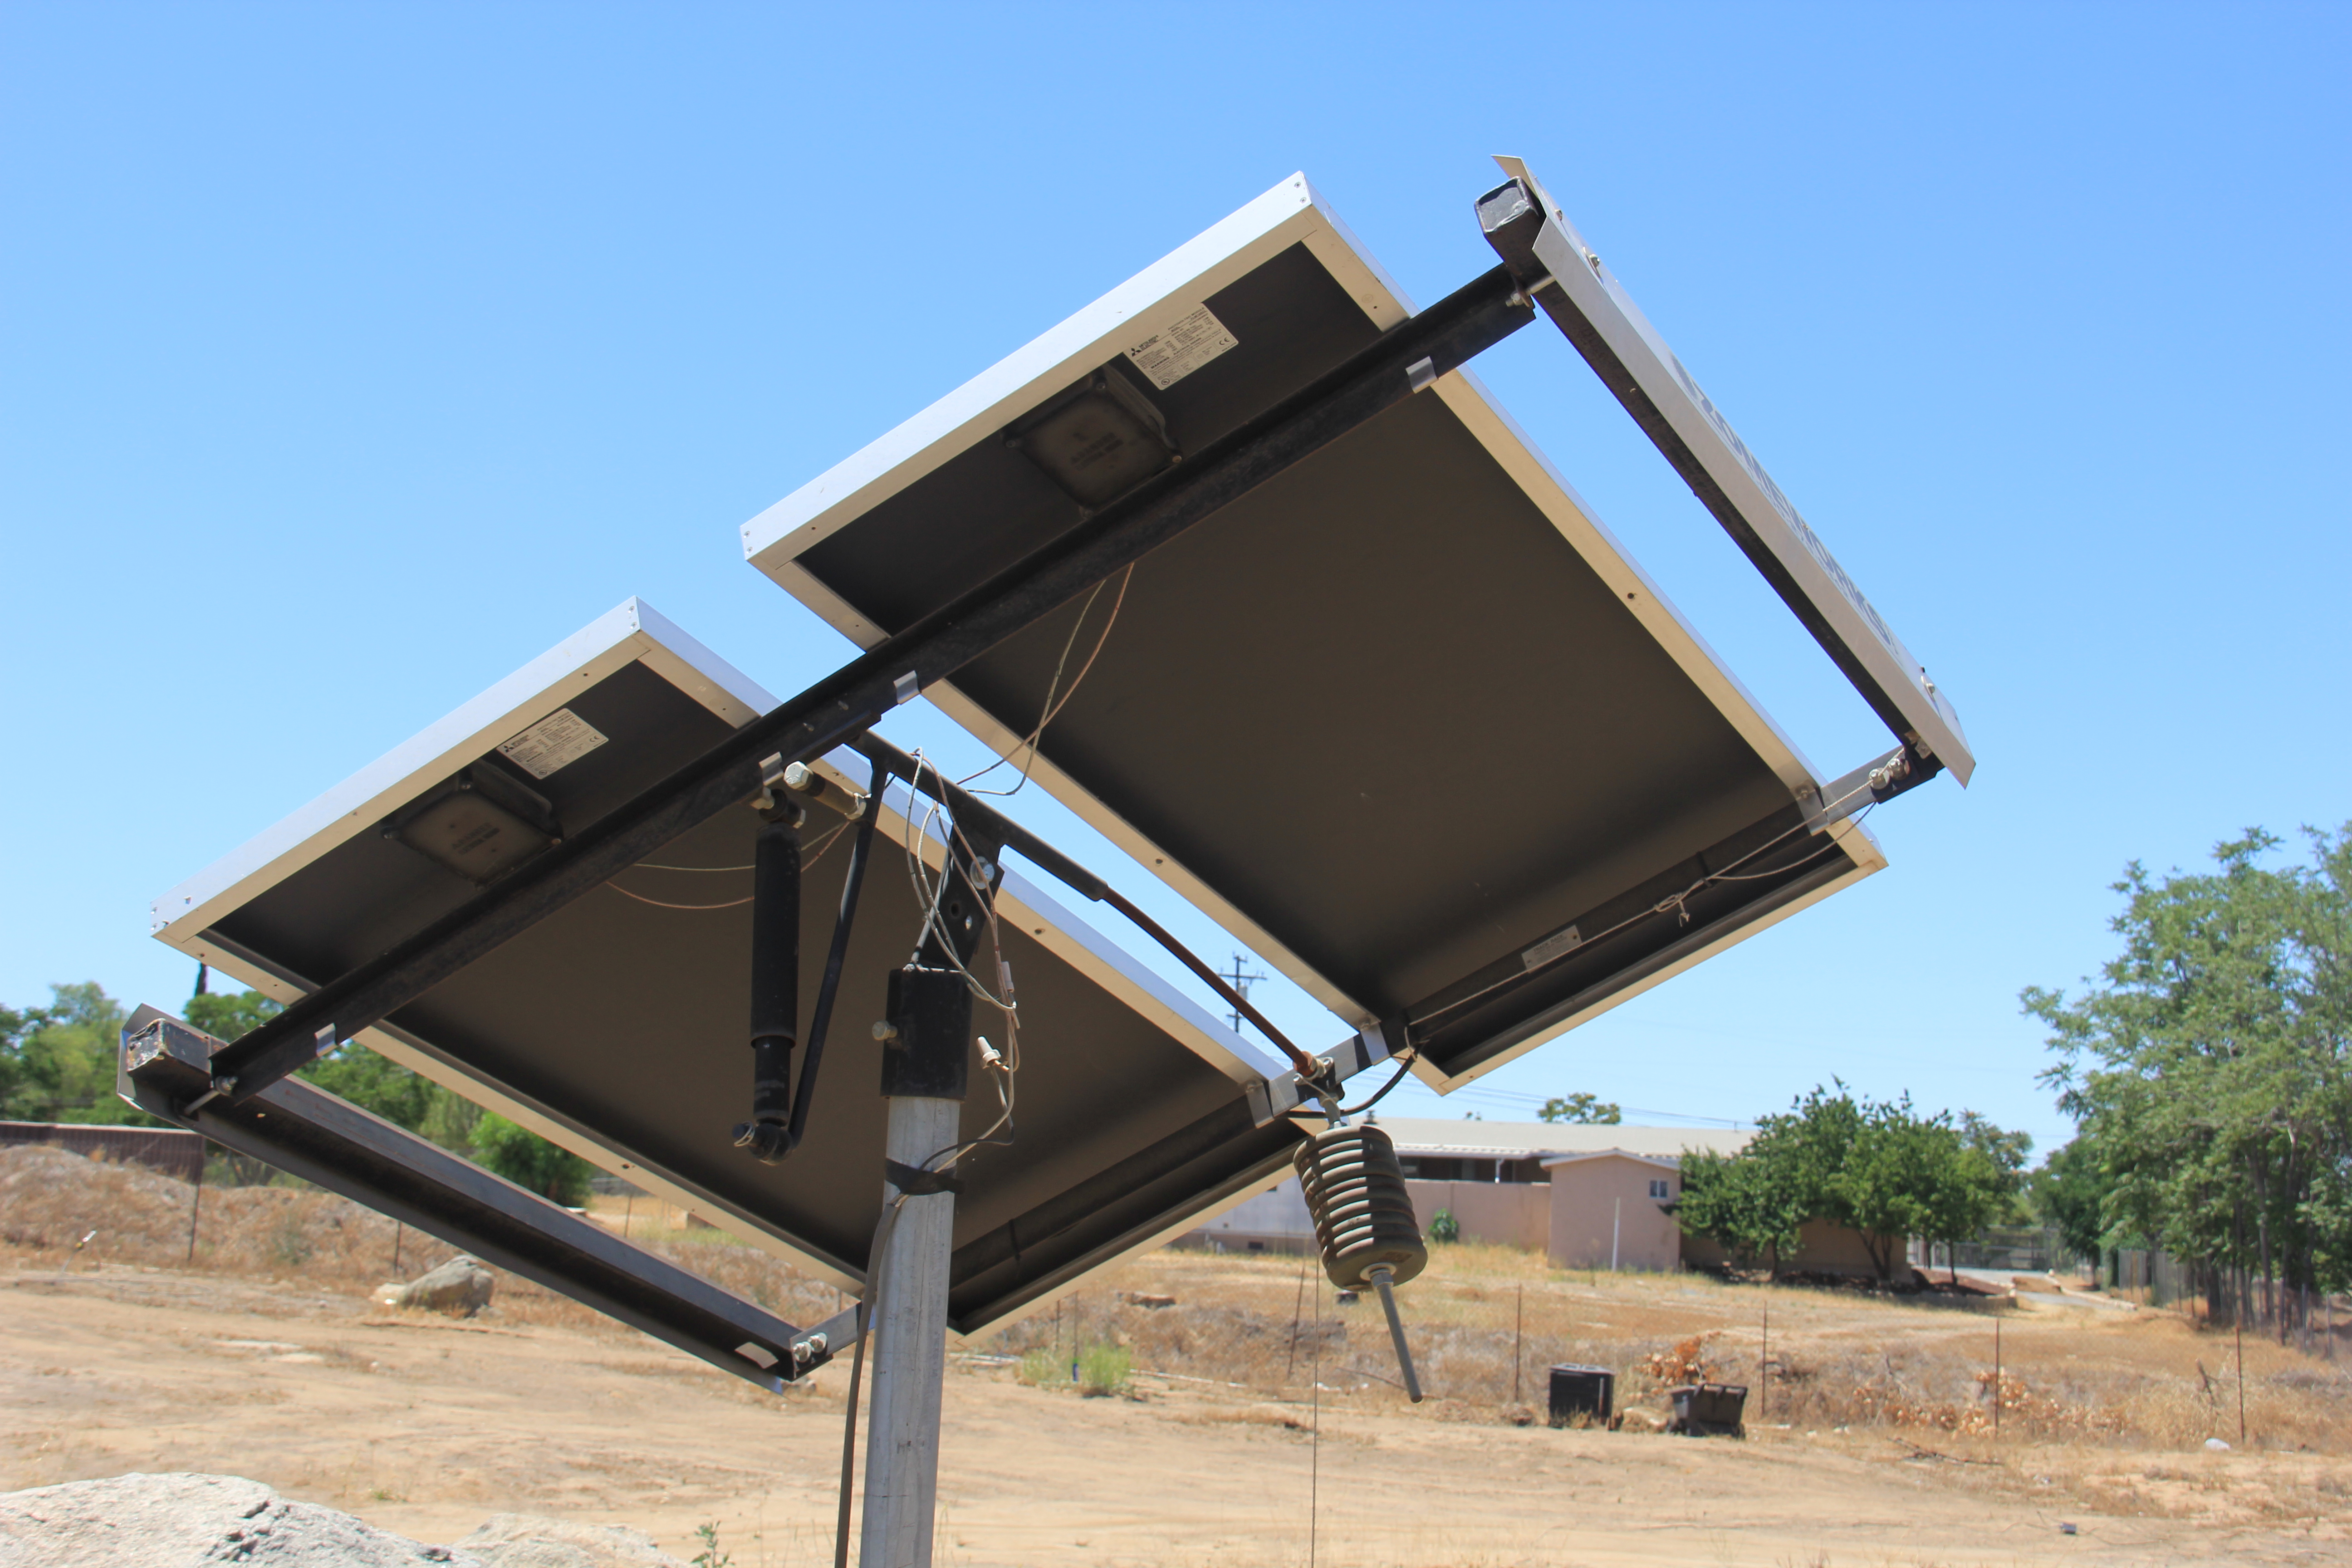
The solar panels in Fig 52 are also pole mounted but they do not track the sun.
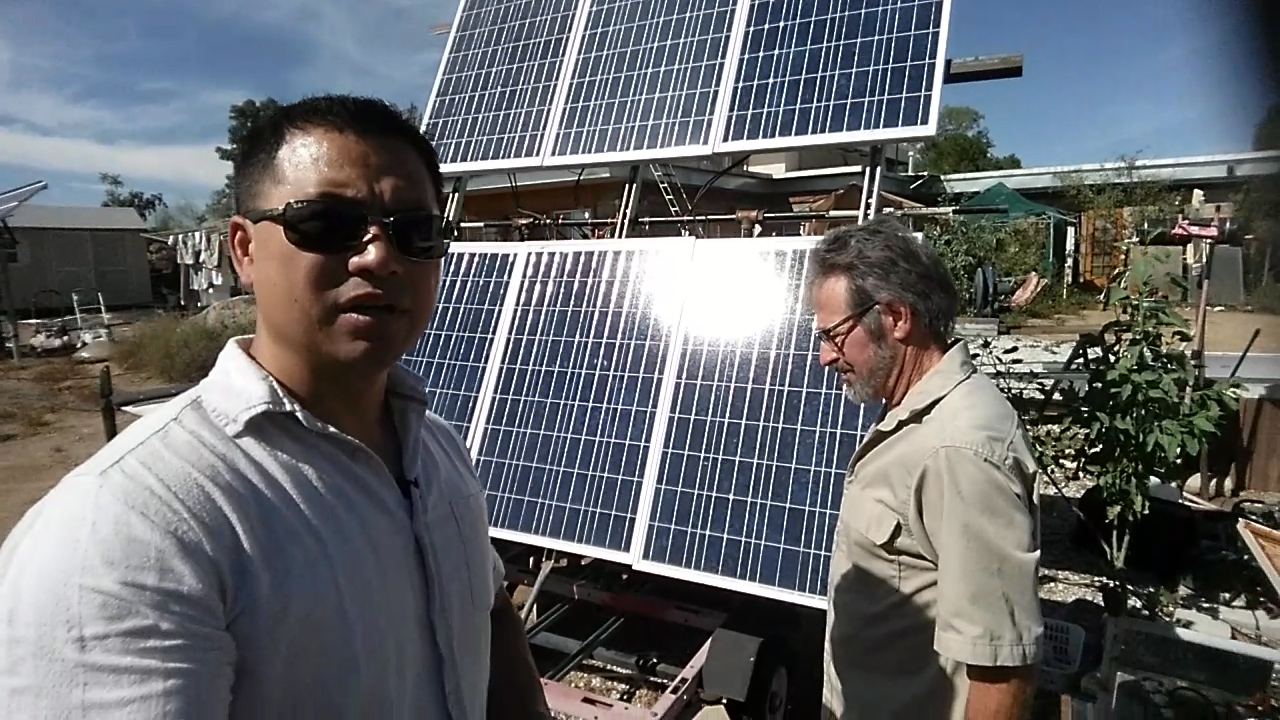
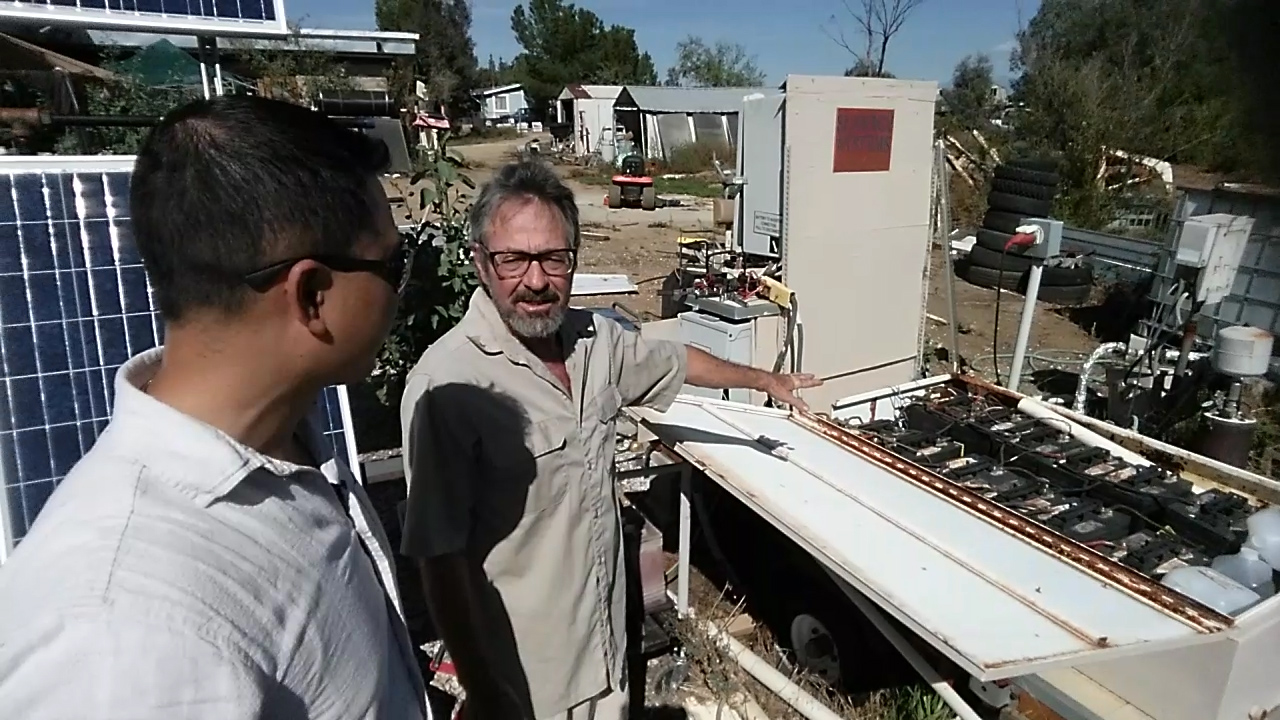
In Fig 54, Gerald “brags” about how he doesn’t have to pay the utility company or rely on them for his electricity needs.
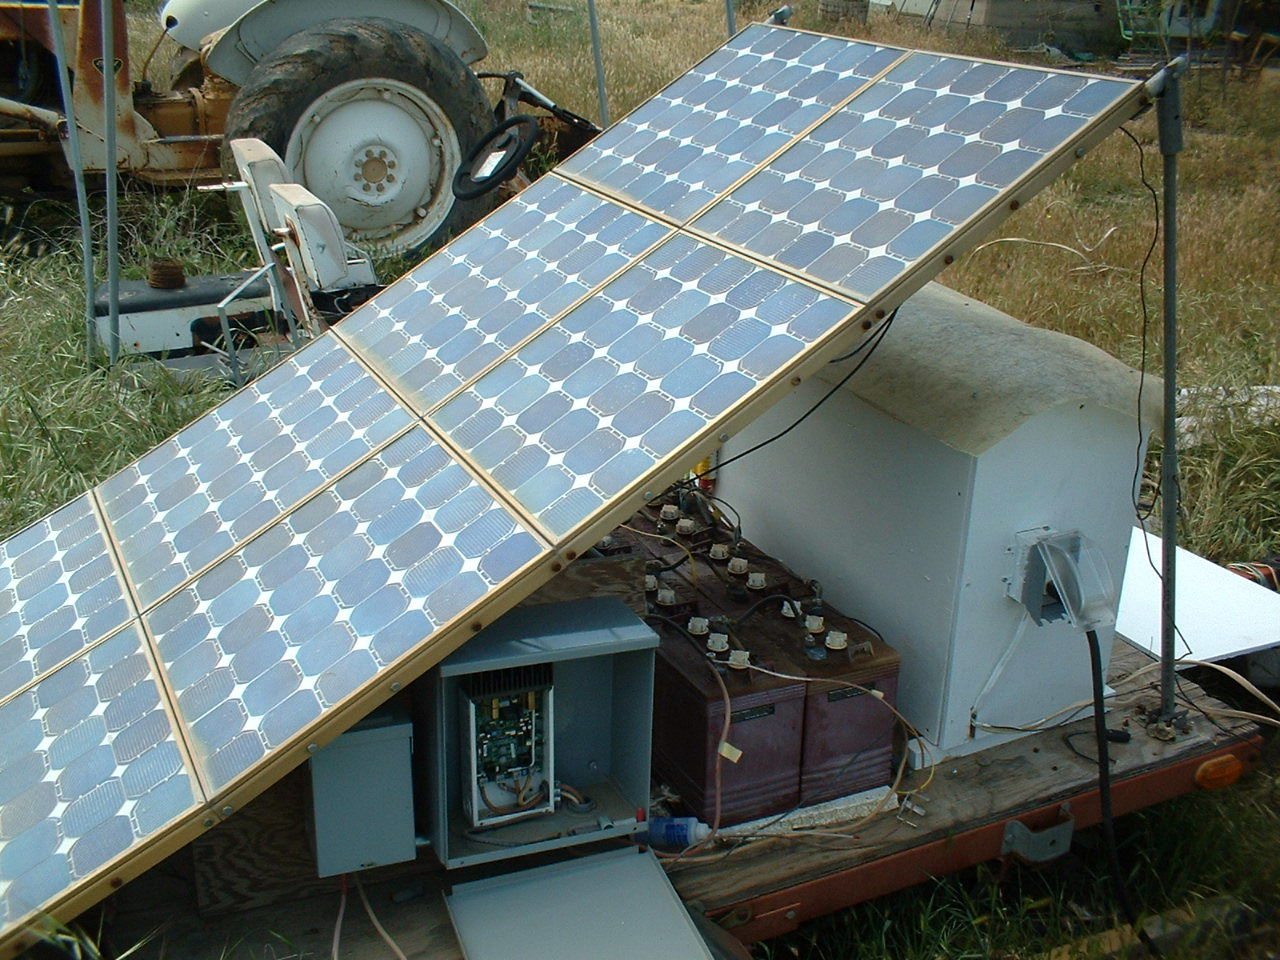
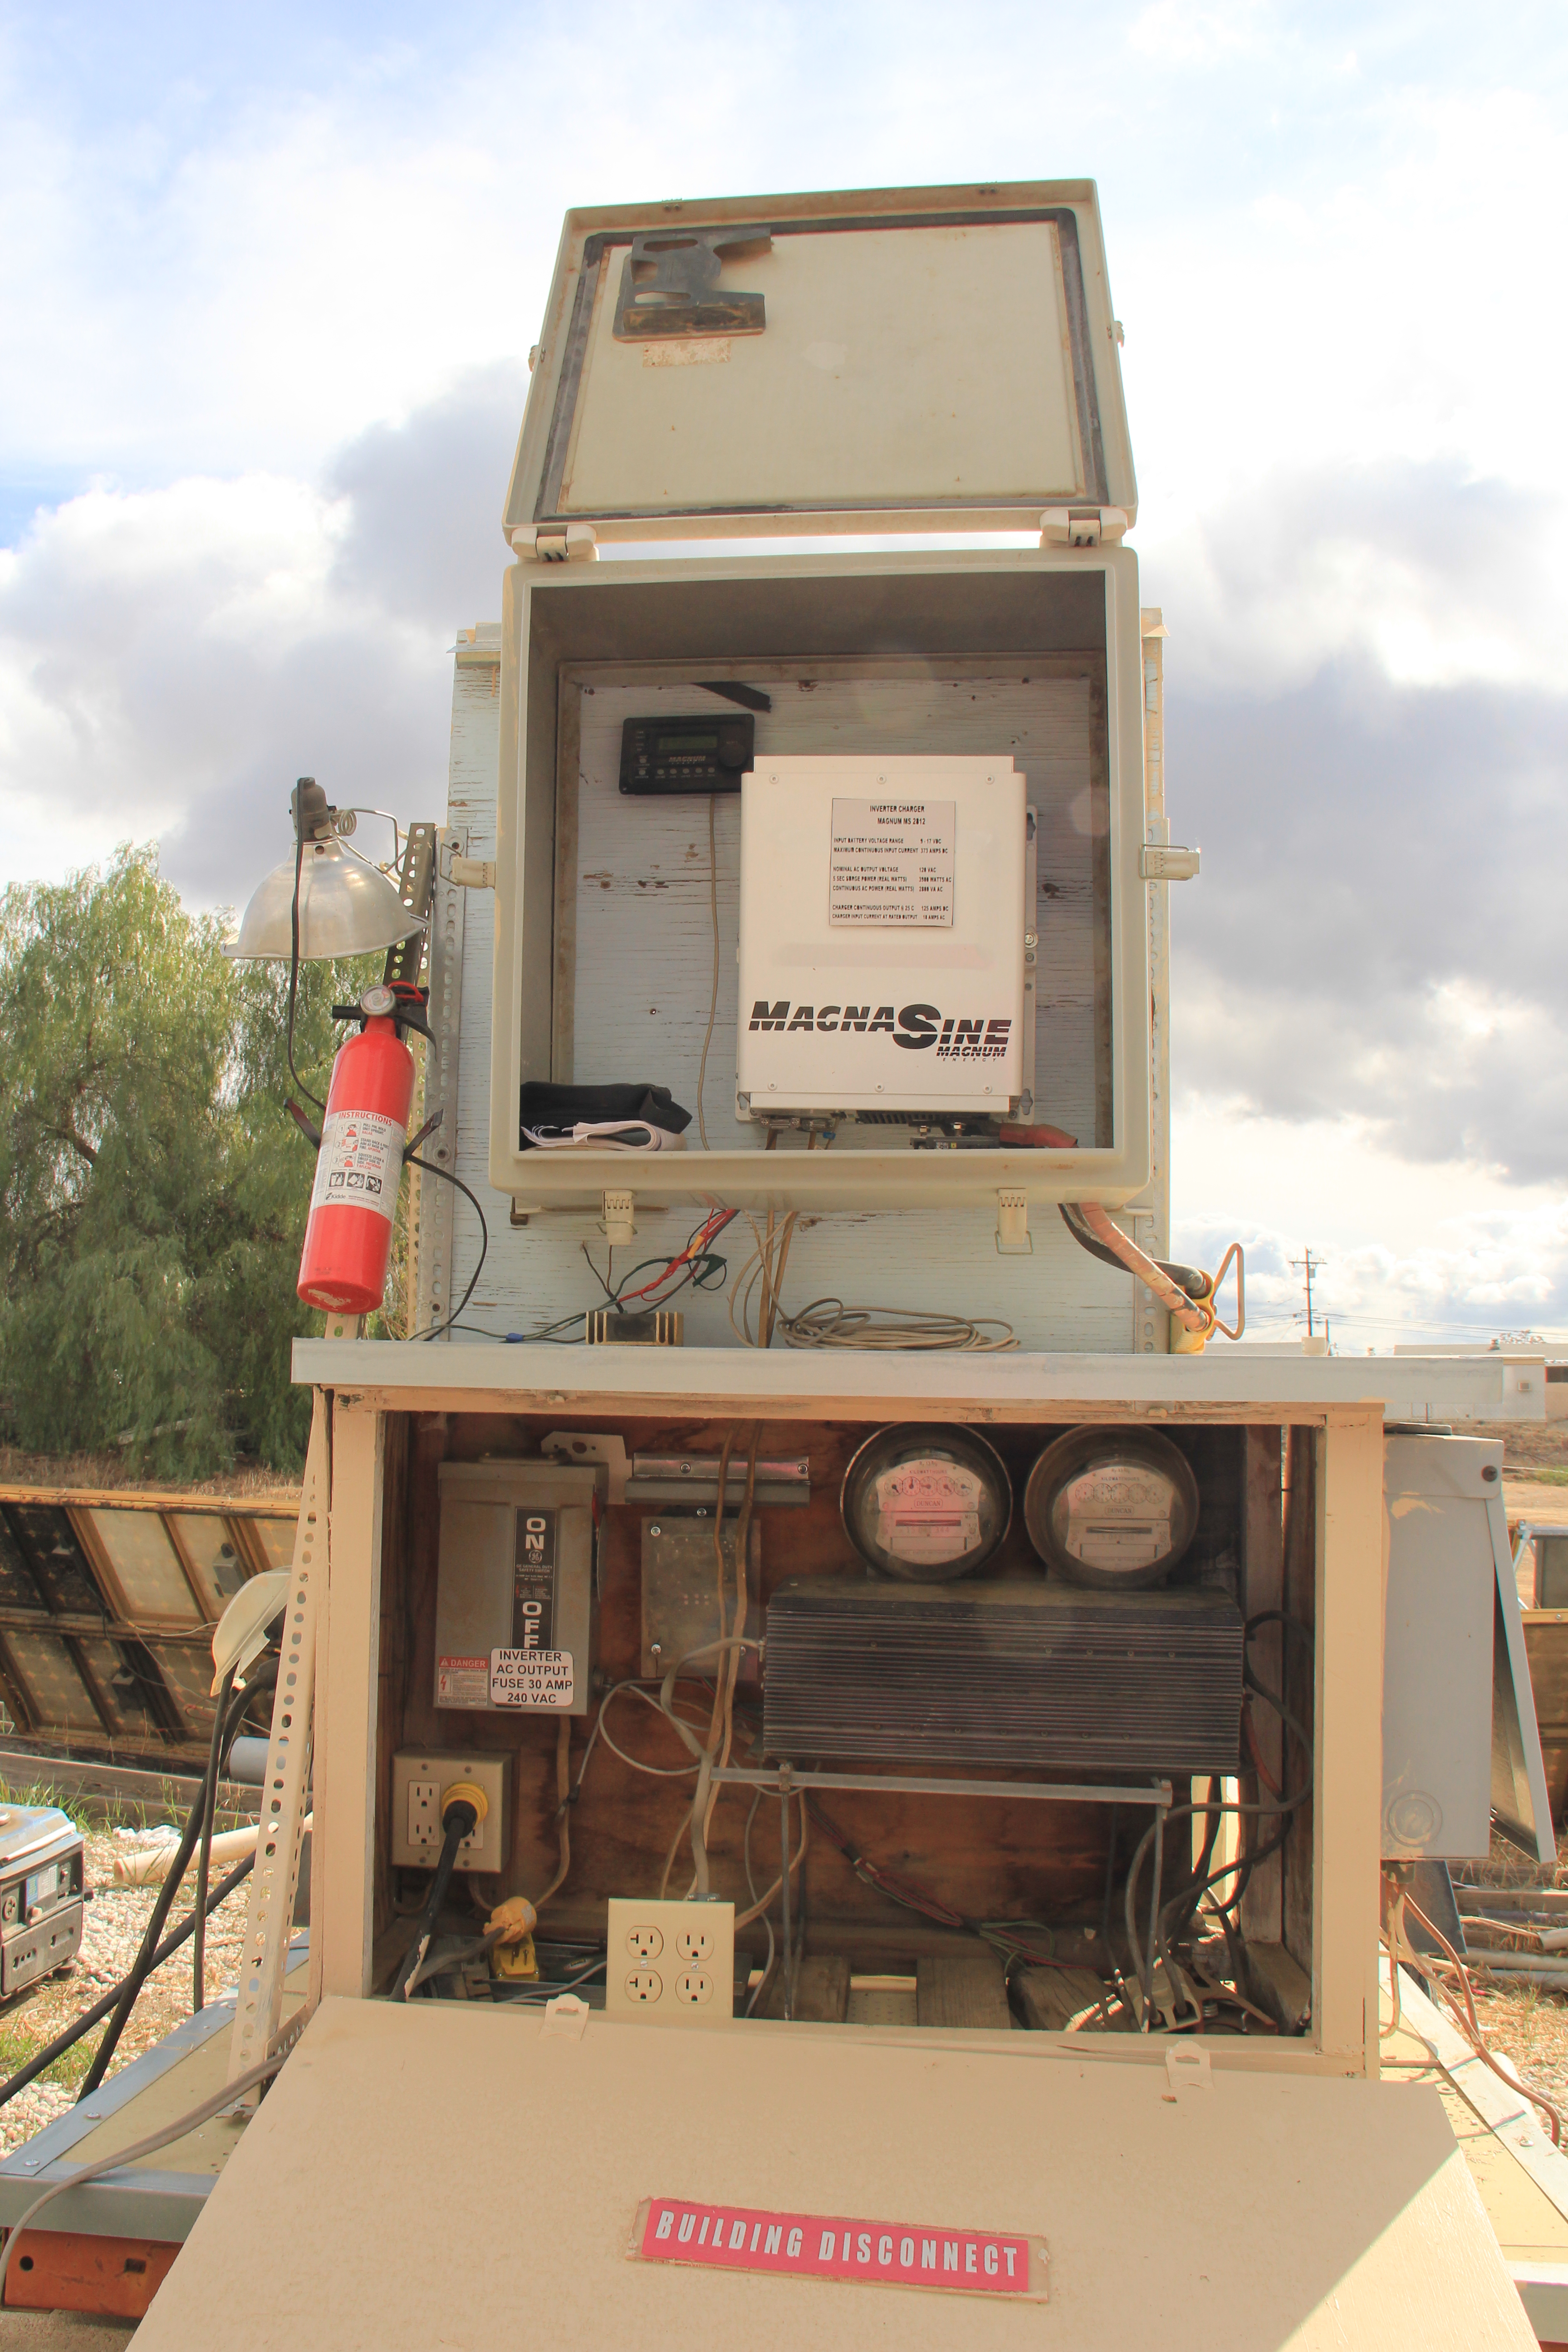
Electricity produced by the solar panels are stored in 12 volt lead acid batteries as seen in Fig 55.
Th inverter in Fig 56 converts the 12 volt electricity in the batteries to 120 volt so it can be used by the standard 110 volt electrical appliances.
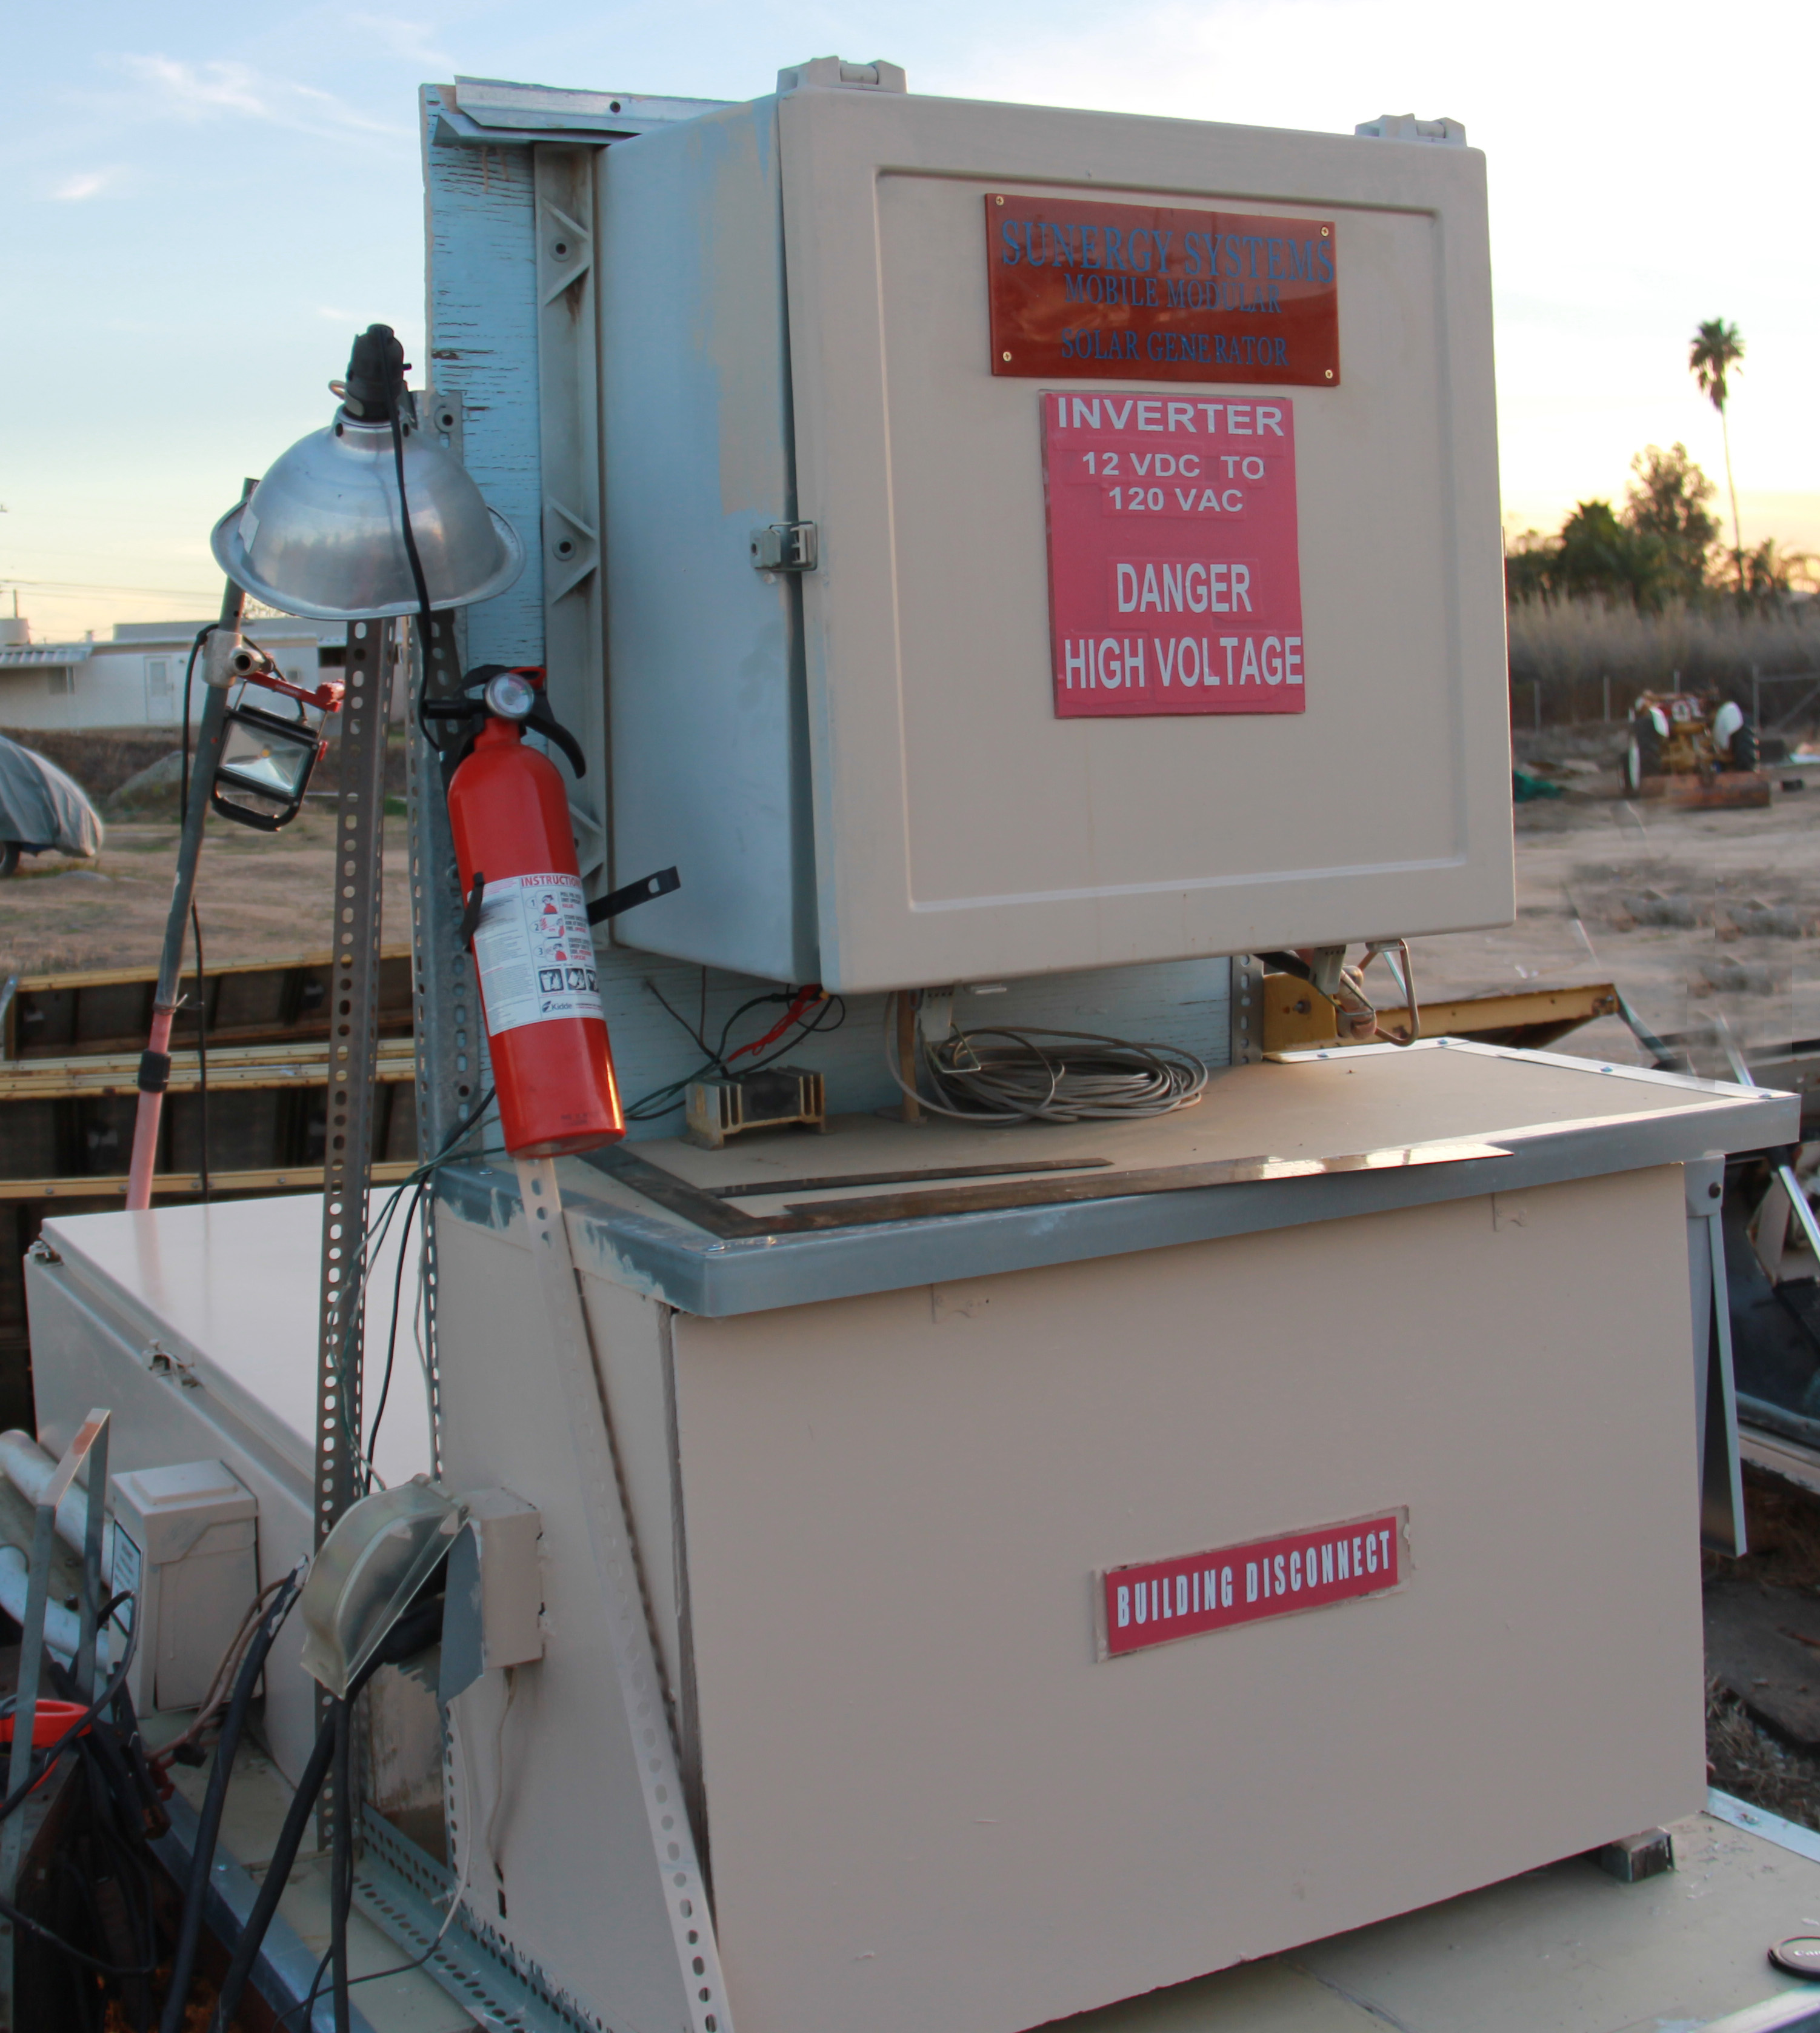
Fig 57 shows a close up of the battery bank used to store excess electricity not being used during peak sunlight hours where the maximum amount of electricity is being produced.

Fig 58 shows the solar charge controller and inverter.
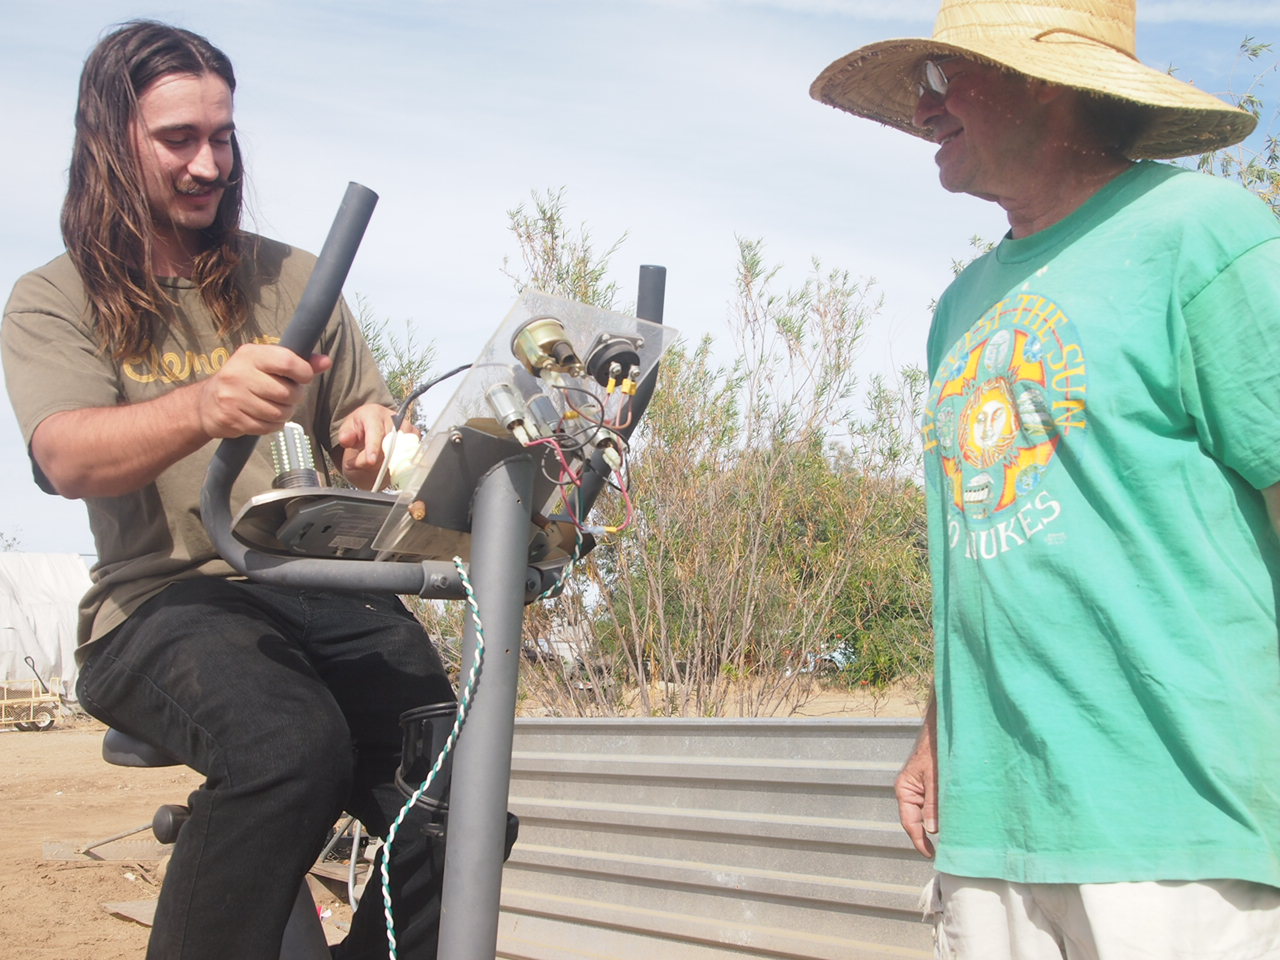
As a backup, Gerald converted a used exercise bike into a human powered generator in Fig 59.
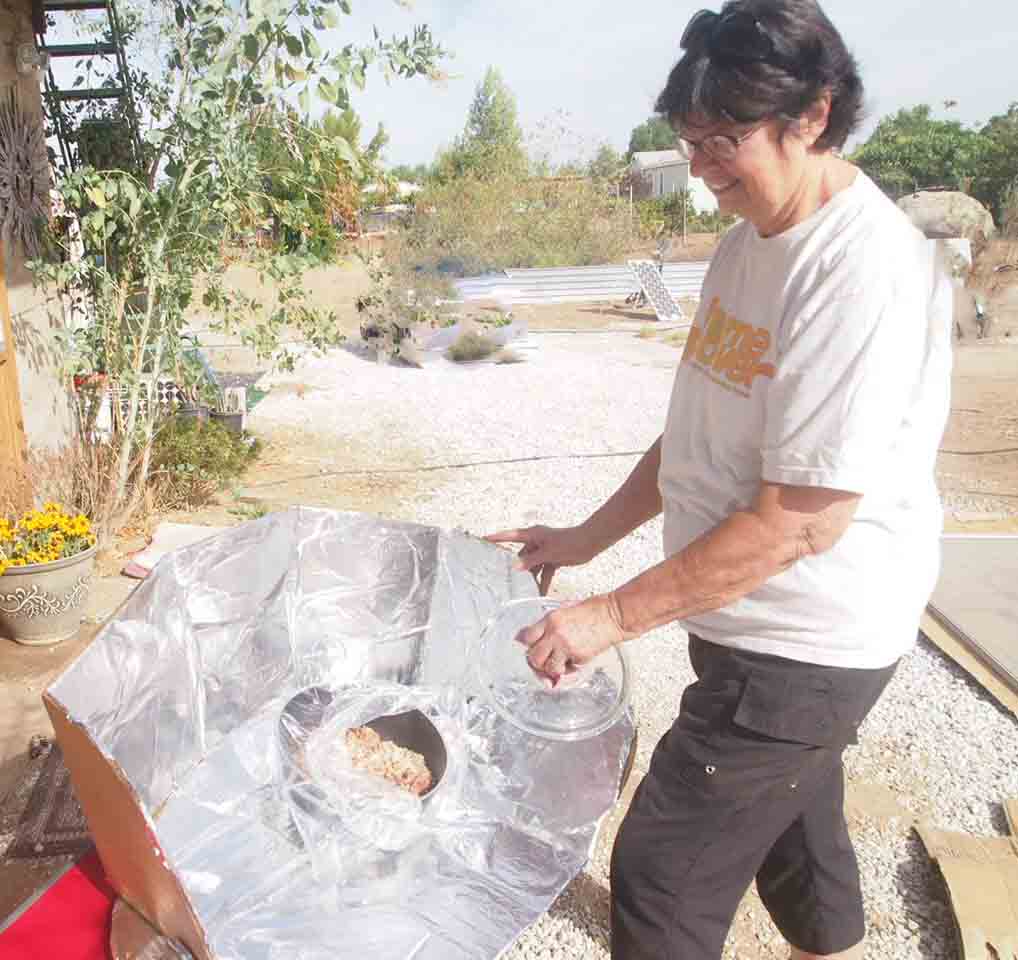
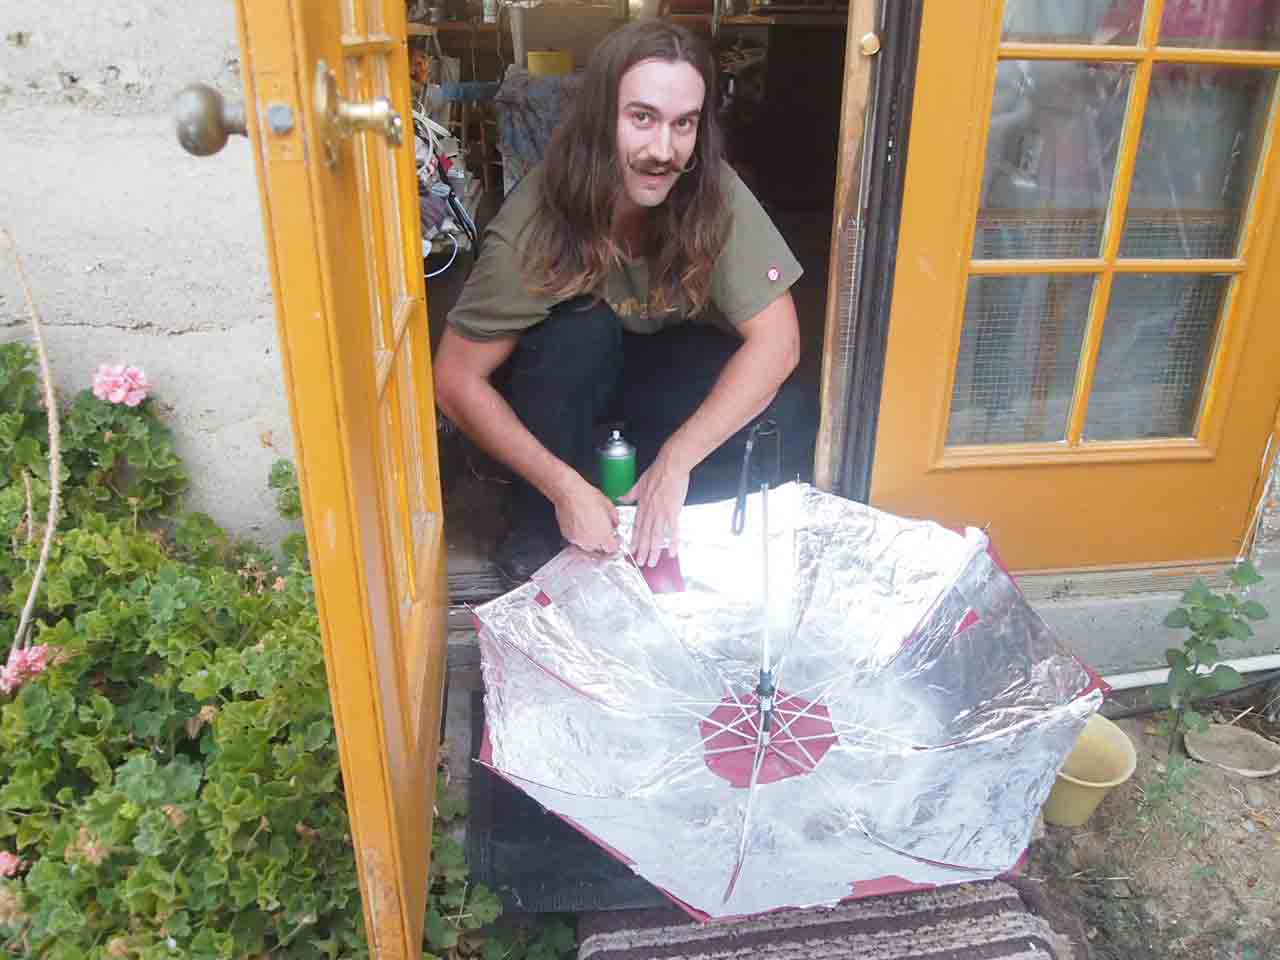
Solaterre gets plenty of sunlight throughout the day so Gerald’s wife, Sharon, and their friends likes to use the solar cooker to cook their food for free as seen in Fig 60 & 61.
Summary
Interviewing Gerald and taking a tour of his off grid, solar powered, rammed earth house was fascinating to me and very inspiring.
I really look forward to buying my own land and building my own rammed earth home as well and be able to live off the grid with my own solar power and water wells.
It really does not matter to me if the upfront cost of the solar and water wells are expensive and require 5+ year before I get my money back for my initial investment.
The way I look at it, I am still young and healthy and I can afford it so instead of investing my money into the stock market and let Wall Street “play” with my money, I would rather invest it into a tangible item such as a few acres of land with my own rammed earth house on it.
I can live in it and pass the house onto my kids after I leave this earth since the house is made out of earth and will last forever!
If you want to learn more about building your own rammed earth home check out Gerald Katz’s Ecoacre Blog.
In the interview, Gerald mentioned that he learned to use the wedges in his formwork from another artist named, David Easton, who is considered to be a pioneer in rammed earth construction in America.
You can learn more about David Easton and his rammed earth building methodologies in his book:
Leave your questions, comments and suggestions for future videos below.
If you get motivated, inspired and always learn something new to improve your art skills from listening and watching other artists, be sure to check out the following artist interviews.
Click here for a list of all the Artist Interviews.
Click here for a list of all the Earth Artist Interviews or click the link below to watch the next episode: